Review
How to install
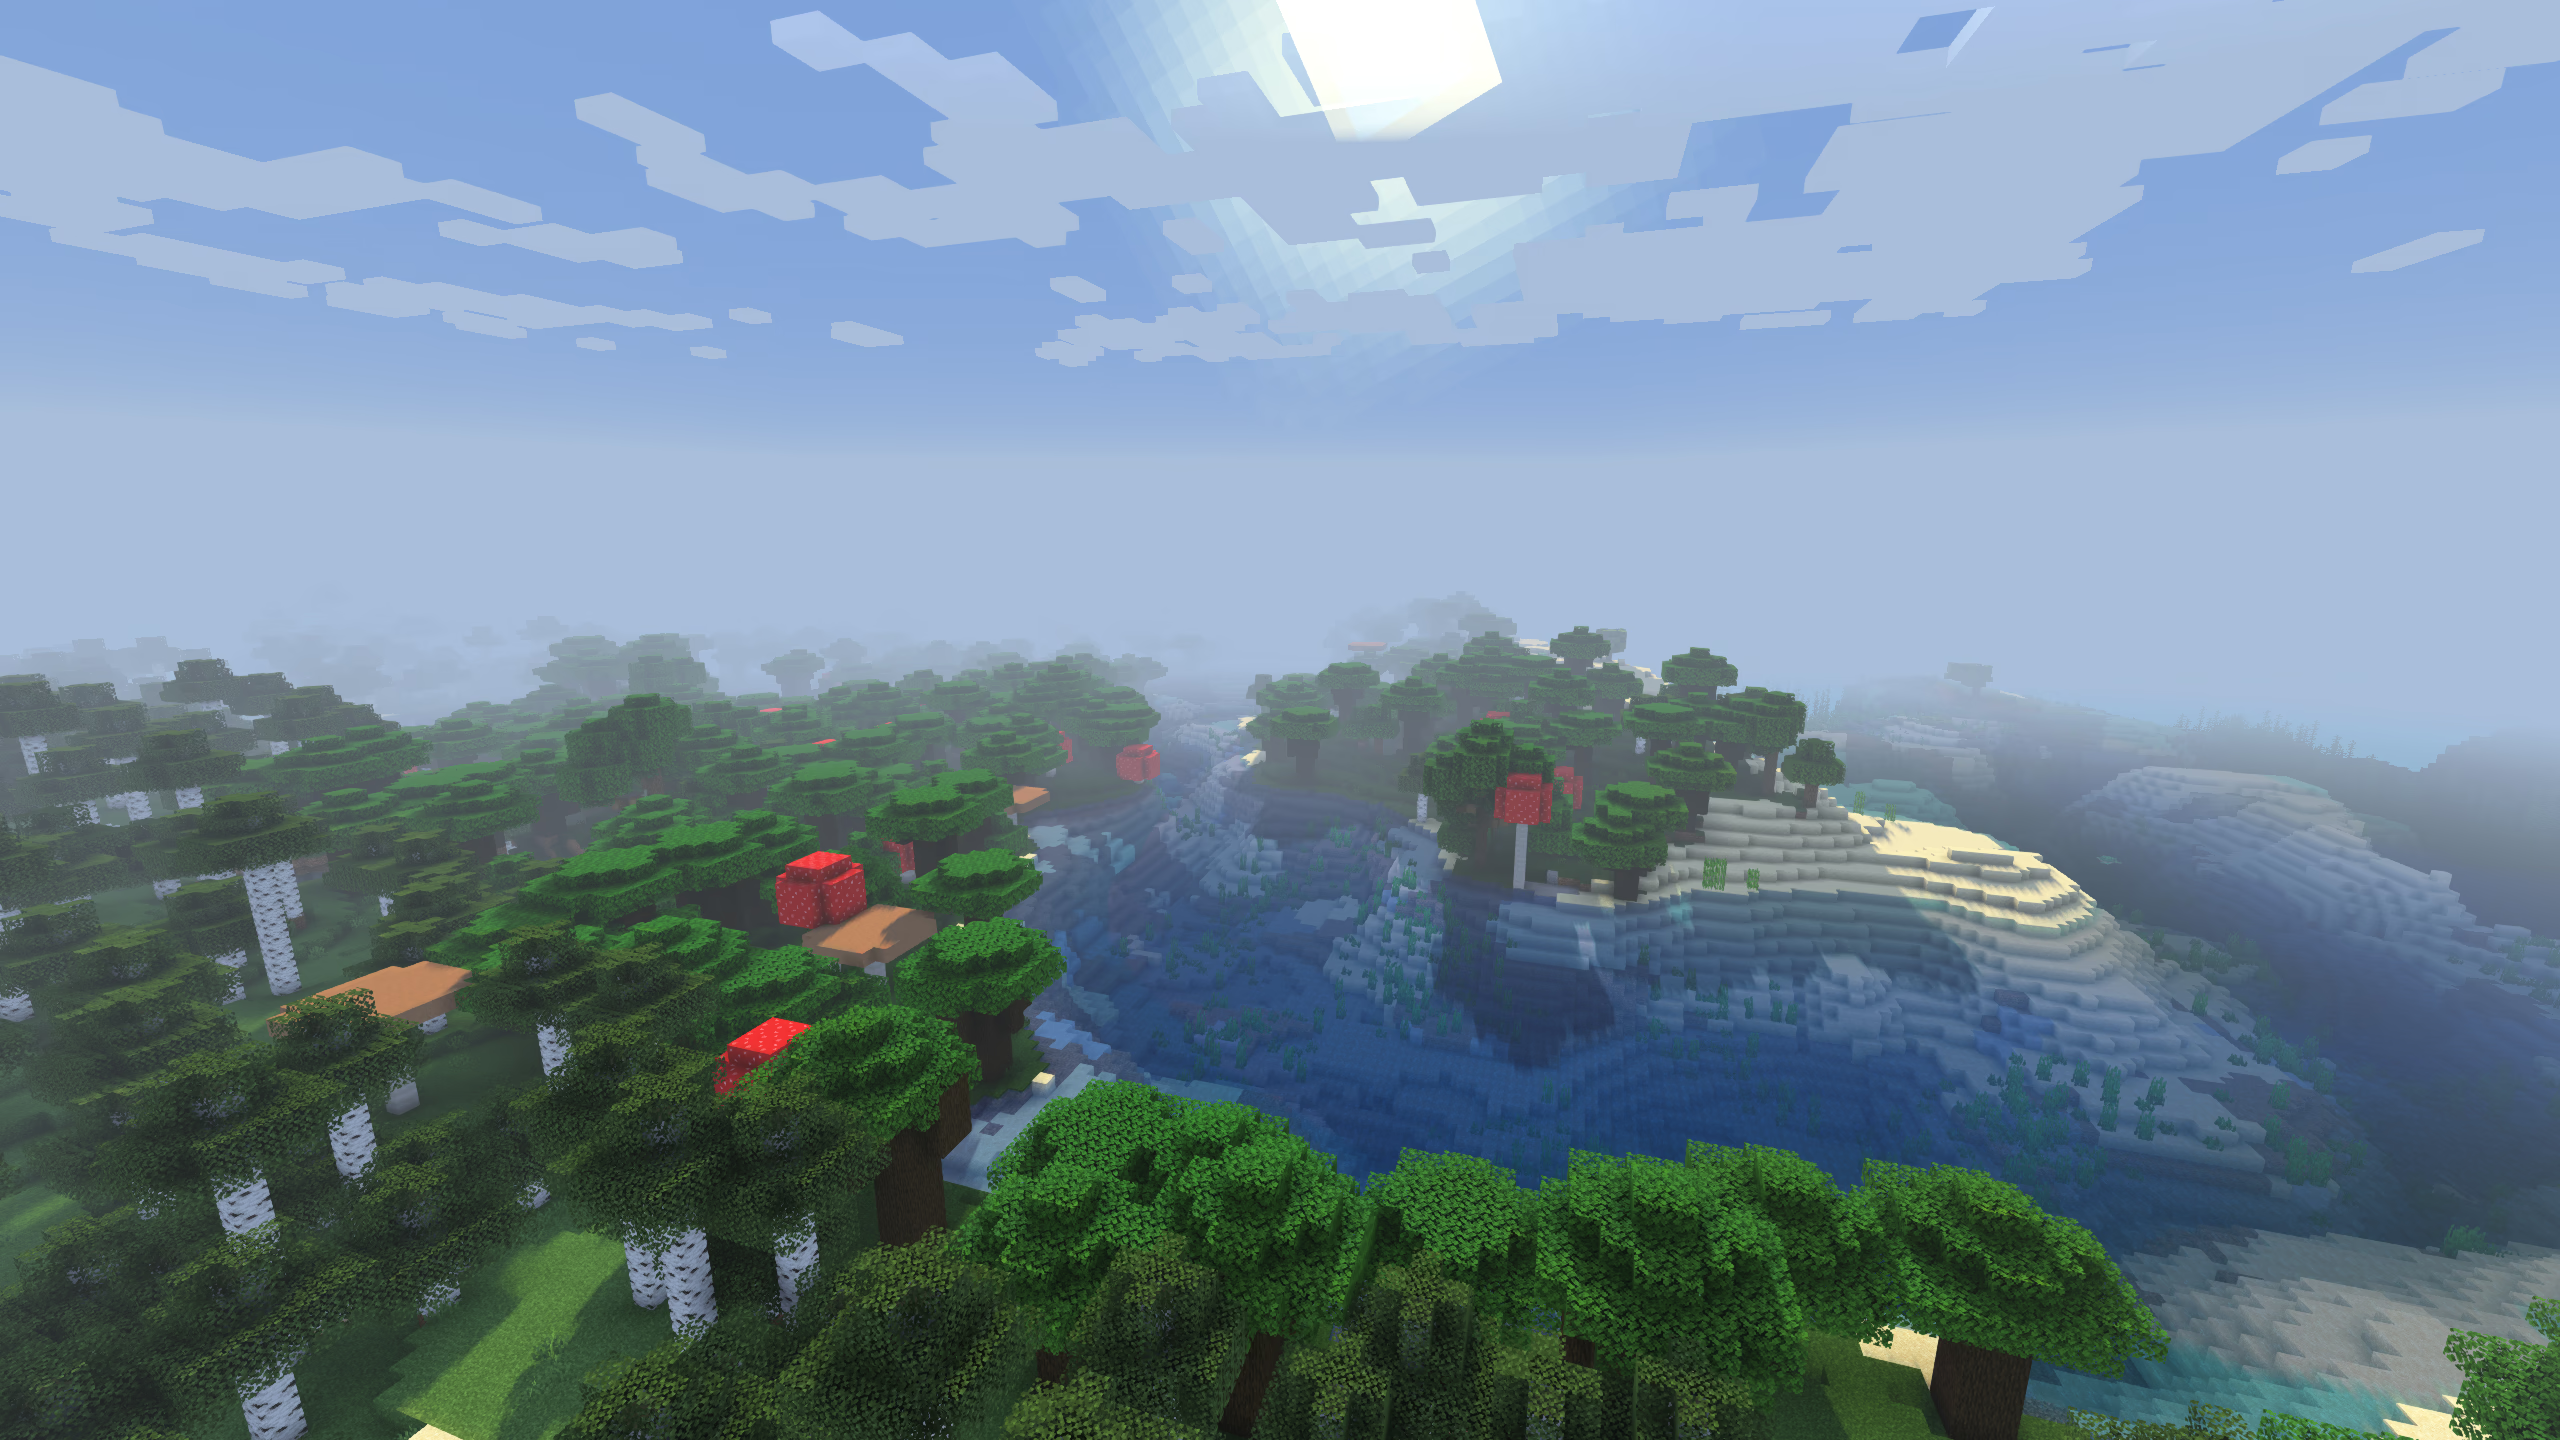
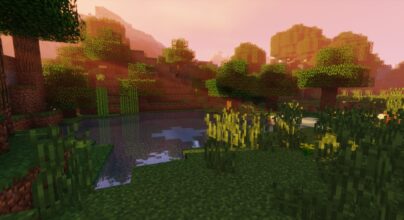
RenderPearl Shaders 26.2 → 26.1.2 offers a fascinating upgrade to Luracasmus Shaders. If you have always found the latter fascinating, there is every reason to believe you will appreciate what LS RenderPearl Shaders offers. It remains one of the best when it comes to delivering graphics that can be considered “realistic” in the game of Minecraft. Given the features and functionalities that it contributes or adds to Minecraft, there is no doubting the fact that its developer/owner, Luracasmus has done a great job. Despite being developed 5 months ago, its last update was 2 months ago. This is only proof that LS RenderPearl is one of the most modern and recent shaders in the Minecraft community.
The first thing you will notice about RenderPearl Shaders is its lightweight nature. Of course, there are lots of shaders which are capable of improving the appearance of Minecraft. These can change your world once installed. However, the major challenge is that they are usually heavy. This means low-end PCs can’t use them. There is no need to worry too much about this since RenderPearl Shaders tends to offer a solution. Its lightweight will ensure you have access to decent graphics in your world. If you are one of those players that tend to prioritize performance, this is the right shader pack to use. Furthermore, it is handy for PvP.
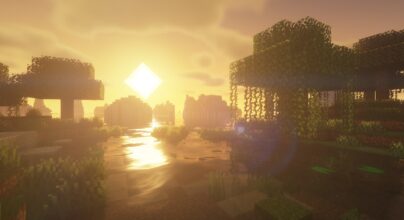
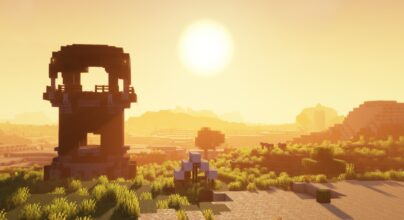
This is one shader pack that uses some tricks to deliver the best performances for players. Depending on the scenario, different methods are used. Due to this, expect FPS to be very high in some instances. For instance, if the contrast between ambient light and sunlight is significantly low, shadows will be automatically disabled. It could be during thunderstorms or night periods. Also, whenever a surface isn’t facing the sun, it won’t get any shadow. Therefore, looking towards the sun tends to improve performance significantly. Note that shadows aren’t enabled in the End or Nether. Finally, shadows will not affect surfaces which are covered fogs.
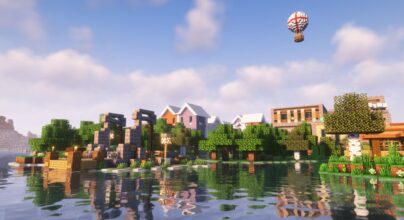
LS RenderPearl remains one of the most flexible shader packs you will find out there. To ensure the best performance is delivered for various categories of players, it has some customization features. The truth is that most shader packs are limited when it comes to customization. For instance, some features cannot be disabled or adjusted to meet your needs. There is no need to worry because LS RenderPearl Shaders is very different in this area. Its customization is limitless. This is because almost all of its features can be tweaked. Even if you want to have them disabled, such is very possible.
These could be automatic exposure, exposure & gamma, sunlight, moonlight, ambient occlusion, sharpening, tonemap operators, color filters, different forms of fog, FXAA (code from BSL Shaders) and more. All of these are highly customizable to suit your overall gameplay. It is also possible to customize the “item.properties” and “block.properties”.
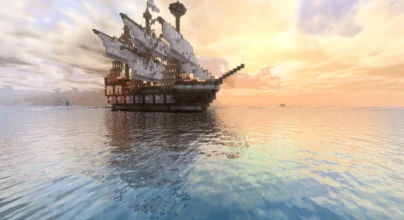
Having seen all of the above, it is now evident that LS RenderPearl Shaders can take your Minecraft world to another level you never thought was possible. Therefore, it is worth downloading and installing. With over 9,000 downloads since its creation, you can’t be wrong.
Gallery


How to Install?
The installation guide has been relocated to the installation tab located at the top of the page.
Quick pollHelp Developers
RenderPearl Shader Links
Please note the following information:
- Some Shaders have not been appropriately updated to 26.1. Still, all have been tested and work correctly in Minecraft 26.1.
- All download links are original and from the creator himself. We never host or edit any files. We only distribute them as a direct link to our users, ensuring security and quality. If you doubt this, don’t forget to read our Terms.
- Additionally, browse the best Minecraft Shaders, grouped by category for easier navigation.
We have compiled helpful installation guides to ensure correct installation of this shaderpack in your Minecraft. Follow these guides for a seamless installation experience.
Backup Guide
It is strongly advised to create a backup of your Minecraft map before updating the game to new versions to ensure the safety of your progress.
Locate the Folder
Locate your Minecraft installation folder. The default location for the Minecraft folder varies depending on your operating system:
- Windows: %appdata%.minecraft
- Mac: ~/Library/Application Support/minecraft
- Linux: ~/.minecraft
Make a Copy
Once you’ve found the Minecraft folder, make a copy of it and paste it into a different location, such as an external drive or a backup folder on your computer.
Save and Restore if Necessary
The copied Minecraft folder will serve as your backup. If anything goes wrong during the mod installation process or if you want to revert to the original state, you can replace the modified Minecraft folder with the backup.
Java Installation Guide
Iris require Java to be installed on your computer in order to work properly with Minecraft.
Download the Java installer
Visit the official Java website here: On the website, click on the “Download Java” button.
Run the installer
Once the installer is downloaded, locate the file and double-click on it to run it.

Iris Loader
Required 1.16.2+Step by Step
Download Iris:
Download the latest version of the Iris installer.
Install Iris
Locate the downloaded Iris Installer and open it.
Choose installation type:
- Iris Install: Select this option if you don’t plan on using any other mods alongside Iris.
- Fabric Install: Opt for this option if you intend to use Iris with Fabric and other mods. The Iris jar files will be copied to the mods folder within the .minecraft directory.

Download Shader:
Download the Shader package that is compatible with your Minecraft version.
Launch Minecraft
Launch the Minecraft launcher. Choose the profile you decided to install in the previous step.

Install Shaders
Navigate to Options > Video Settings > Shader Packs within the game.

Drag and Drop
You can directly drag and drop the BSL shaders zip file into the Minecraft window to install a shader pack.

You Might Also Like

New
OPAL Shaders combines a fantasy feel and contrasting colours without compromising the original game’s aesthetic
Best
BSL Shaders is one of the most popular shaders available for Minecraft
Up!
The Complementary Reimagined Shaders can improve the Minecraft Java edition.
Best
Sildur’s Vibrant Shaders is one of the most renowned Minecraft shader packs.
Best
Complementary Shaders is one of the most popular Minecraft shader packs.