Review
How to install
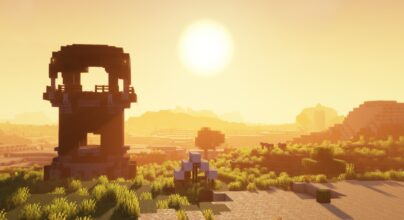
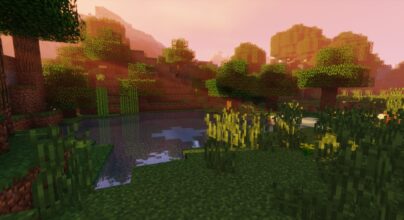
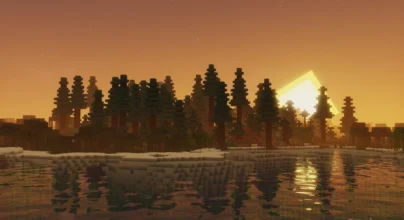
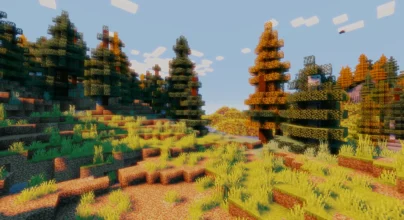
SEUS Shaders 1.21 → 1.20, simply the favorite Shader of the Minecraft community. The importance of Minecraft Shaders in Minecraft can hardly be overestimated. They have been hugely responsible for helping most players get the ultimate gaming experience. So if you are considering taking your game to the next level in Minecraft, this is the right mod. It has been a complete definition of reality in the game. This post will explain everything you need about Sonic Ether’s Unbelievable Shaders 1.20 (SEUS). So read the details below to find out why this mod is highly rated amongst others in the game.
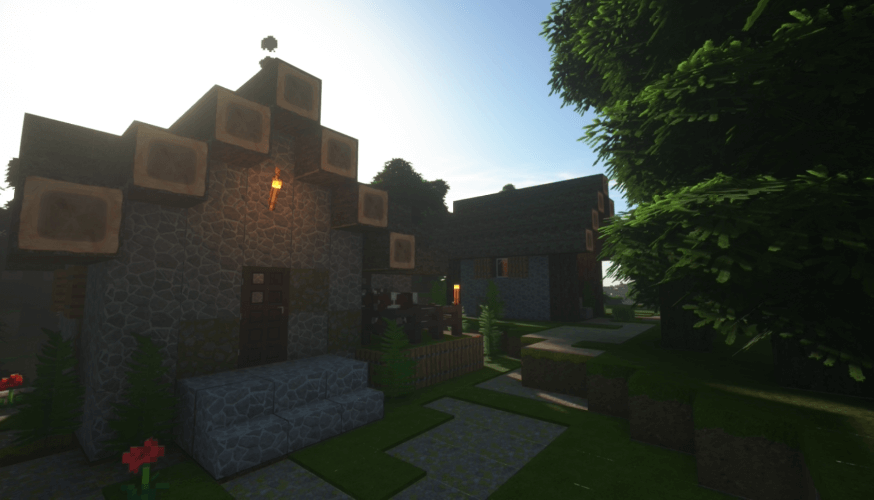
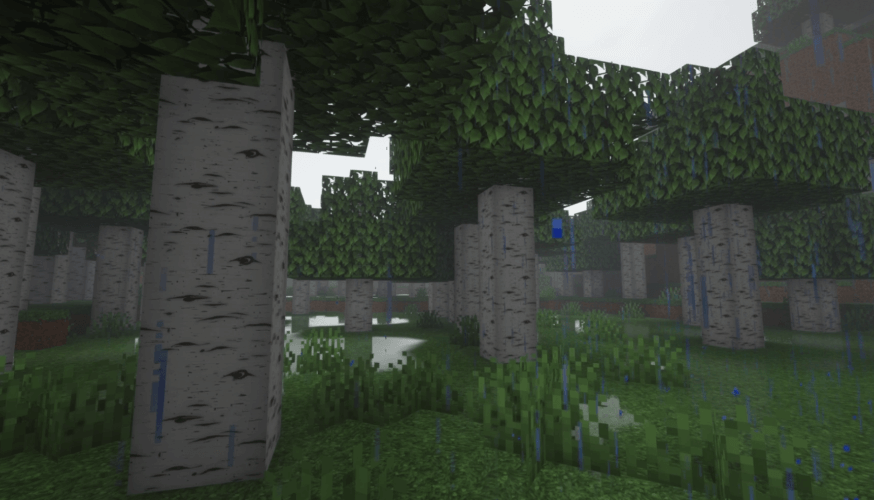
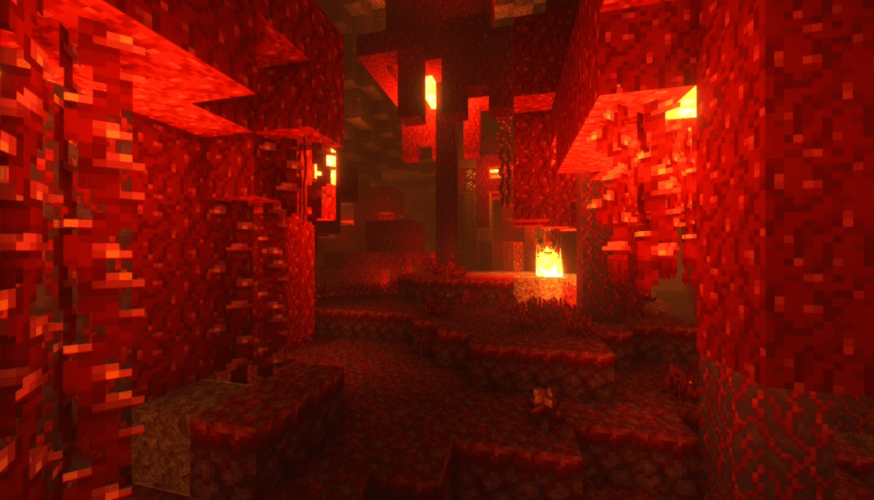
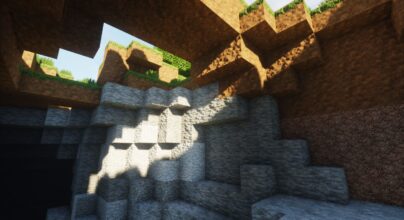
When it comes to Shader packs that can improve the visuals of Minecraft games, only some have achieved the feat of Seus Renewed without compromise. This is due to its additions and effects on the game. This Shader pack was created in 2011 to upgrade the game’s graphics. Of course, everyone knows that Minecraft’s default visuals are mediocre in lots of regards. Items are looking unreal. For instance, you will notice that grass and some items have got blocky shapes and lack shadows. Such is what SEUS Shaders has been created to help address. It exists to improve the graphics of Minecraft beyond its present state. In case you don’t know, this is one of the oldest Shaders. Therefore, expect nothing but the best features if there is one thing that SEUS has succeeded in doing, such as taking the game’s visuals to the next level. The author, Sonicether (also known as Cody), deserves plenty of credit for developing this powerful tool that players can use to revive and transform their worlds into something extraordinary.
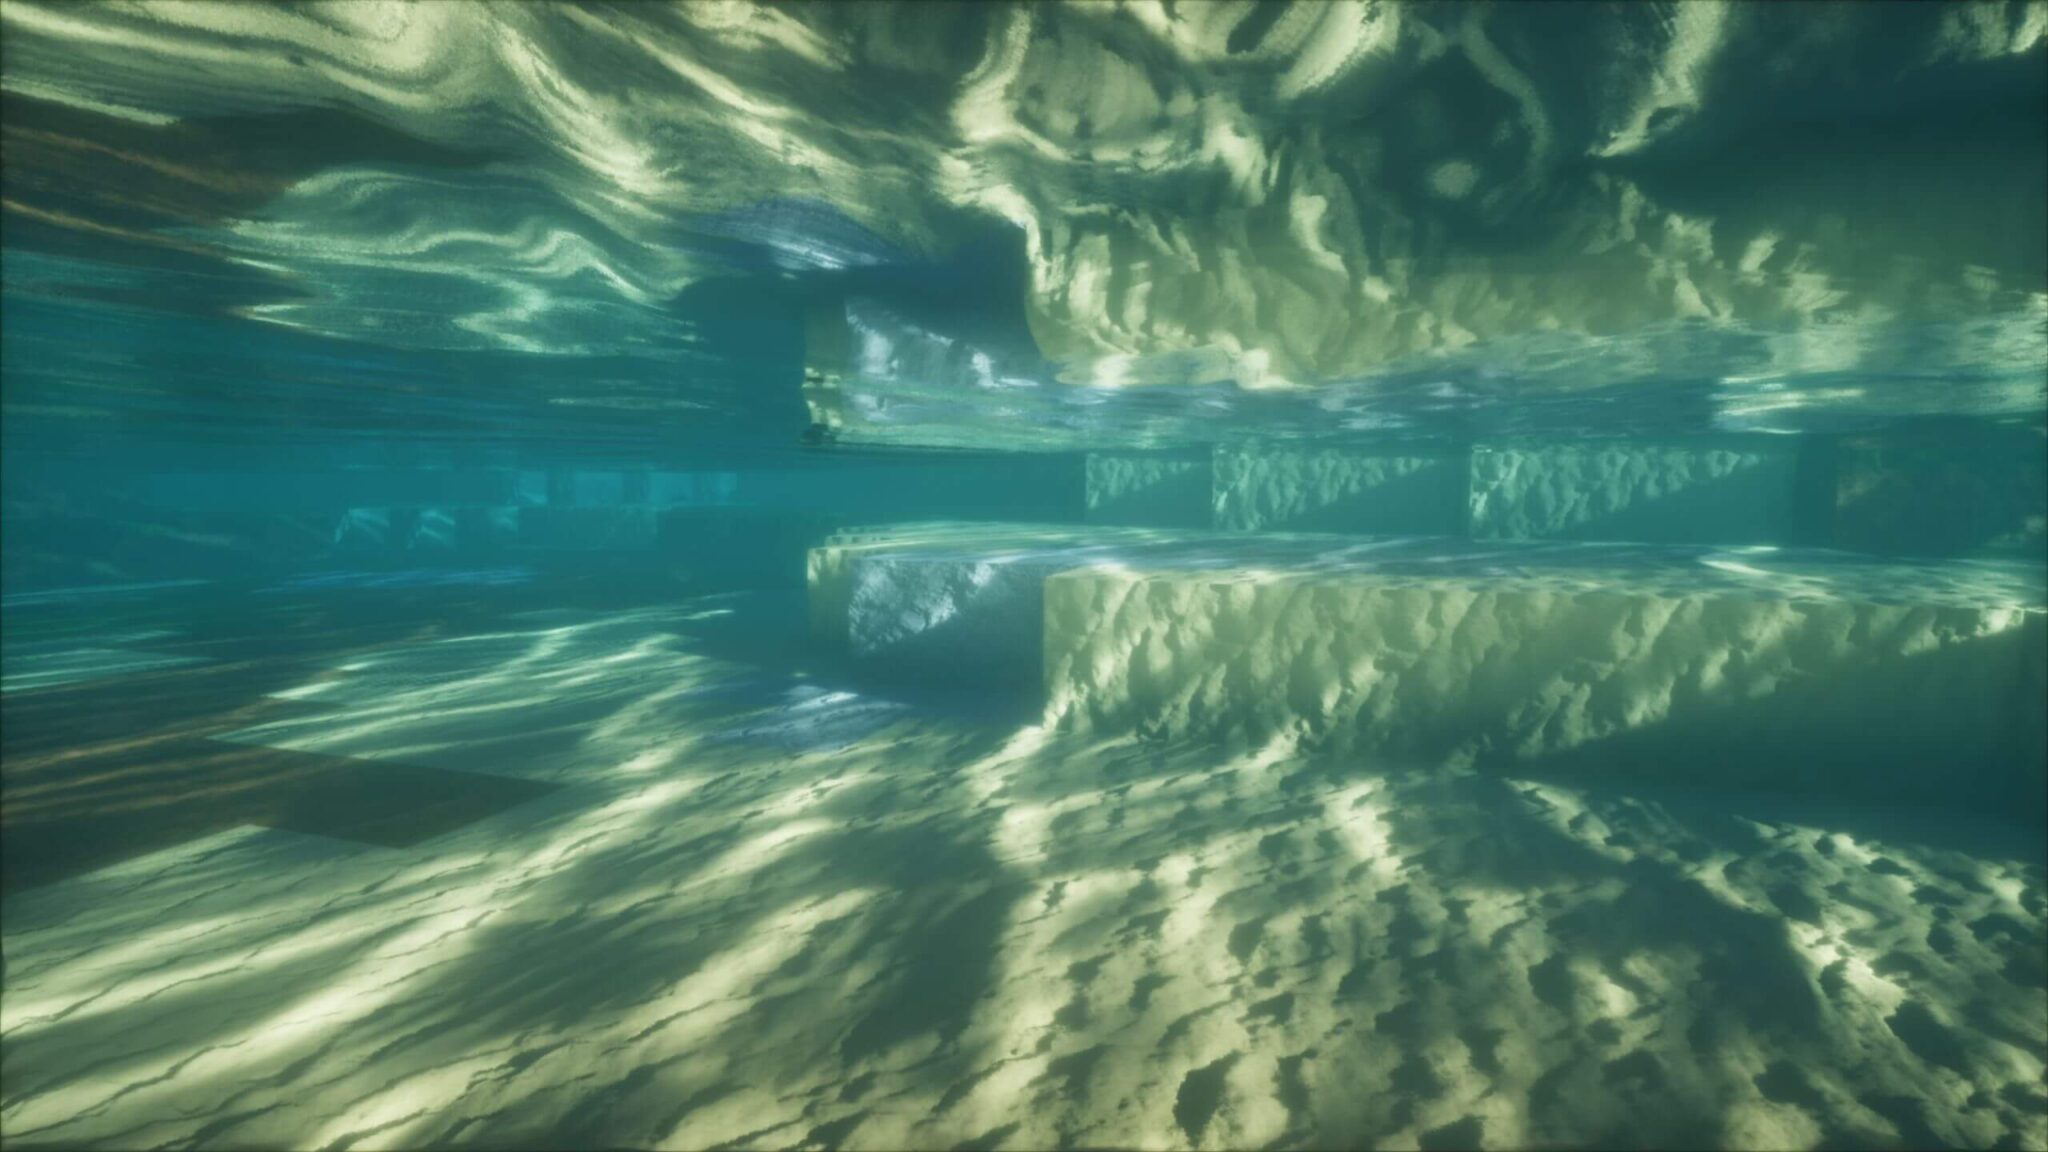
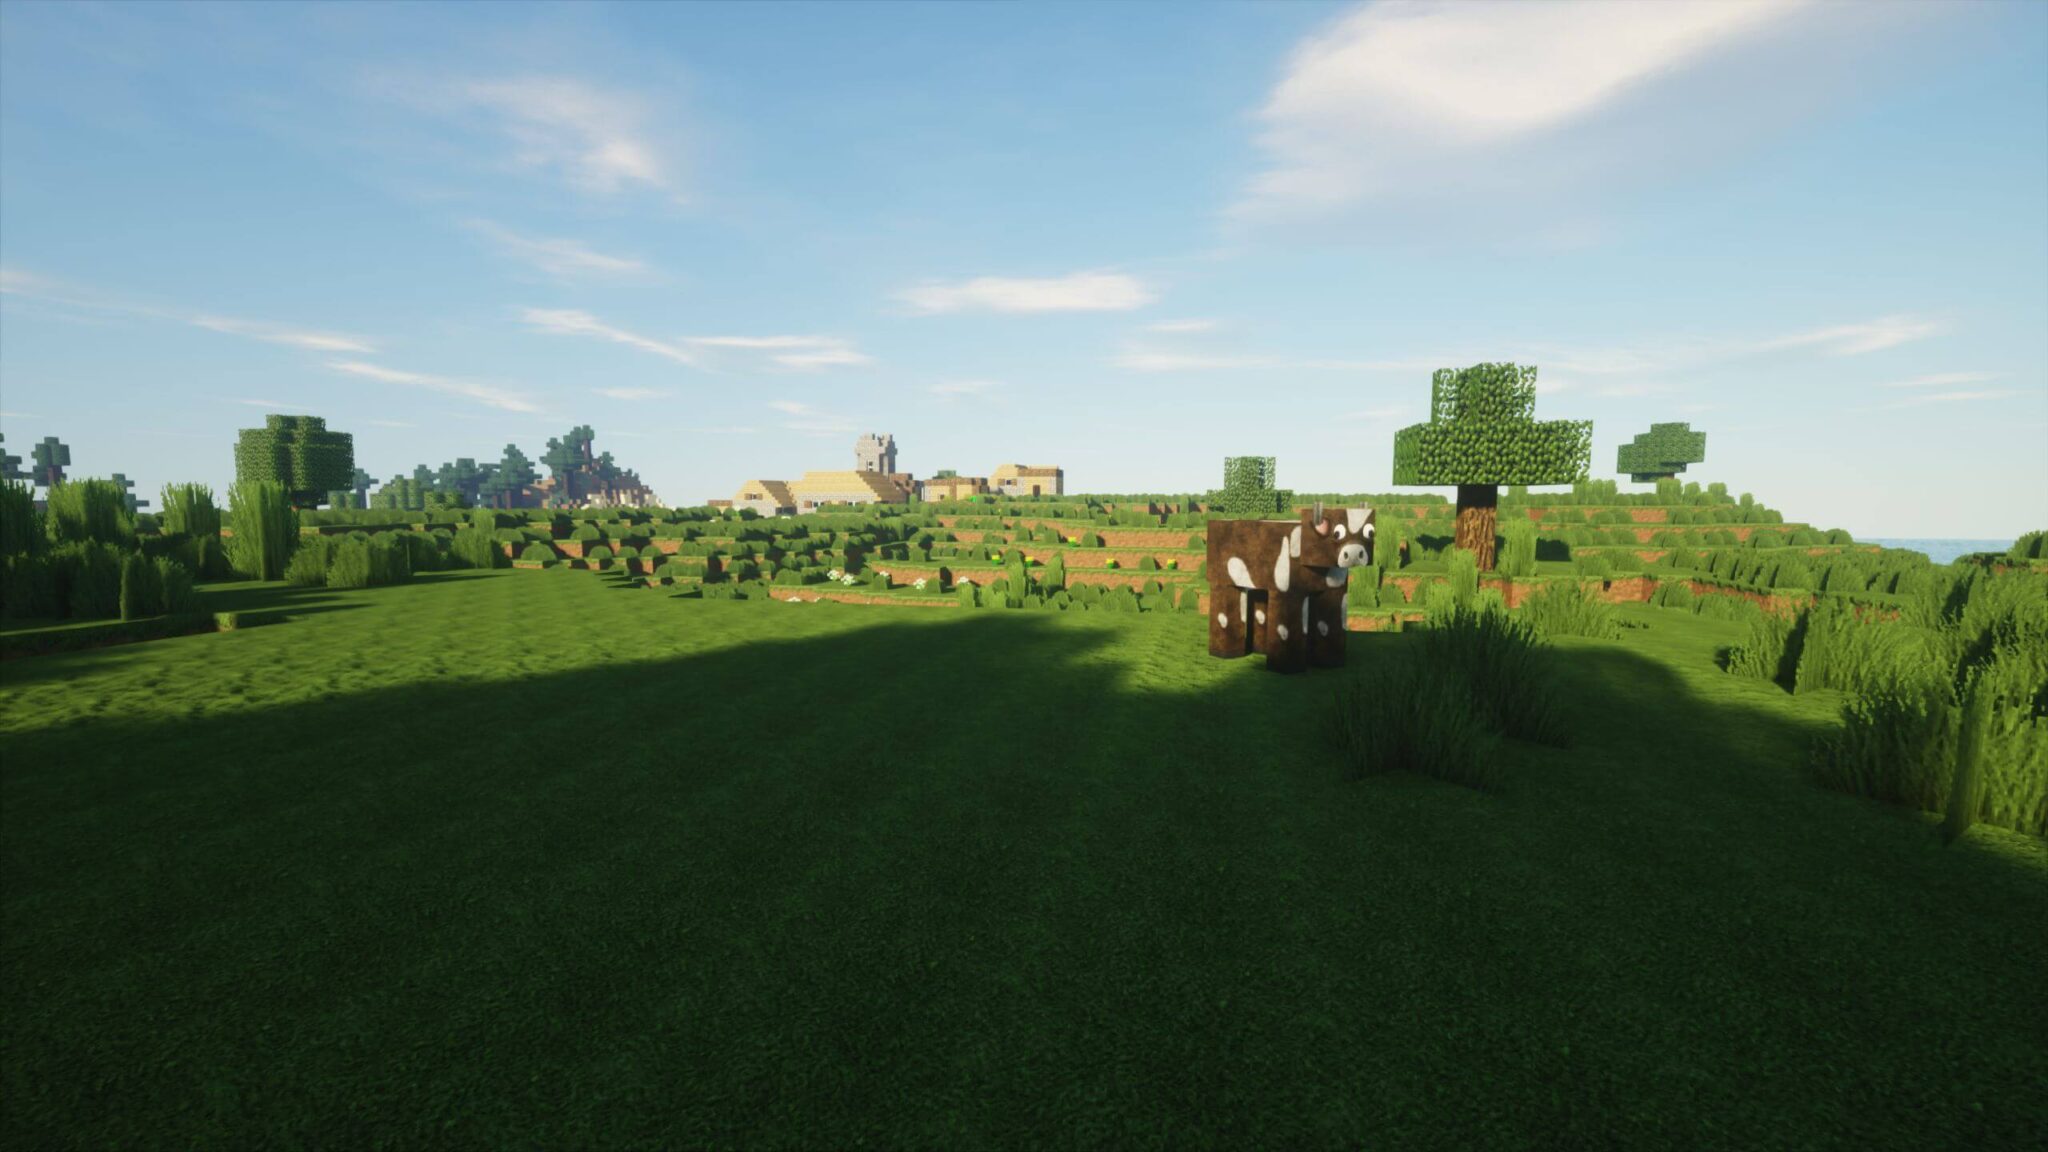
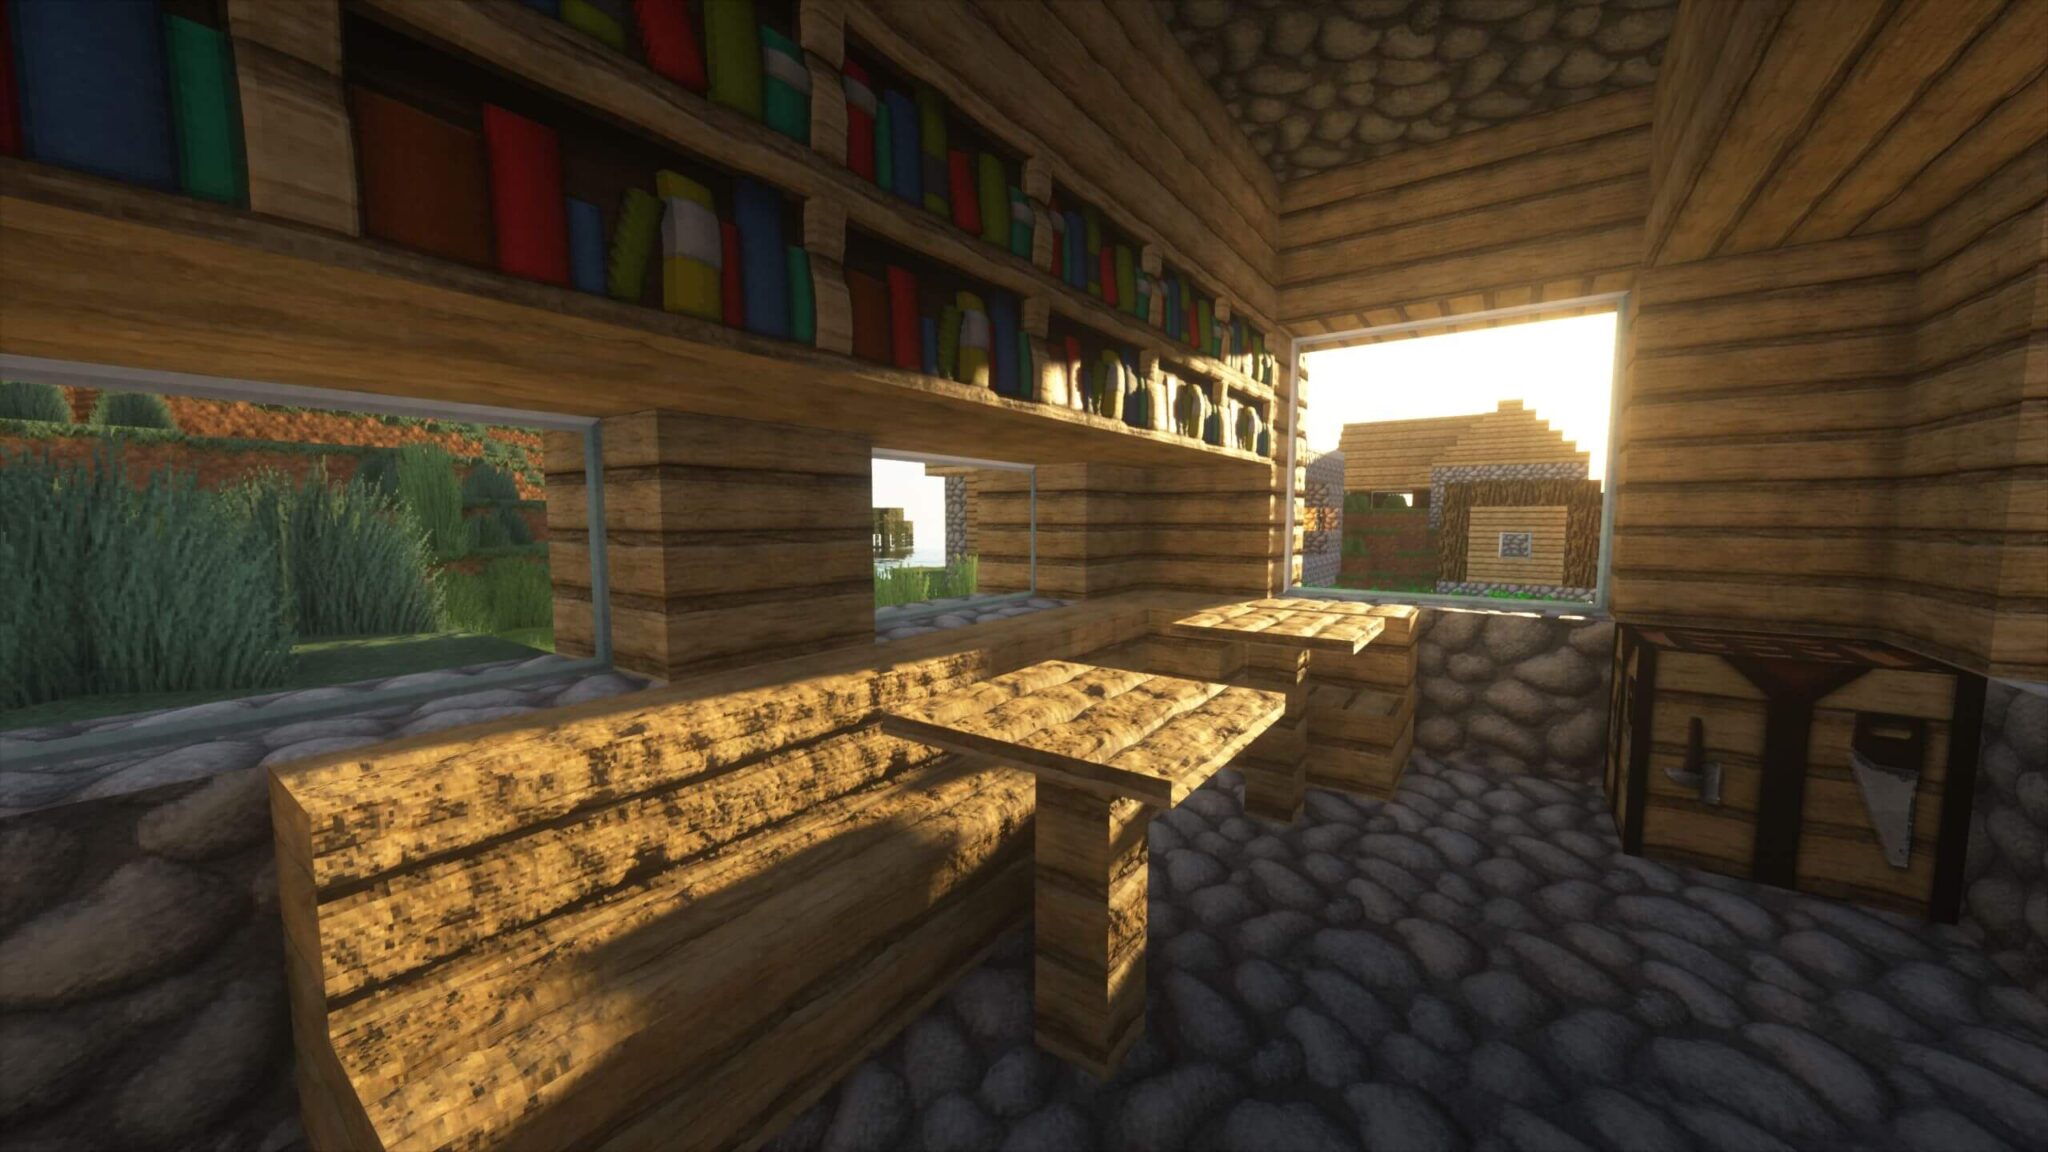
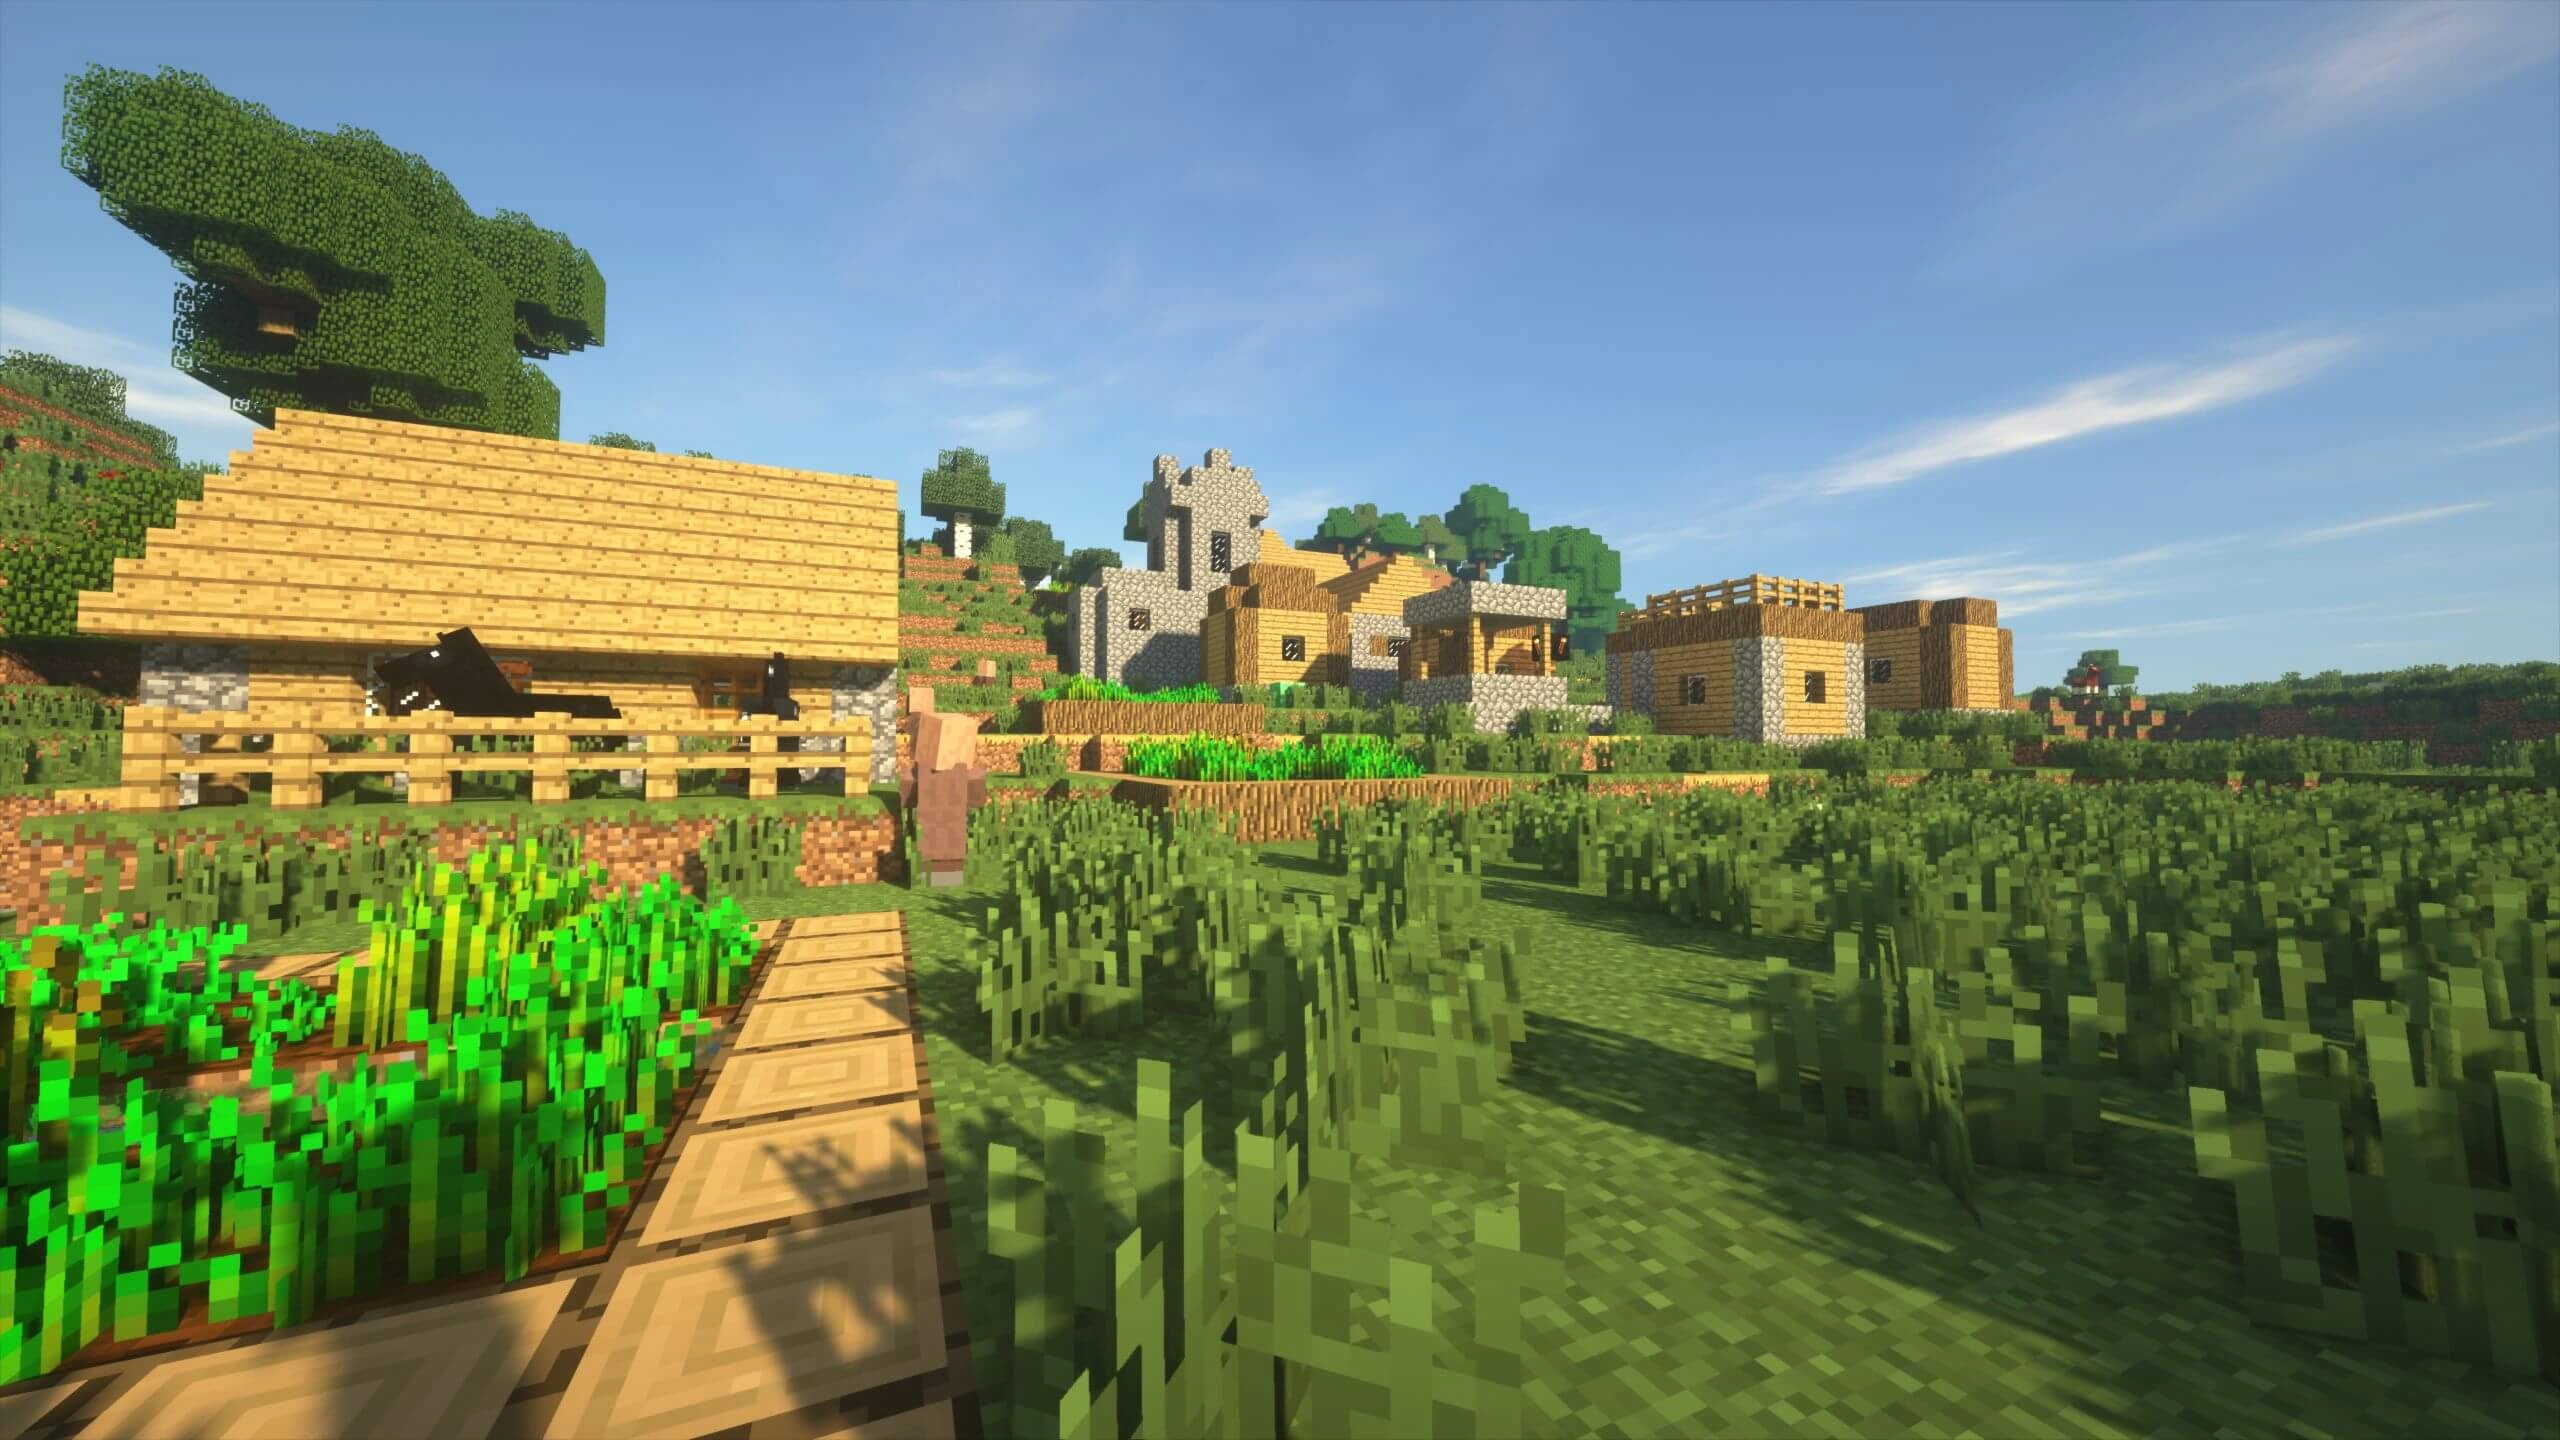
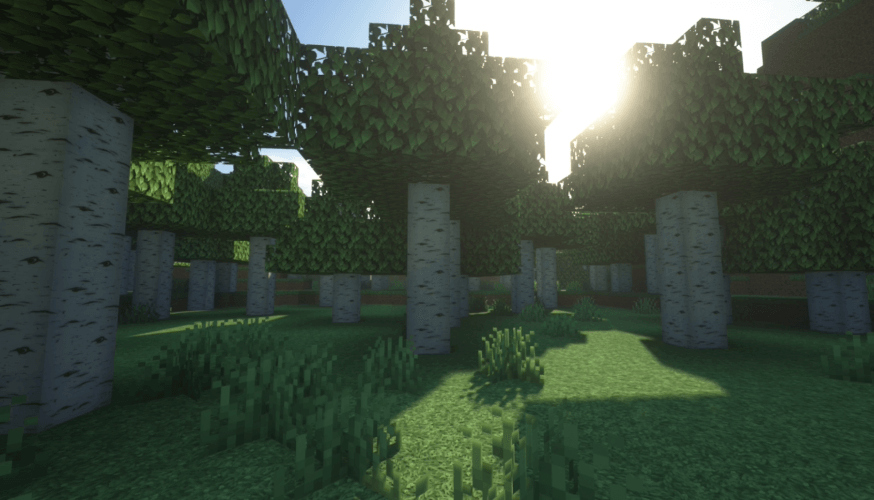
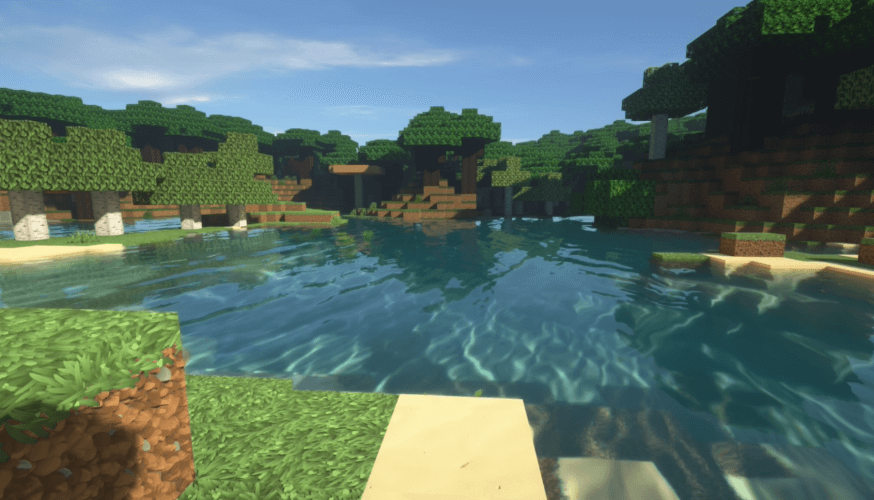
With SEUS Shaders, there is no doubt that all the primitive graphics in your world will be enhanced. The depth that it brings is quite massive. For instance, there are 3D visuals and lighting. It won’t change the blocky shape of items, though. However, the light will cover such items in the form of shadows. These shadows are natural. Also, you will discover that there is improvement in how water in your world looks. For the first time, you will find out how water can contribute to making your world appear very beautiful. The clouds look very realistic. They will be flying as well as disappearing. The landscape is also looking very natural. For instance, mountains will rise far away. The question on your mind right now is whether SEUS Shaders offers more than traditional resource packs in Minecraft. The simple answer is yes, it does. For instance, resource parks can only tweak your game’s aesthetics. However, a tool like Minecraft Seus Shaders offers more by improving the game’s graphics.
If you want to make your world appear natural and authentic, this is one of the few mods that can help out. The changes that it brings to your world have no limitations. You will find its additions and features quite fascinating. If you can install this mod, you will not need to search for other mods that can address visual problems in your world. Want to try a more realistic shader? See the review for BSL, Sildurs Vibrant, or Complementary.
It is essential to know that although SEUS Shader is a powerful mod, your system needs to be of the high specification before its features can be explored. For instance, it will demand a lot from your graphics card. This makes it less recommended for old systems. Trying to install it on such can only bring about lagging issues. The bottom line is that if you want to enjoy its features, ensure the graphics processing power of your system is high. Even if your system has powerful graphic processing ability, there are still some things to do. For instance, installing GLSL Shaders Mod, Minecraft Forge is crucial.
Some players have pointed out that downloading and installing versions of SEUS, such as 1.20 and 1.19 can bring about optimization. You can try out these versions for the best results. Please note that other versions are also safe and recommended. SEUS PTGI is a special version for those who want to use RTX without a graphics card supporting Ray Tracing.
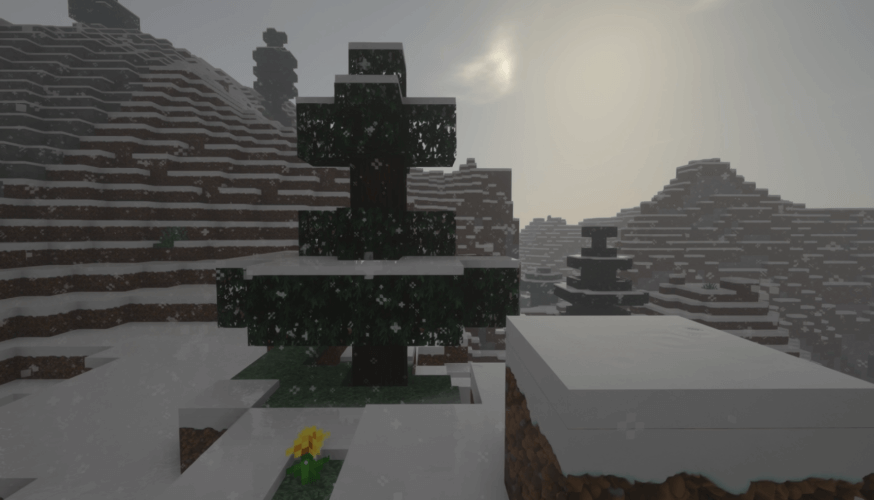
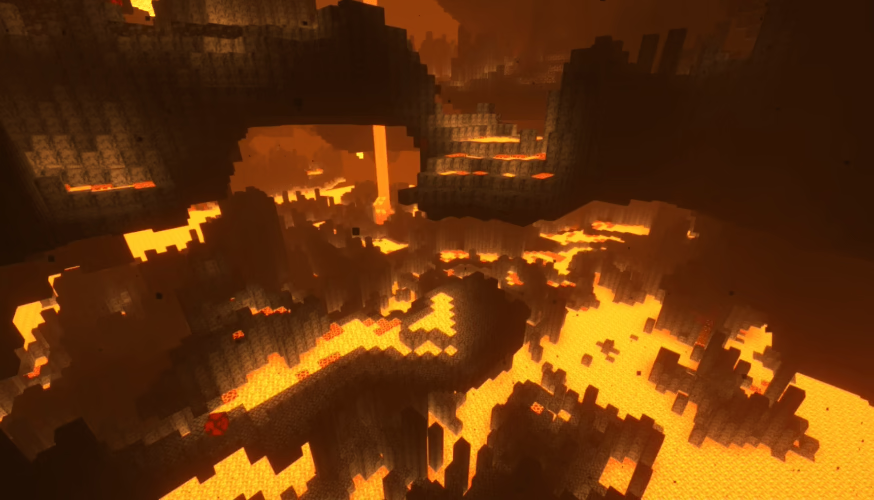
Gallery
How to Install?
The installation guide has been relocated to the installation tab located at the top of the page.
Quick pollHelp Developers
SEUS Shaders Links
Please note the following information:
- Some shaders have not been updated for version 1.21.4 of Minecraft. However, all shaders have been tested and are confirmed to work correctly in Minecraft 1.21.4.
- All download links are original and sourced from the creator. We do not host or modify any files. Our role is solely to provide direct links to our users, ensuring security and quality.
- Additionally, you can explore the list of the best Minecraft shaders of all time.
We have compiled helpful installation guides to ensure correct installation of this shaderpack in your Minecraft. Follow these guides for a seamless installation experience.
Backup Guide
It is strongly advised to create a backup of your Minecraft map before updating the game to new versions to ensure the safety of your progress.
Locate the Folder
Locate your Minecraft installation folder. The default location for the Minecraft folder varies depending on your operating system:
- Windows: %appdata%.minecraft
- Mac: ~/Library/Application Support/minecraft
- Linux: ~/.minecraft
Make a Copy
Once you’ve found the Minecraft folder, make a copy of it and paste it into a different location, such as an external drive or a backup folder on your computer.
Save and Restore if Necessary
The copied Minecraft folder will serve as your backup. If anything goes wrong during the mod installation process or if you want to revert to the original state, you can replace the modified Minecraft folder with the backup.
Java Installation Guide
Optifine and Forge require Java to be installed on your computer in order to work properly with Minecraft.
Download the Java installer
Visit the official Java website here: On the website, click on the “Download Java” button.
Run the installer
Once the installer is downloaded, locate the file and double-click on it to run it.

OptiFine Loader
Required 1.8.8+Step by Step
Download Optifine:
Download the appropriate version for your Minecraft.
Install Optifine
Once the Optifine file is downloaded, run the installer and follow the on-screen instructions to install it

Download Shaders:
Download the Shader package that is compatible with your Minecraft version.
Launch Minecraft with OptiFine
Open the Minecraft launcher and select the newly installed OptiFine profile to launch the game.

Locate the Shaders option
Once in the game, navigate to the “Options” menu, then select “Video Settings,” and click on “Shaders.”

Install Shaders
In the Shaders menu, you’ll find a “shaderpacks” folder button. Copy the downloaded shader pack’s zip file into this folder.

Enable the shader in Minecraft
You should see the installed shader pack listed in the in-game Shaders menu. Select it to enable the shader.

Iris Loader
Required 1.16.2+Step by Step
Download Iris:
Download the latest version of the Iris installer.
Install Iris
Locate the downloaded Iris Installer and open it.
Choose installation type:
- Iris Install: Select this option if you don’t plan on using any other mods alongside Iris.
- Fabric Install: Opt for this option if you intend to use Iris with Fabric and other mods. The Iris jar files will be copied to the mods folder within the .minecraft directory.

Download Shader:
Download the Shader package that is compatible with your Minecraft version.
Launch Minecraft
Launch the Minecraft launcher. Choose the profile you decided to install in the previous step.

Install Shaders
Navigate to Options > Video Settings > Shader Packs within the game.

Drag and Drop
You can directly drag and drop the shaders zip file into the Minecraft window to install a shader pack.


