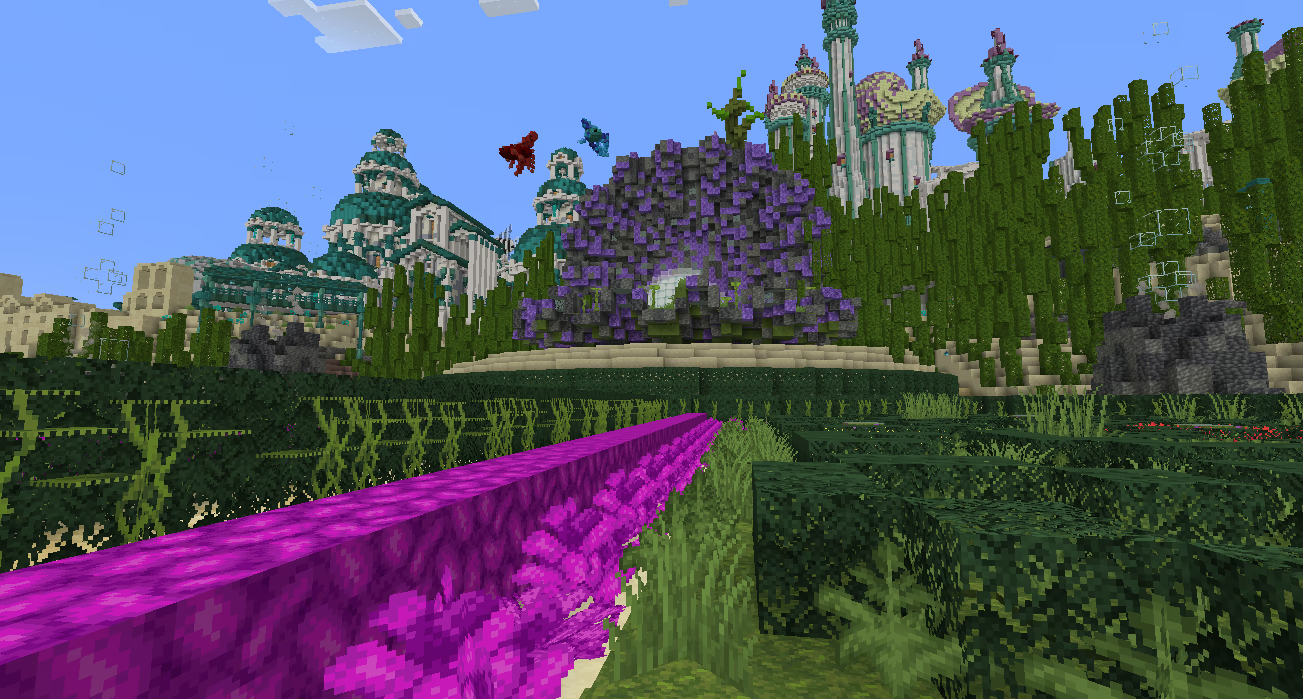
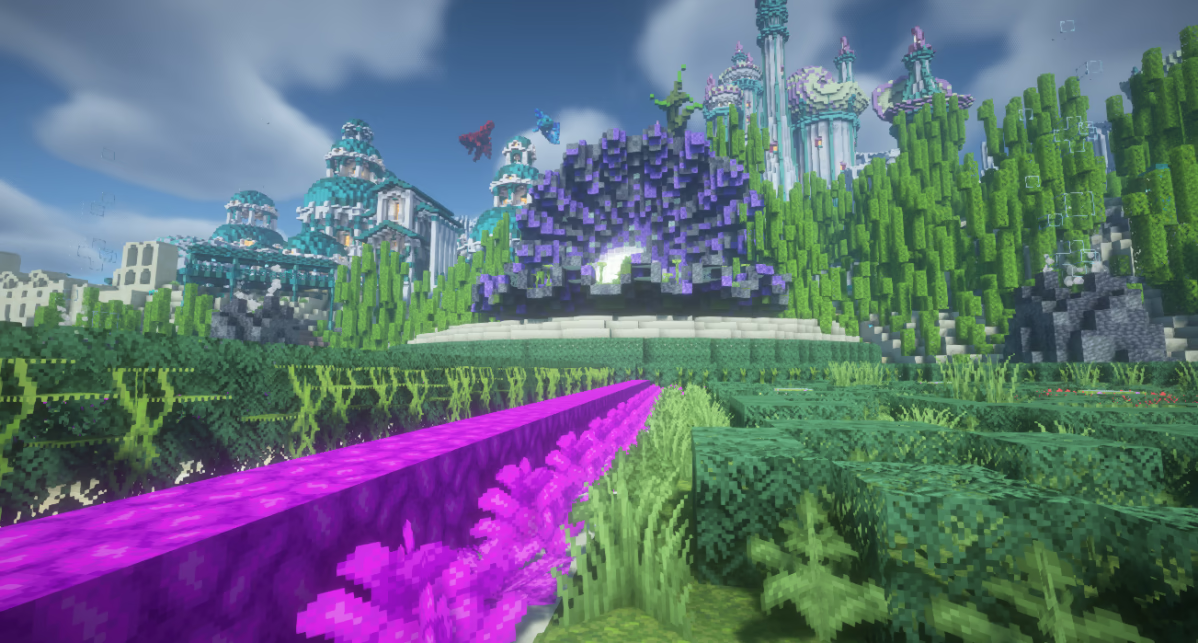
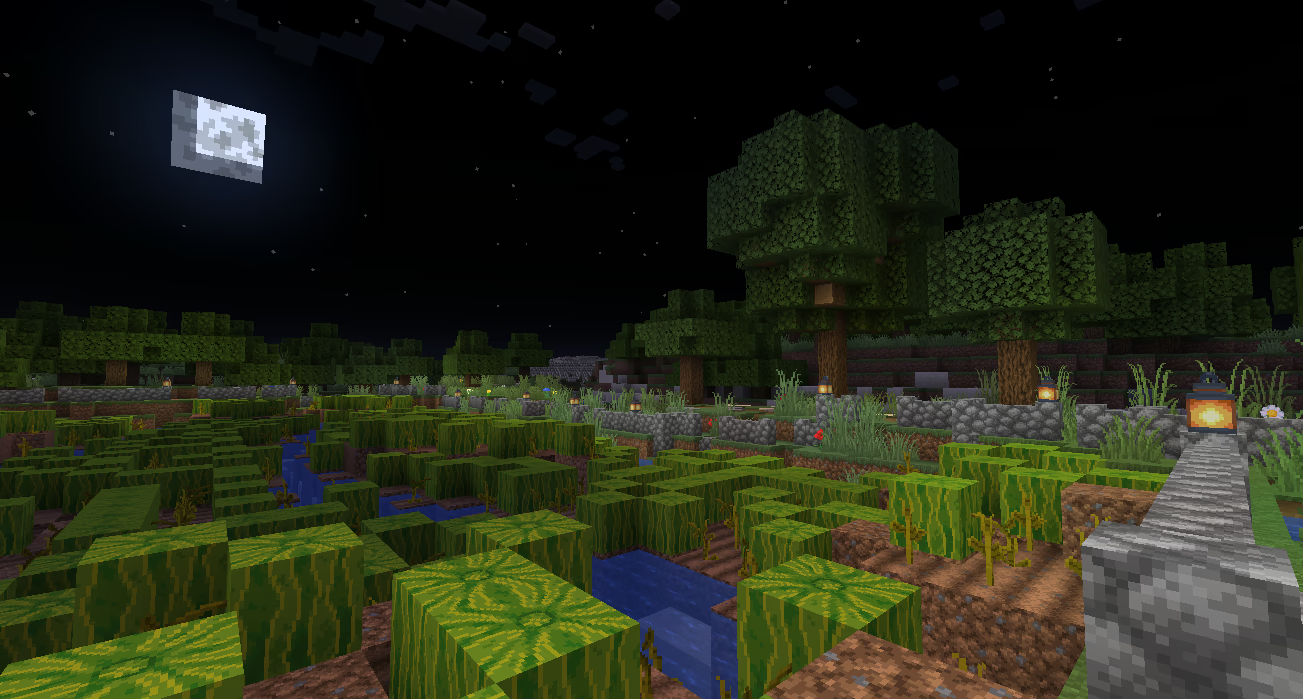
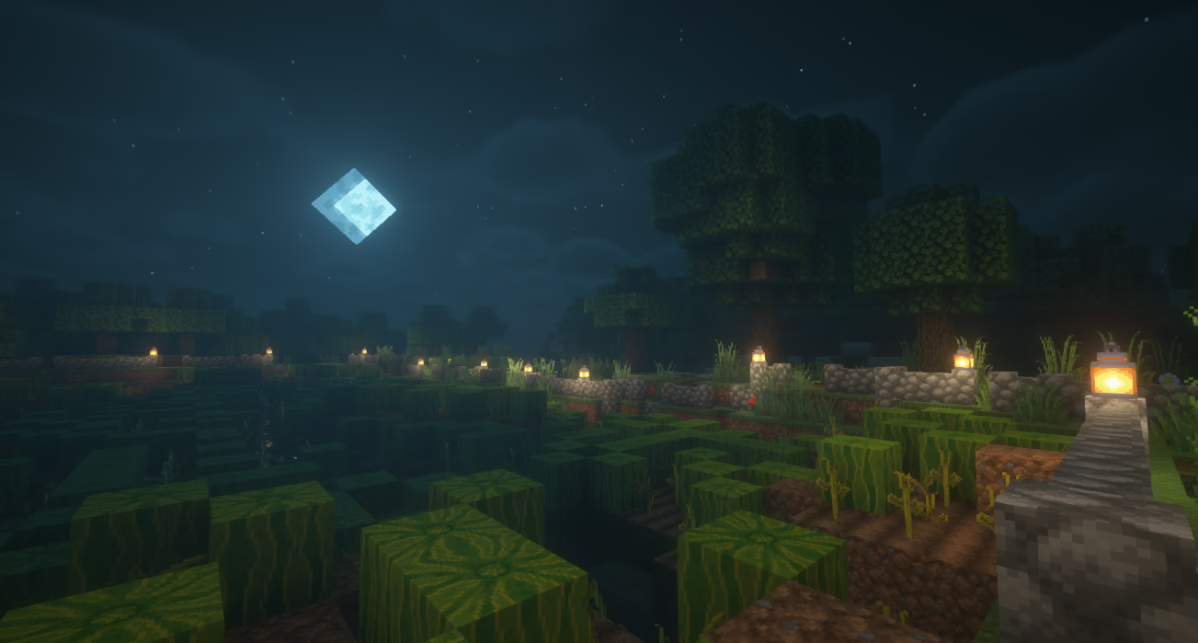
Review
How to install
Changelog
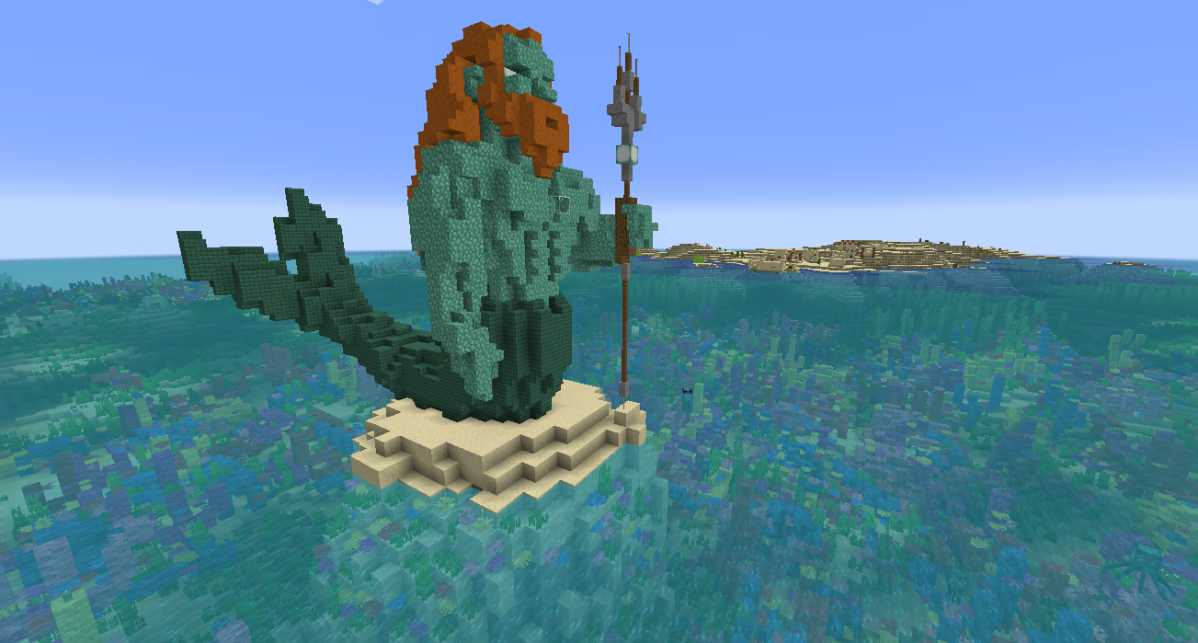
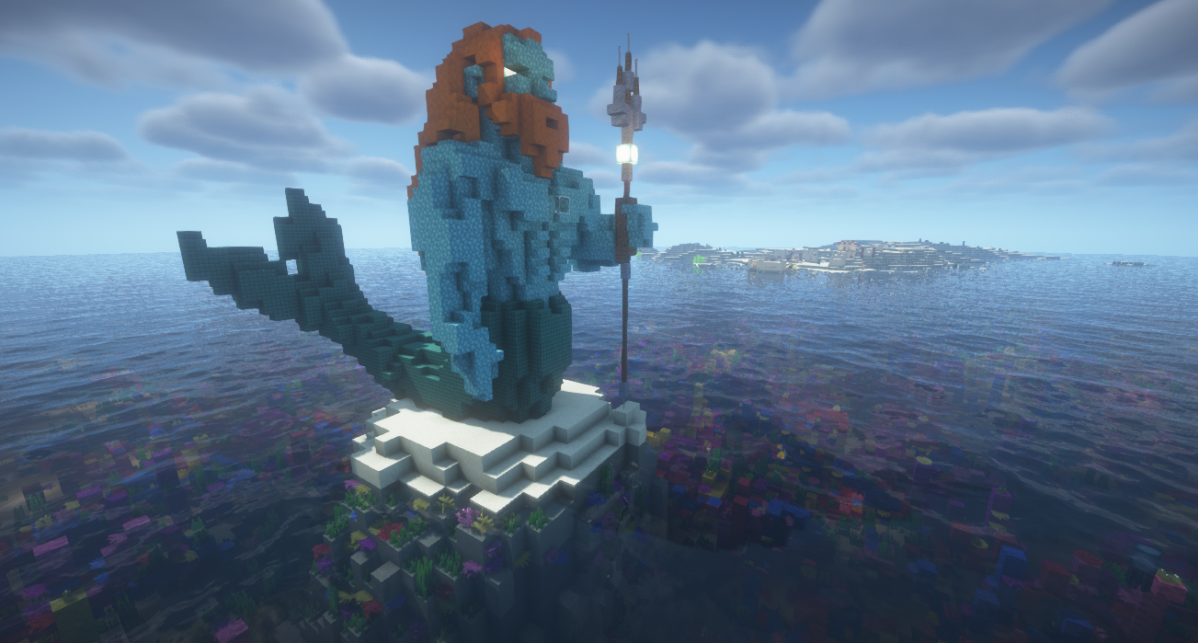
BSL Shaders 1.21.4, 1.20.1 → 1.20.4 remains a popular Minecraft Shader for the beloved game Minecraft. It has revolutionized the way players experience the blocky world. Wondering what it can offer your world? This review will reveal the capabilities of BSL Shader. You will learn how they can be used to create realistic effects, such as clouds as well as water. The goal is to provide a comprehensive overview of this powerful Mod. In the end, you will see why this shaderpack has racked up more than 50 million downloads since getting released in 2019.
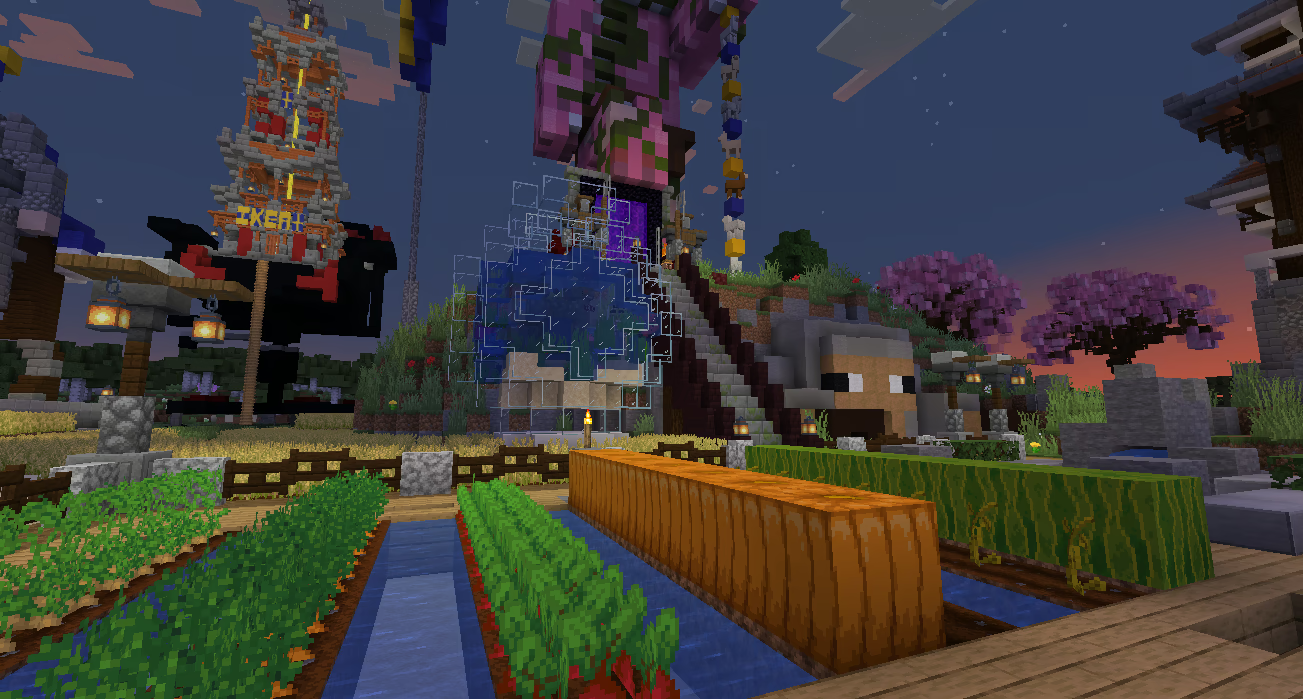
Despite being highly creative, Minecraft has been widely criticized by different categories of players over the years. This is due to its aesthetics, which many consider “blocky”. If you’ve played the game consistently, you will notice something. This is the fact that its visuals are not good enough. This is what BSL shader have been created to improve. It will take the visuals in your world to new heights entirely. Have you ever imagined that your Minecraft world could be the envy of other players around?
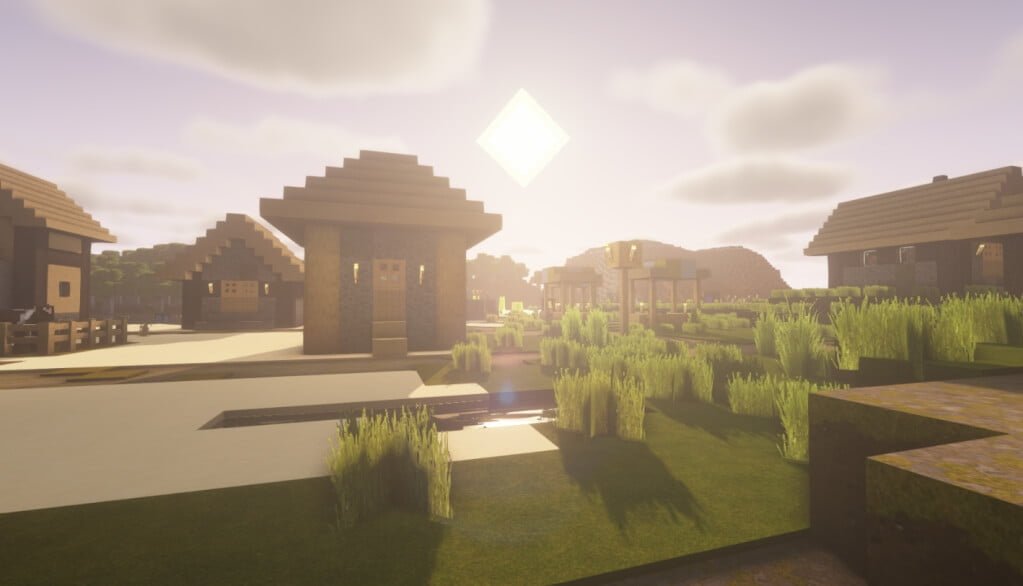
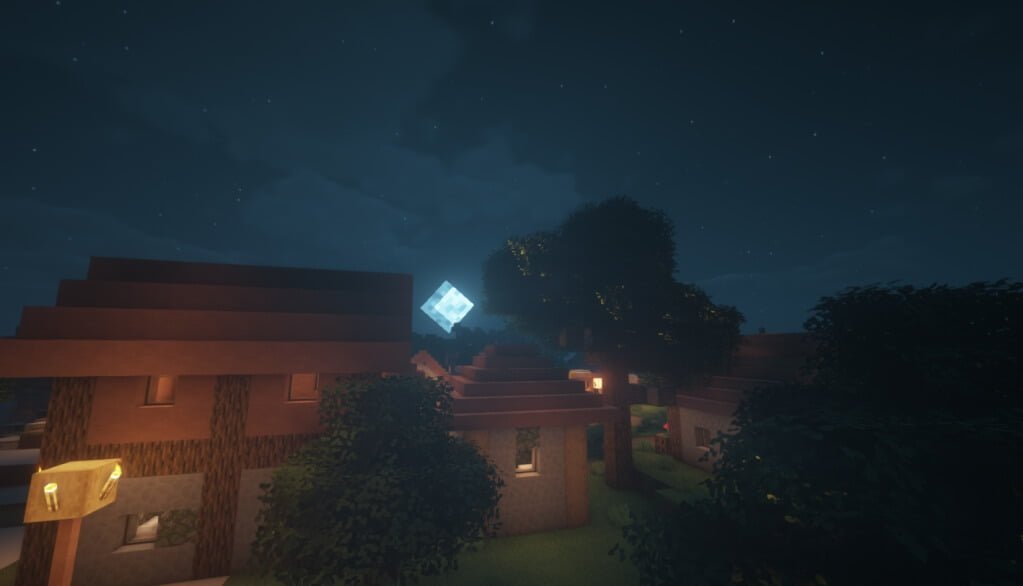
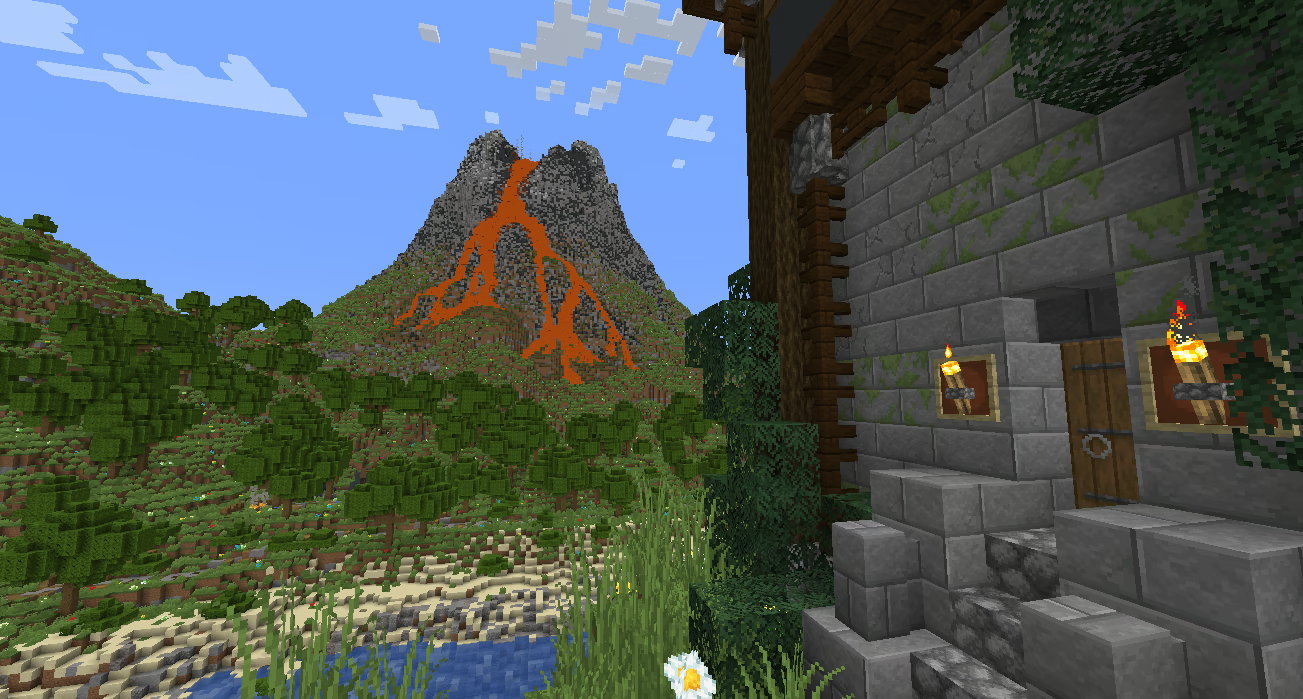
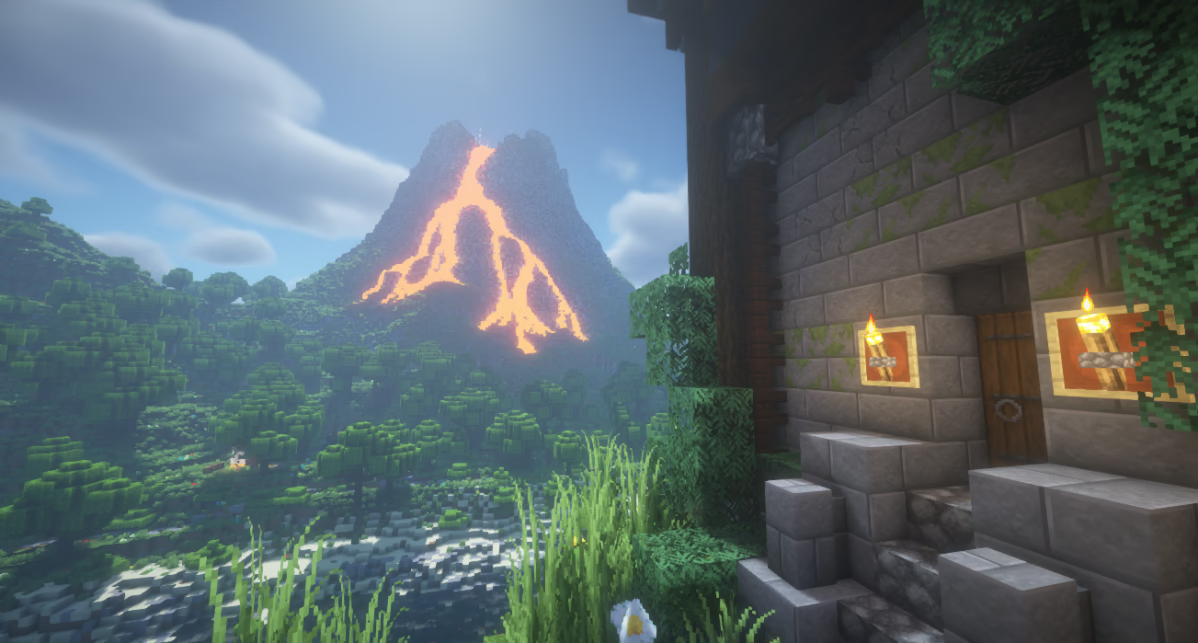
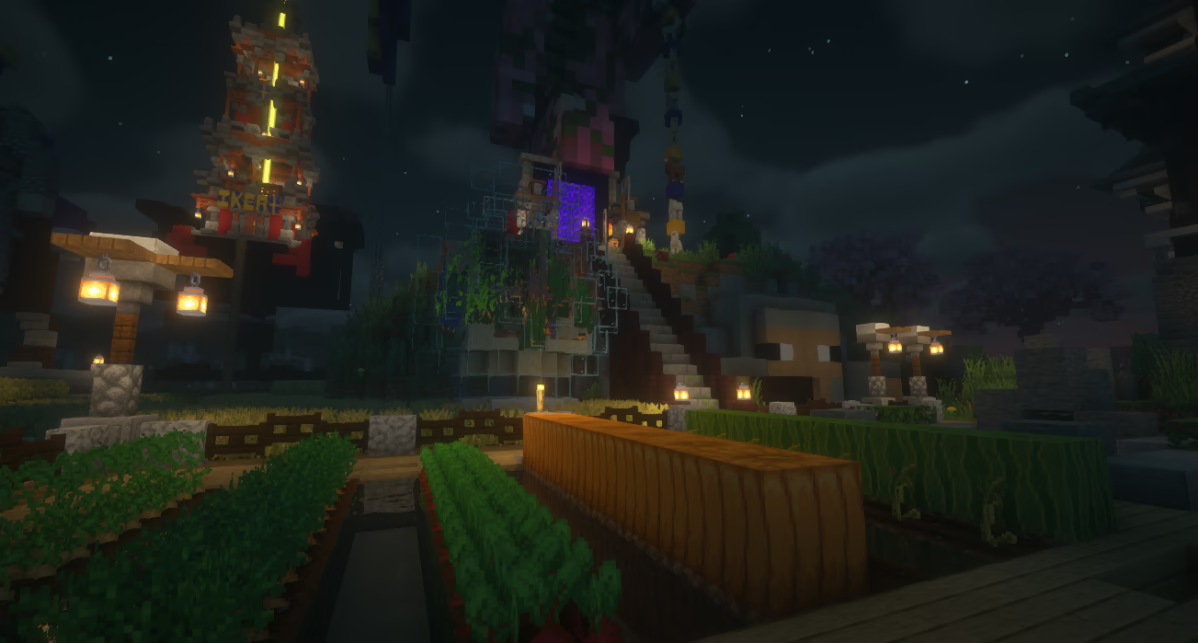
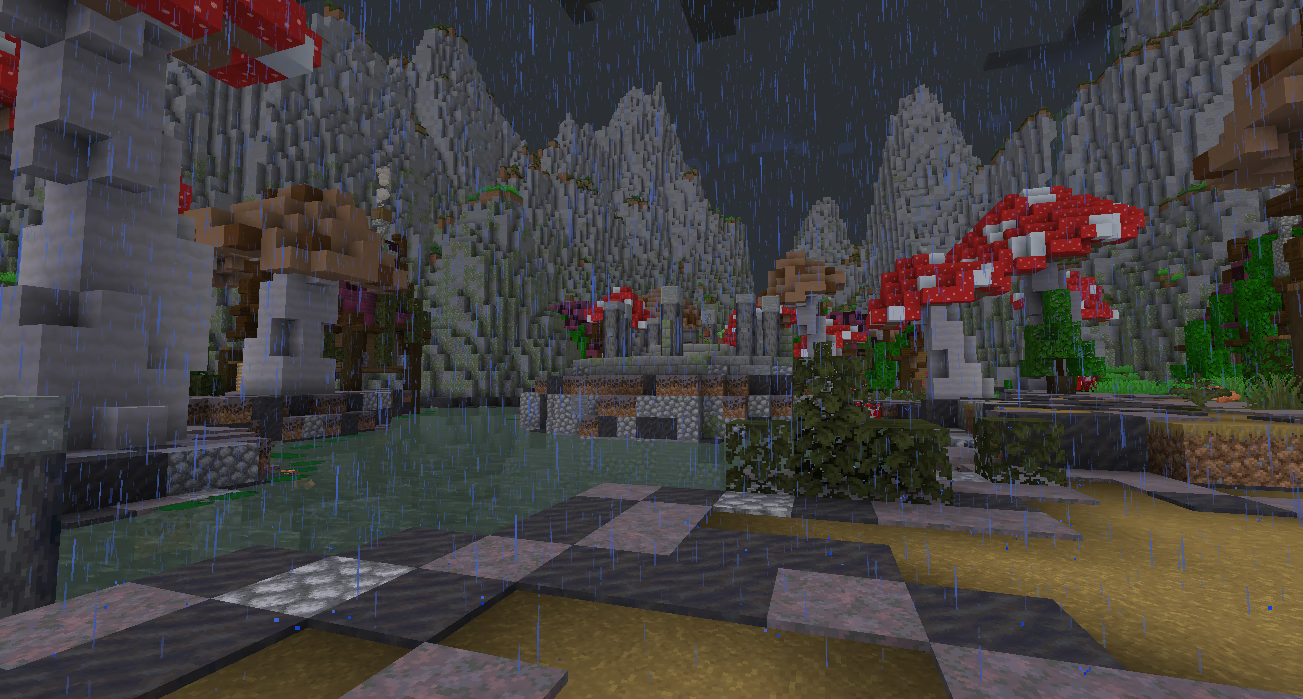
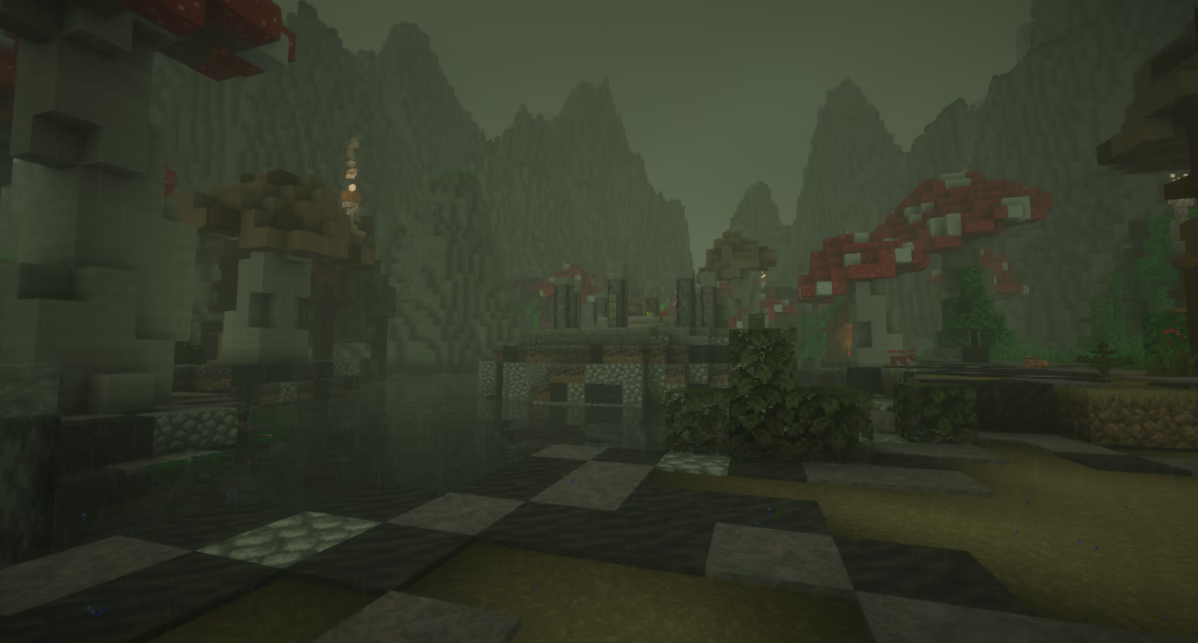
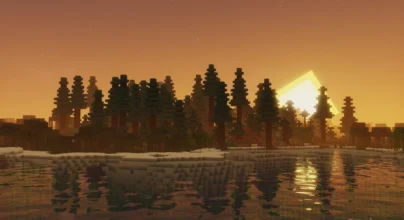
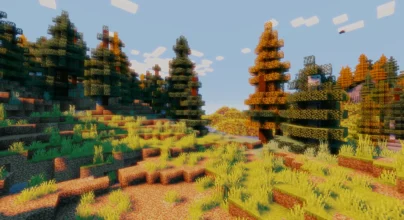
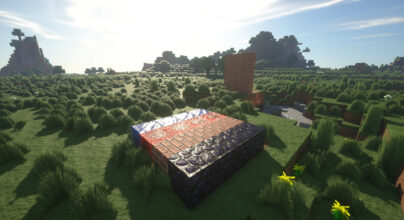
BSL shader is an extremely powerful shader pack that has been designed specifically for the Minecraft Java edition. It is a shaderpack that has built a solid reputation in the Minecraft community over the years. This is due to how it has improved the game’s visuals to a great extent. For instance, it brings shadows volumetric light, clouds and water, motion blur and many more. There is also the introduction of ambient occlusion. Overall, BSL shaderpack has taken the visuals of Minecraft to another level entirely. Of course, very few shaderpacks can compete with its features. If you have been looking for an immersive gaming experience, this shaderpack ticks all the boxes.
You must first download and install Optifine or Iris to start using this shaderpack. These are essential for the shader to function correctly. With the right installation, players can enjoy the latest features and improvements offered by the BSL shaderpack, further elevating their Minecraft experience. You can learn more about its installation here. Also, you can try out some of the latest versions of this shaderpack, like 1.20 and 1.21. This shader cannot be used in Bedrock, it is not compatible with Minecraft Pocket Edition (MCPE).
BSL Shader has definitely been very popular. However, there are other alternatives that can offer you even more in terms of visuals and graphics. Let’s look at some of them; Complementary shaders: This is a Minecraft shader pack that makes the game look better and run smoother. It improves lighting, shadows, and fog. It gets regular updates and the community loves it. This is also similar to Sildur’s Vibrant Shaders, SEUS Shaders, and Bliss Shaders.
These alternatives of BSL shaderpack offer different strengths and styles. This enables players to choose the one that best fits their gaming setup. When it comes to settings, these are easy options video settings shaders. Having seen all of the above, it is obvious that BSL shaders have what it takes to improve your overall gaming experience with better visuals. However, you must understand that it has both pros and cons. For instance, while it makes your world more realistic, there are limitations.
Features
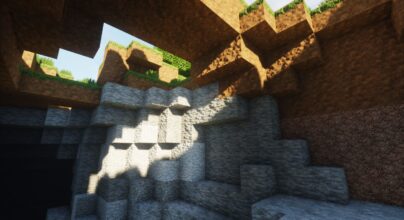
- Real-time shadows: It includes real-time shadows, which provide a more realistic as well as immersive experience.
- Volumetric light: This adds depth and dimensionality to the game’s lighting, making it more realistic.
- Customizable clouds: You can customize the appearance of clouds as well as water to suit your preferences or needs.
- Motion blur: This creates a sense of speed as well as movement, making the game more engaging.
- Entity Movements: It includes built-in anti-aliasing and improved entity movements.
- Bloom: It adds a subtle glow to the game’s lighting, enhancing the overall visual appeal
Gallery
Comparison
How to Install?
The installation guide has been relocated to the installation tab located at the top of the page.
Quick pollHelp Developers
BSL Shader Links
Please note the following information:
- Some shaders have not been updated for version 1.21.4 of Minecraft. However, all shaders have been tested and are confirmed to work correctly in Minecraft 1.21.4.
- All download links are original and sourced from the creator. We do not host or modify any files. Our role is solely to provide direct links to our users, ensuring security and quality.
- Additionally, you can explore the list of the best Minecraft shaders of all time.
We have compiled helpful installation guides to ensure correct installation of this shaderpack in your Minecraft. Follow these guides for a seamless installation experience.
Backup Guide
It is strongly advised to create a backup of your Minecraft map before updating the game to new versions to ensure the safety of your progress.
Locate the Folder
Locate your Minecraft installation folder. The default location for the Minecraft folder varies depending on your operating system:
- Windows: %appdata%.minecraft
- Mac: ~/Library/Application Support/minecraft
- Linux: ~/.minecraft
Make a Copy
Once you’ve found the Minecraft folder, make a copy of it and paste it into a different location, such as an external drive or a backup folder on your computer.
Save and Restore if Necessary
The copied Minecraft folder will serve as your backup. If anything goes wrong during the mod installation process or if you want to revert to the original state, you can replace the modified Minecraft folder with the backup.
Java Installation Guide
Optifine and Forge require Java to be installed on your computer in order to work properly with Minecraft.
Download the Java installer
Visit the official Java website here: On the website, click on the “Download Java” button.
Run the installer
Once the installer is downloaded, locate the file and double-click on it to run it.

OptiFine Loader
Required 1.8.8+Step by Step
Download Optifine:
Download the appropriate version for your Minecraft.
Install Optifine
Once the Optifine file is downloaded, run the installer and follow the on-screen instructions to install it

Download Shaders:
Download the Shader package that is compatible with your Minecraft version.
Launch Minecraft with OptiFine
Open the Minecraft launcher and select the newly installed OptiFine profile to launch the game.

Locate the Shaders option
Once in the game, navigate to the “Options” menu, then select “Video Settings,” and click on “Shaders.”

Install Shaders
In the Shaders menu, you’ll find a “shaderpacks” folder button. Copy the downloaded shader pack’s zip file into this folder.

Enable the shader in Minecraft
You should see the installed shader pack listed in the in-game Shaders menu. Select it to enable the shader.

Iris Loader
Required 1.16.2+Step by Step
Download Iris:
Download the latest version of the Iris installer.
Install Iris
Locate the downloaded Iris Installer and open it.
Choose installation type:
- Iris Install: Select this option if you don’t plan on using any other mods alongside Iris.
- Fabric Install: Opt for this option if you intend to use Iris with Fabric and other mods. The Iris jar files will be copied to the mods folder within the .minecraft directory.

Download Shader:
Download the Shader package that is compatible with your Minecraft version.
Launch Minecraft
Launch the Minecraft launcher. Choose the profile you decided to install in the previous step.

Install Shaders
Navigate to Options > Video Settings > Shader Packs within the game.

Drag and Drop
You can directly drag and drop the BSL shaders zip file into the Minecraft window to install a shader pack.

v8.4.01.2
- Improvements :
- Skip parallax block ID can be used on all blocks now. – Entity ID mapping now allows 20XXX and 30XXX IDs, making it behave similarly to block ID mapping.
- Fixes :
- Fixed errors found on older versions of Minecraft.
- Fixed block selection outline opacity modifier being applied to everything in gbuffers_basic.
v8.2.09
- Fixed invalid program from enabling outlines in nether & end while using Distant Horizons.
- Fixed block ID mapping for 1.12 and lower.
v8.2.09p2
- Added height fog.
- Added optional cloud shadows.
Improvements : - Improve leaf shading on Distant Horizons chunks.
Tweaks : - Reduced fog amount on high distance.
- Tweaked tonemap path to white.
- Volumetric cloud is now enabled by default.
- Rearranged atmospheric submenu.
- Cloud volumetric scale now apply to skybox cloud.
Fixes : - Fixed rain reflection not rendering properly.
- Fixed dynamic handlight not working with toon lightmap.
- Updated variable names to prevent error in future versions of Iris.


