Review
How to install
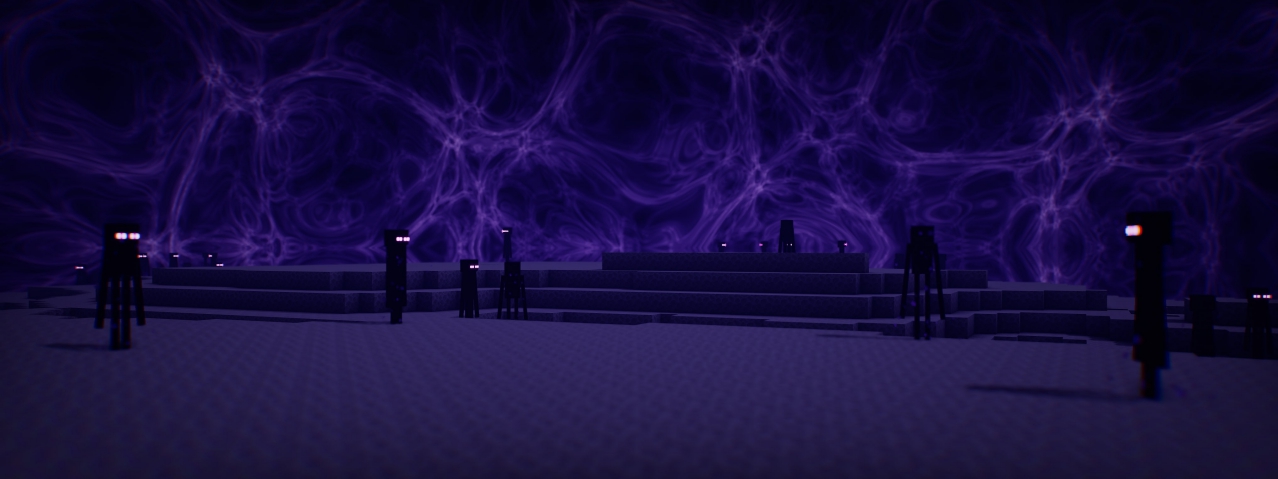
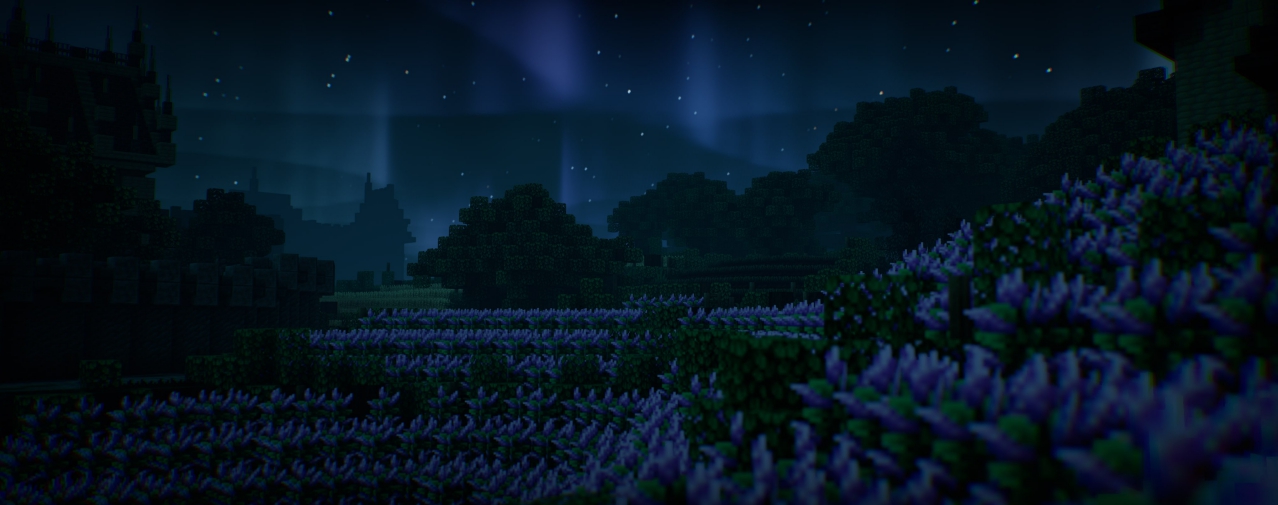
Lux Shaders 1.21 → 1.20 keeps hitting new heights in the world of Minecraft. This is due to its massive achievements since it was created. To many people, Minecraft isn’t just about having access to weapons and other materials. Although these are great, you need more for the ultimate gaming experience to become a reality. Beyond weapons and tools, your world needs to be outstanding. In other words, it should have all the necessary elements to appear realistic. This is what Lux Shaders can help you fix. It remains one of the most powerful shaders that can help transform your world into something extraordinary. Imagine having a gaming world that you and everyone around will consider as gorgeous.
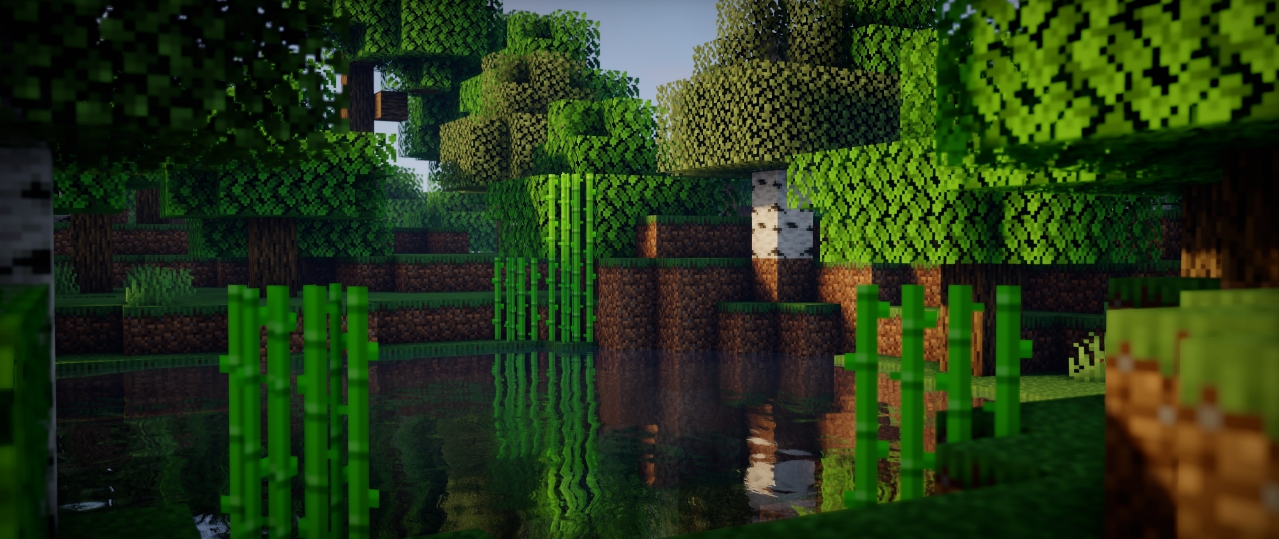
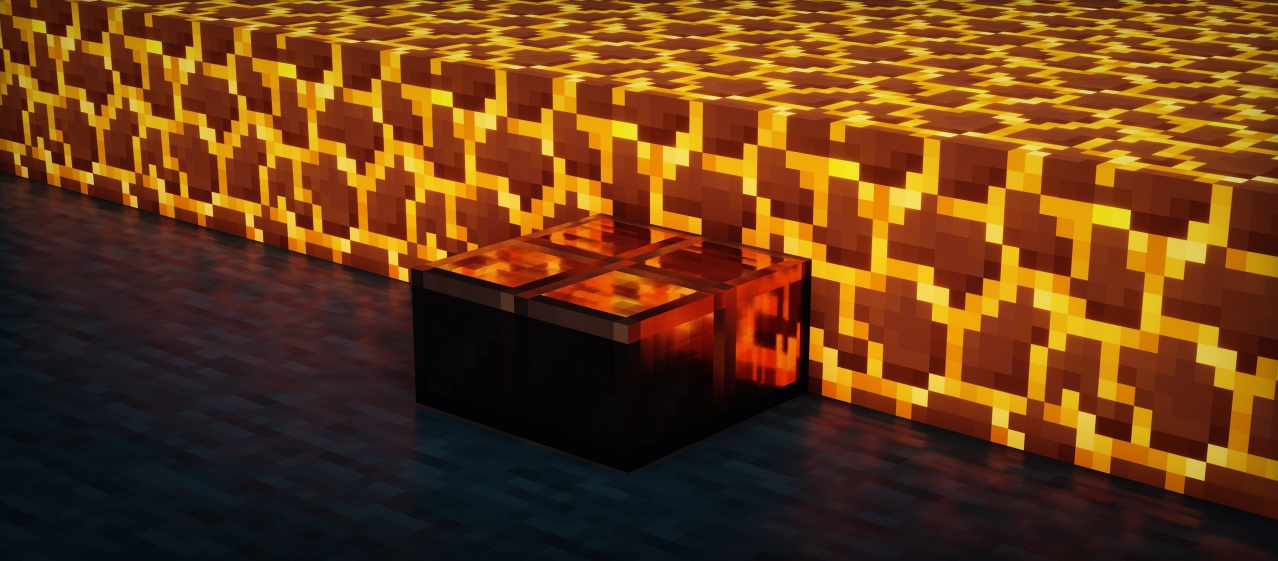
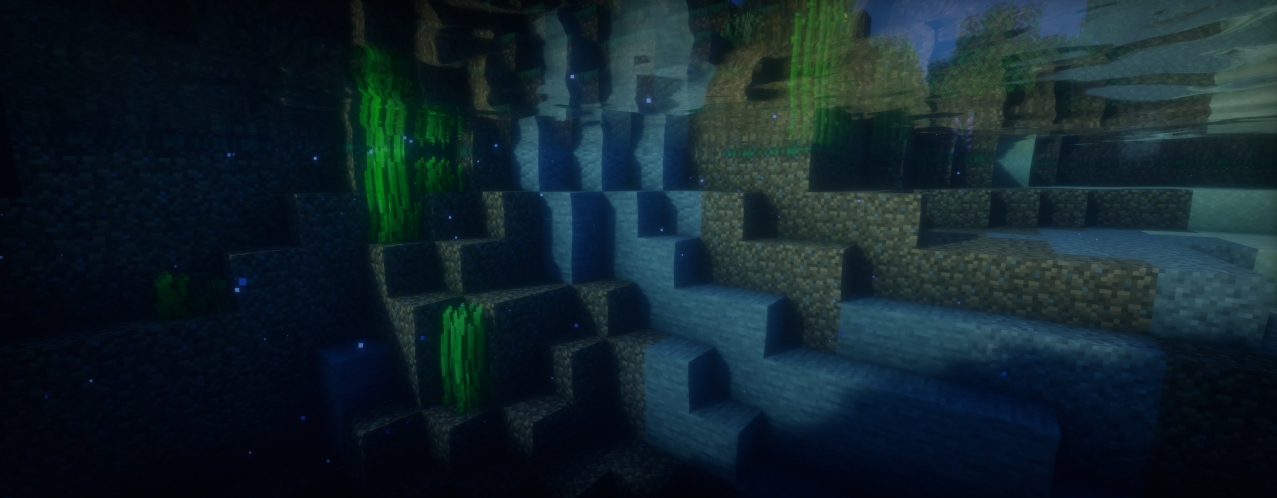
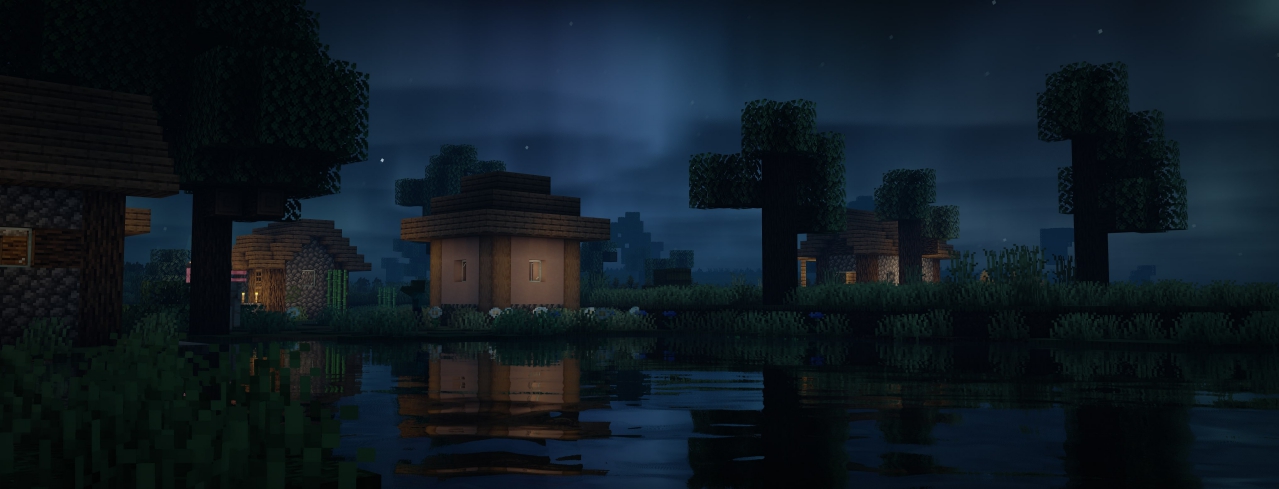
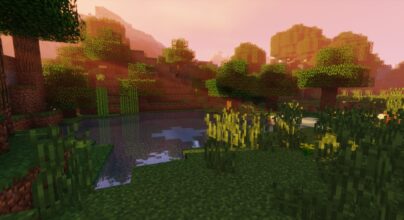
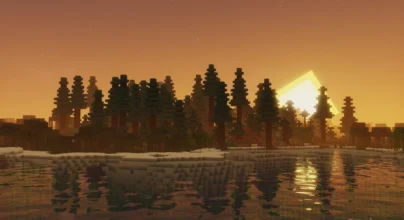
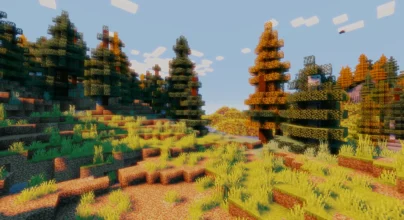
Lux Shader was created in May 2023. Currently, it has gotten more than 10k downloads. Such is only a sign that it is the real deal. In aesthetics, this is one of those shaders that will offer more than you will ever imagine. For instance, it makes subtle changes that can transform your daytime into something special and unique. Imagine your world looking very pleasing during the day. You will quickly notice how the skies tend to bounce off water bodies. In case you haven’t noticed, many shaders will only reflect images of the sun. Lux V1 Shaders tends to offer something more advanced in such regards. This is due to how its colours are more saturated. The underwater foliage always reflects lights in a very realistic way. The night changes it brings are more prominent. Lux Shaders tend to be much better than most shaders offer in this aspect. A clear example is the dynamic nature of the sky you will notice. The changes or additions it brings are just too good to be true. Whether you enjoy adventures during night or day periods, this is one shader pack that can transform your world. You will have the ultimate gaming experience, given its changes.
Lux V1 has proven to be an all-embracing shader pack. This is due to how it has been created to be used by various categories of users. Whether your PC is high or low-end, rest assured that it will meet your expectations. In addition, it comes with multiple settings to ensure you are getting the best from its features. It is great to know that the developers are working hard behind the scenes to ensure more features are added. This means you should always be on the lookout for its updates. Even though the visuals and aesthetics currently added have raised eyebrows, its future updates will do even more.
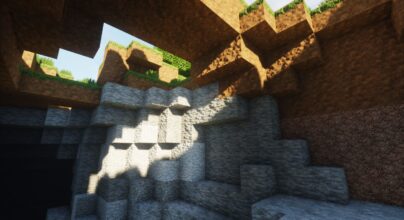
Lux V1 is one of the few shaders that address many areas of Minecraft, like foliage, shadows, bloom, atmosphere, and lots more. This is truly an exciting shader that you shouldn’t miss out on. Based on the above, it is obvious that Lux shaders have what it takes to make your world come alive. Such can become a reality through its amazing features and additions.
Gallery
How to Install?
The installation guide has been relocated to the installation tab located at the top of the page.
Quick pollHelp Developers
Lux Shader Links
Please note the following information:
- Some shaders have not been updated for version 1.21.4 of Minecraft. However, all shaders have been tested and are confirmed to work correctly in Minecraft 1.21.4.
- All download links are original and sourced from the creator. We do not host or modify any files. Our role is solely to provide direct links to our users, ensuring security and quality.
- Additionally, you can explore the list of the best Minecraft shaders of all time.
We have compiled helpful installation guides to ensure correct installation of this shaderpack in your Minecraft. Follow these guides for a seamless installation experience.
Backup Guide
It is strongly advised to create a backup of your Minecraft map before updating the game to new versions to ensure the safety of your progress.
Locate the Folder
Locate your Minecraft installation folder. The default location for the Minecraft folder varies depending on your operating system:
- Windows: %appdata%.minecraft
- Mac: ~/Library/Application Support/minecraft
- Linux: ~/.minecraft
Make a Copy
Once you’ve found the Minecraft folder, make a copy of it and paste it into a different location, such as an external drive or a backup folder on your computer.
Save and Restore if Necessary
The copied Minecraft folder will serve as your backup. If anything goes wrong during the mod installation process or if you want to revert to the original state, you can replace the modified Minecraft folder with the backup.
Java Installation Guide
Optifine and Forge require Java to be installed on your computer in order to work properly with Minecraft.
Download the Java installer
Visit the official Java website here: On the website, click on the “Download Java” button.
Run the installer
Once the installer is downloaded, locate the file and double-click on it to run it.

OptiFine Loader
Required 1.8.8+Step by Step
Download Optifine:
Download the appropriate version for your Minecraft.
Install Optifine
Once the Optifine file is downloaded, run the installer and follow the on-screen instructions to install it

Download Shaders:
Download the Shader package that is compatible with your Minecraft version.
Launch Minecraft with OptiFine
Open the Minecraft launcher and select the newly installed OptiFine profile to launch the game.

Locate the Shaders option
Once in the game, navigate to the “Options” menu, then select “Video Settings,” and click on “Shaders.”

Install Shaders
In the Shaders menu, you’ll find a “shaderpacks” folder button. Copy the downloaded shader pack’s zip file into this folder.

Enable the shader in Minecraft
You should see the installed shader pack listed in the in-game Shaders menu. Select it to enable the shader.


Iris Loader
Required 1.16.2+Step by Step
Download Iris:
Download the latest version of the Iris installer.
Install Iris
Locate the downloaded Iris Installer and open it.
Choose installation type:
- Iris Install: Select this option if you don’t plan on using any other mods alongside Iris.
- Fabric Install: Opt for this option if you intend to use Iris with Fabric and other mods. The Iris jar files will be copied to the mods folder within the .minecraft directory.

Download Shader:
Download the Shader package that is compatible with your Minecraft version.
Launch Minecraft
Launch the Minecraft launcher. Choose the profile you decided to install in the previous step.

Install Shaders
Navigate to Options > Video Settings > Shader Packs within the game.

Drag and Drop
You can directly drag and drop the BSL shaders zip file into the Minecraft window to install a shader pack.


