Bloop Shaders 1.21.5 → 1.21.4
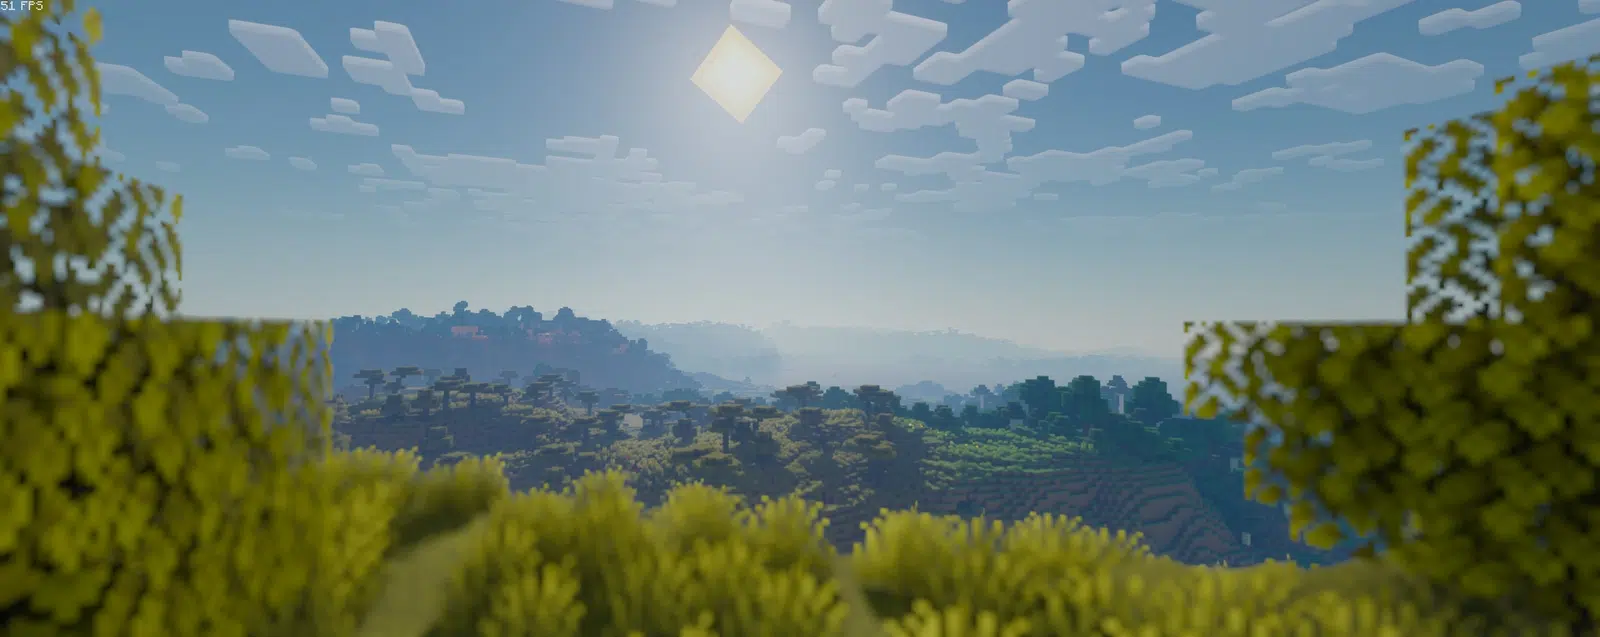
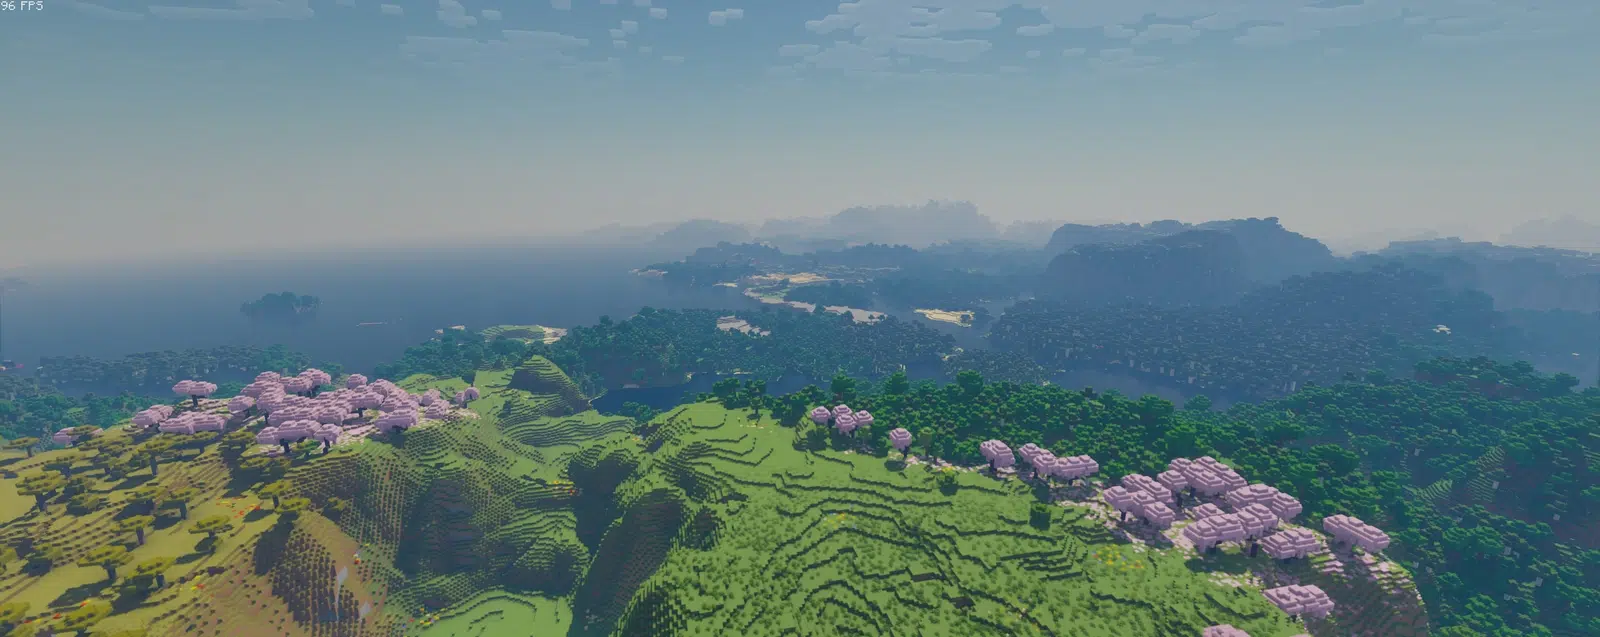
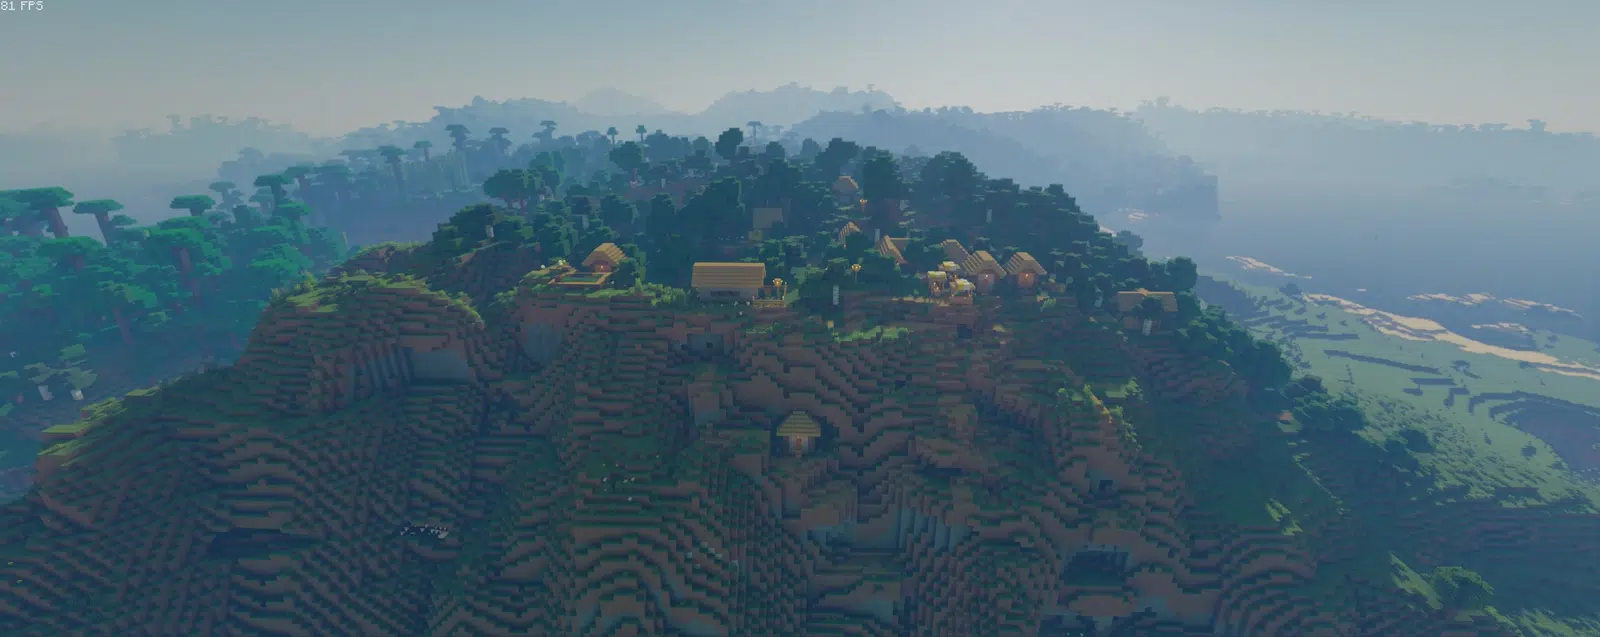
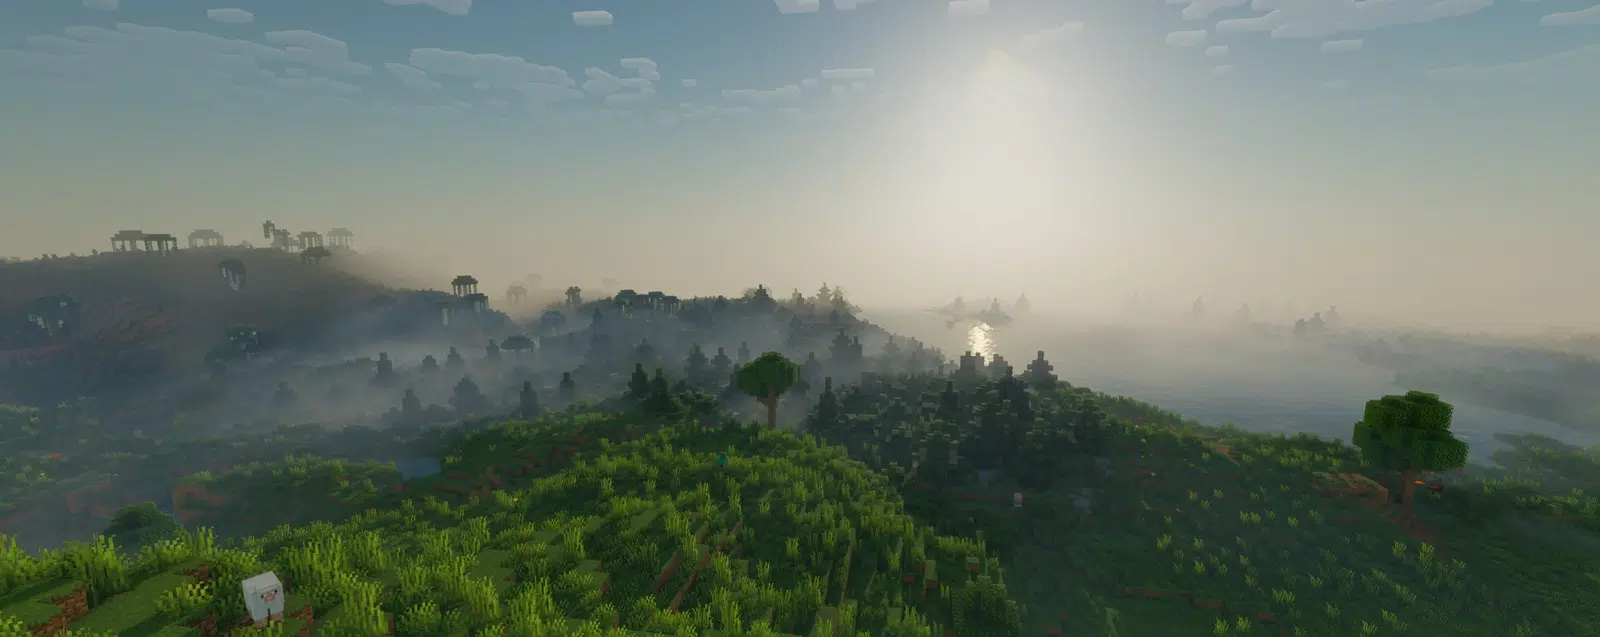
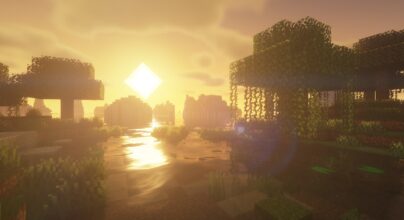
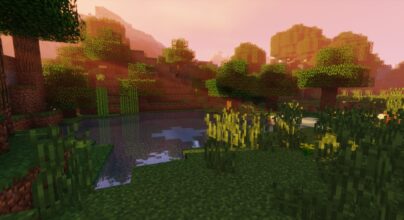
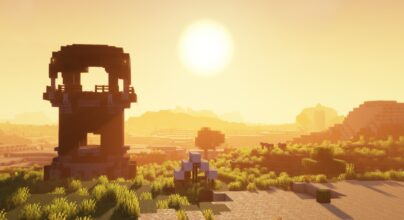
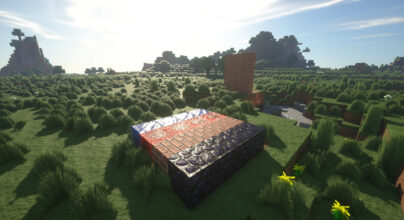
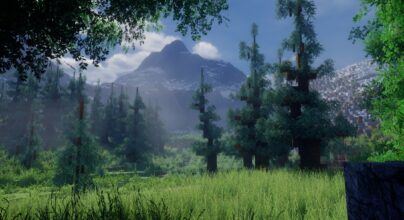
Bloop Shaders transforms Minecraft with vibrant lighting, smooth shadows, and a dreamy atmosphere. Perfect for players who want a soft, colorful upgrade without losing performance.
Bloop Shaders 1.21.5 → 1.21.4 is made by espen96 to boost the game’s visuals while keeping it running smoothly. You can use it on all kinds of computers. This shader pack makes the game look awesome without any form of lag, so it’s great for both low-end as well as high-end PCs. One of the best things about Bloop Shaders is how you can tweak the settings to match your computer’s power. Do you have an integrated graphics card? Then there is no problem. What about the RTX 3090? That is even better! This means you can get the best graphics without needing an advanced PC.
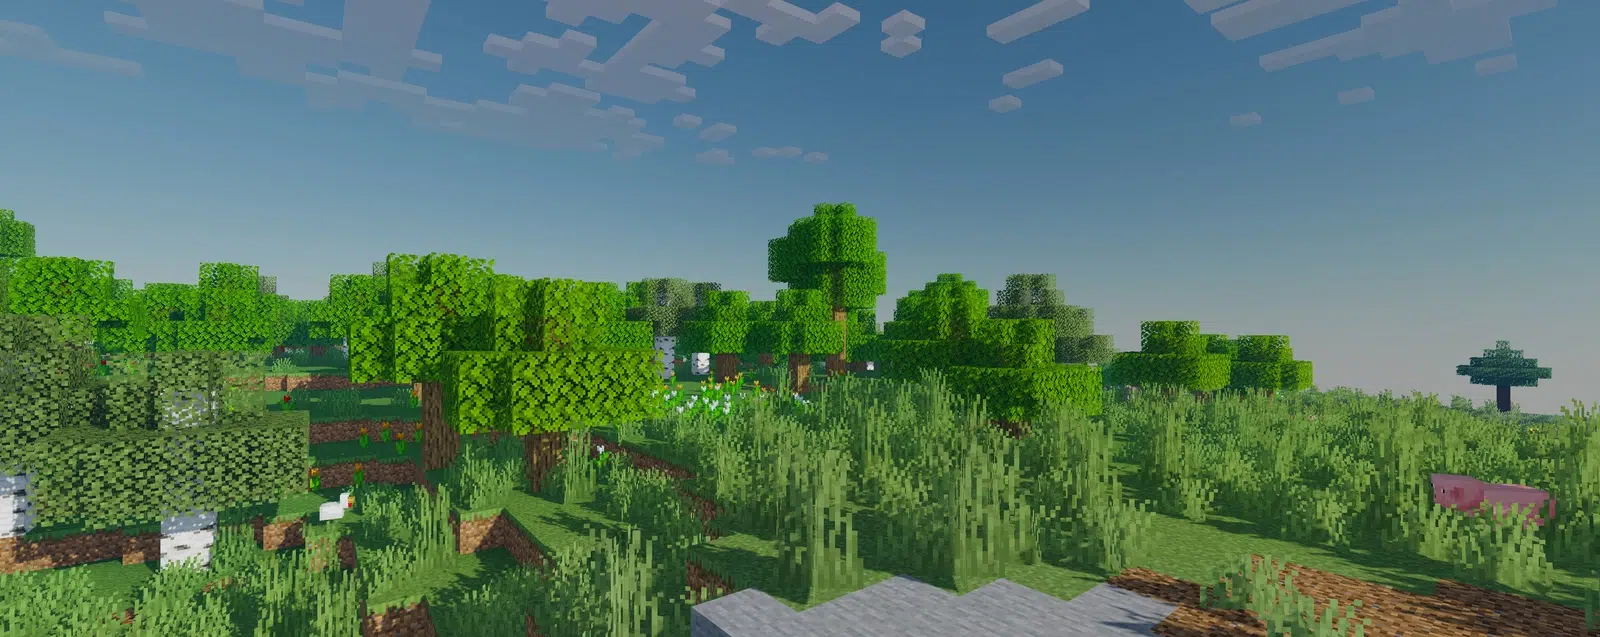
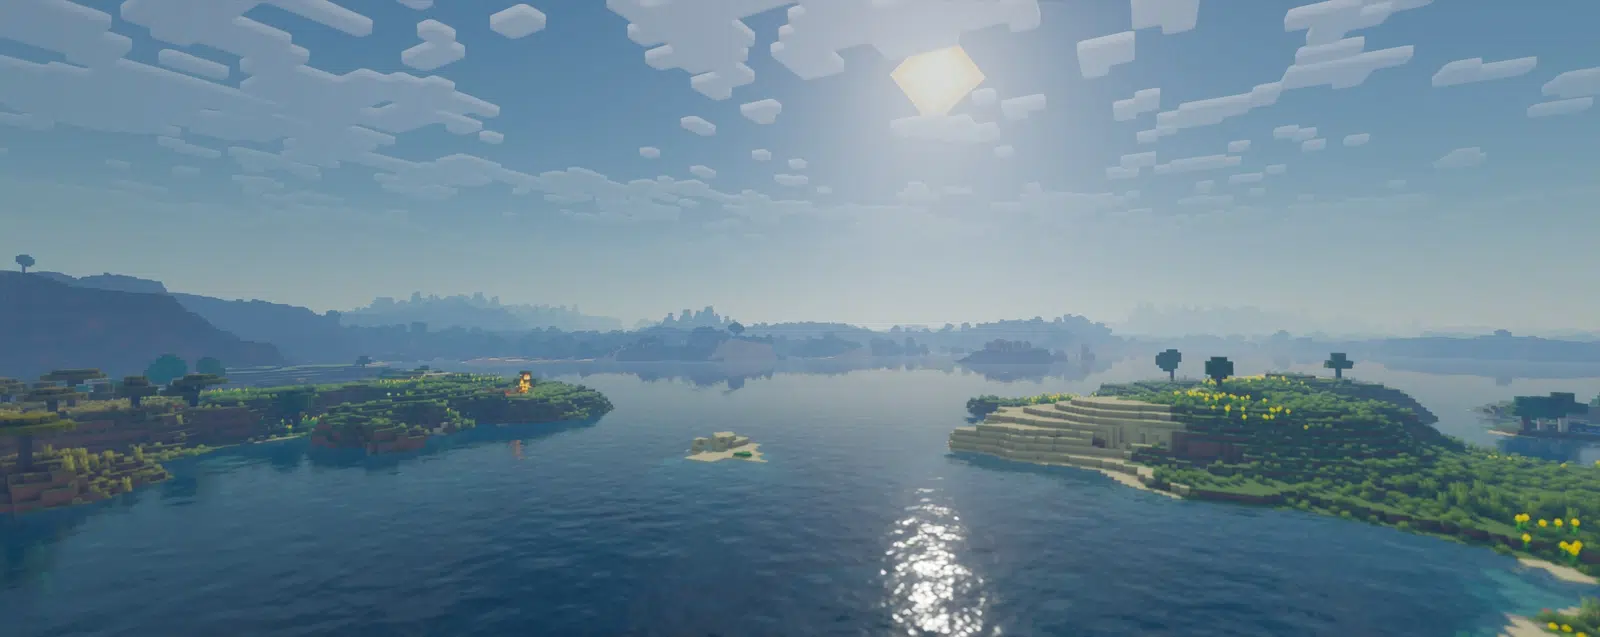
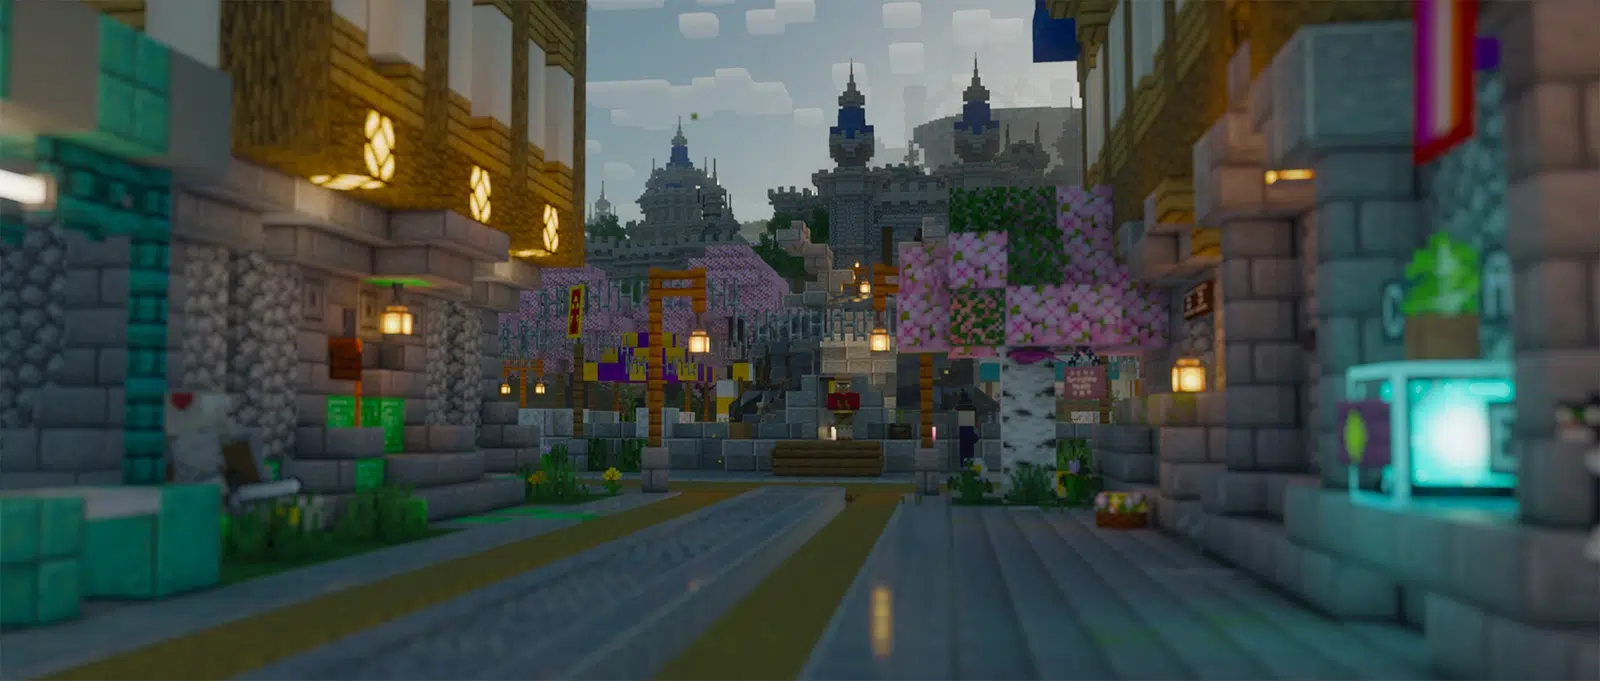
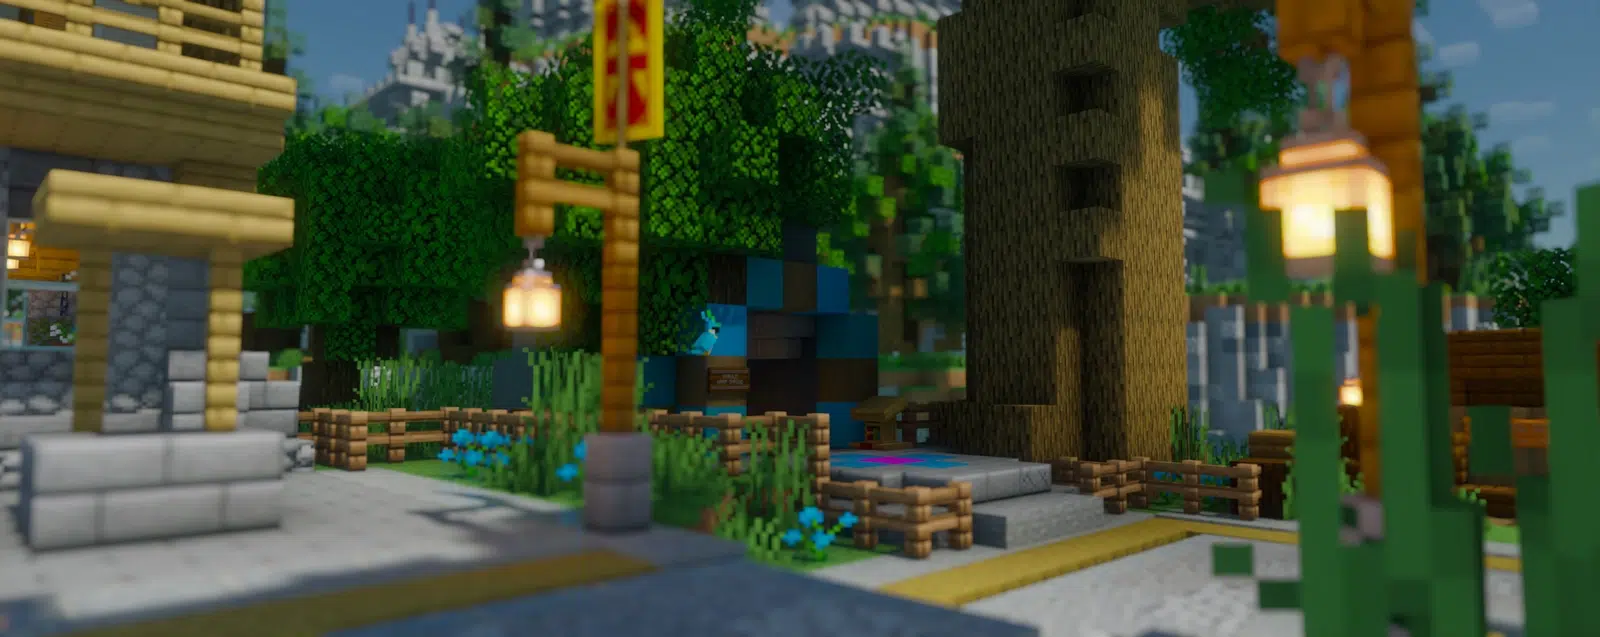
Bloop shader pack includes several advanced graphical effects that can boost your visual experience. For instance, atmospheric bloom adds a soft glow to bright spots. This makes your world appear even more incredible. Temporal anti-aliasing (TAA) smooths out those annoying jagged edges, making everything look cleaner. The real-time shadows are a game-changer. You can choose simple or advanced shadow filtering to make the lighting more realistic.
Bloop Shaders also support distant horizons with shadow. This adds depth as well as a sense of scale to the game world. It’s compatible with LabPBR. This means high-resolution textures fit perfectly into your world. Bloop Shaders is an excellent choice for Minecraft players looking to elevate their visual experience while maintaining performance. It comes with some advanced features. Also, it is a versatile option for a wide range of players regardless of their hardware specifications. Now, you can enjoy improved visuals without worrying that your frame rates will be compromised. No wonder it has been downloaded over 50k times since creation.
Features
One of the significant reasons why bloop shaders have been very popular is its outstanding features. Some of them will be highlighted below:
Having seen the above, it is clear that bloop shader can redefine the graphics and visuals in your world without any compromise. Even with the least of PCs or devices, it can have the ultimate impact.
The installation guide has been relocated to the installation tab located at the top of the page.
We have compiled helpful installation guides to ensure correct installation of this shaderpack in your Minecraft. Follow these guides for a seamless installation experience.
It is strongly advised to create a backup of your Minecraft map before updating the game to new versions to ensure the safety of your progress.
Locate your Minecraft installation folder. The default location for the Minecraft folder varies depending on your operating system:
Once you’ve found the Minecraft folder, make a copy of it and paste it into a different location, such as an external drive or a backup folder on your computer.
The copied Minecraft folder will serve as your backup. If anything goes wrong during the mod installation process or if you want to revert to the original state, you can replace the modified Minecraft folder with the backup.
Optifine and Forge require Java to be installed on your computer in order to work properly with Minecraft.
Visit the official Java website here: On the website, click on the “Download Java” button.
Once the installer is downloaded, locate the file and double-click on it to run it.

Download the appropriate version for your Minecraft.
Once the Optifine file is downloaded, run the installer and follow the on-screen instructions to install it

Download the Shader package that is compatible with your Minecraft version.
Open the Minecraft launcher and select the newly installed OptiFine profile to launch the game.

Once in the game, navigate to the “Options” menu, then select “Video Settings,” and click on “Shaders.”

In the Shaders menu, you’ll find a “shaderpacks” folder button. Copy the downloaded shader pack’s zip file into this folder.

You should see the installed shader pack listed in the in-game Shaders menu. Select it to enable the shader.


Download the latest version of the Iris installer.
Locate the downloaded Iris Installer and open it.
Choose installation type:

Download the Shader package that is compatible with your Minecraft version.
Launch the Minecraft launcher. Choose the profile you decided to install in the previous step.

Navigate to Options > Video Settings > Shader Packs within the game.

You can directly drag and drop the shaders zip file into the Minecraft window to install a shader pack.

BSL Shaders 1.21.5, 1.21.4 → 1.20.1 remains a popular Minecraft Shader for the beloved game Minecraft.
Sildur’s Vibrant Shaders 1.21.6 → 1.21.5 is one of the most renowned Minecraft shader packs.
Complementary Shaders 1.21.7 → 1.21.6 is one of the most popular Minecraft shader packs.
SEUS Shaders, simply the favorite Shader of the Minecraft community.
Bliss Shaders 1.21.6 → 1.21.6 is another excellent Minecraft shader that gives a better appearance in the game and increases performance.
The Body Camera shader, offers a unique gaming experience by simulating the effects of a body camera