Review
How to install
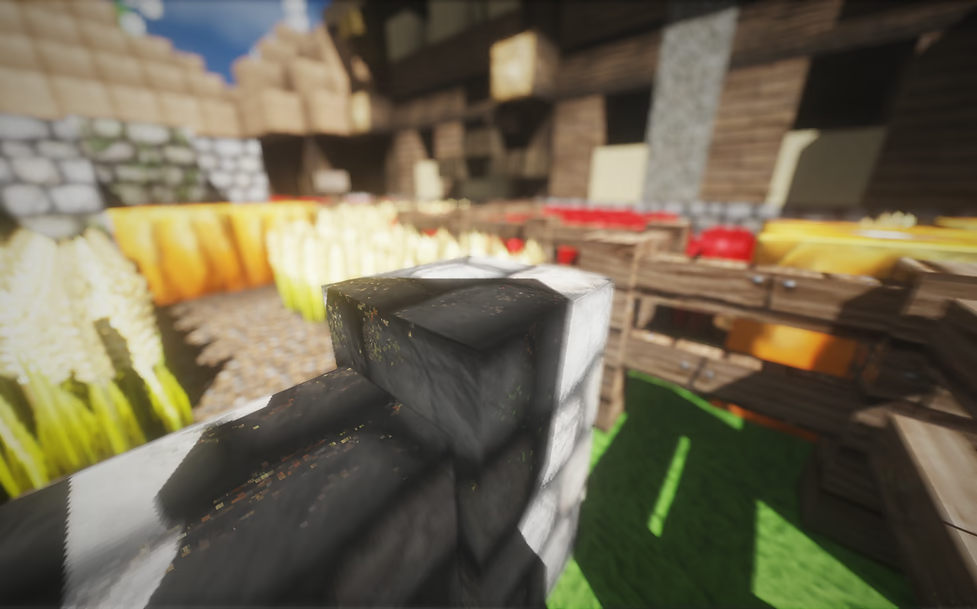
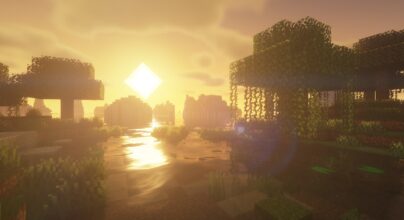
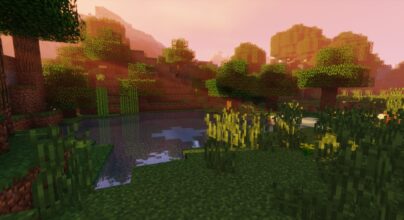
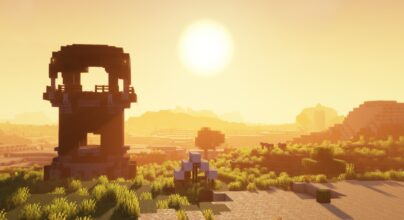
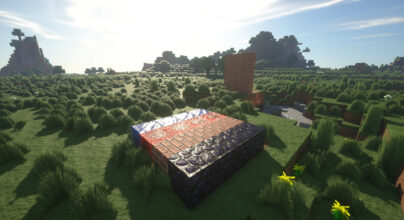
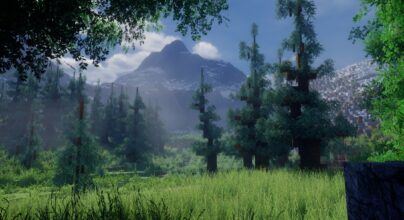
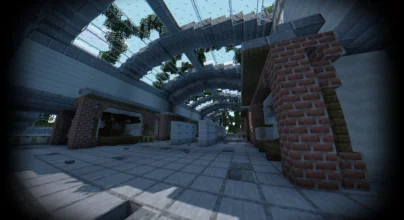
Are you looking for a Shader Pack to give Minecraft’s standard graphics a new visual? Then you will love this shader pack. Cybox Shaders 1.21 → 1.20 will add impressive graphics to your Minecraft and allow you to have a unique game experience with renewed graphics. With Cybox Shader, you can add dynamic shadows and incredible effects, depending on the sun’s position, which will provide a realistic experience. Let’s know more about this mod and your versions available. Shaders are nothing more than a Minecraft modification that incorporates OpenGL Shader graphics based on your Minecraft World. This will seem much more realistic to your Minecraft. With Cybox Shaders, you will have many significant effects such as improved shadows, enhanced lighting, water reflections, plant movement, and connected textures, using the graphics card’s power.
Of course, to enjoy everything it offers, shaders require you to have a good graphics card. In addition, game performance can decrease due to the many dynamic effects that apply. Minecraft Shaders can add many effects in Minecraft that the FPS can fall even for players who usually reach about 60+ fps when they play. In this regard, you would need to get something close to 200 fps to make use of Shaders without disrupting your gameplay and still get a decent percentage rate with all the settings transformed into your maximum values. Frankly, if you do not have a good computer, this modification can hinder your performance with the game. If this is your case, other shading packages, such as BSL Shaders, too, provide quite good lighting effects and are not as picky if you need them ultimately. So have this in mind when installing it. If you have a computer with a median video card from graphical power, you can use the low or lowest version that this shader pack includes. It was created as an alternative precisely for low-end computers.
This pack was discontinued, and was reborn as Oceano Shaders. But he was tested at Minecraft and is fully compatible, so you should not have a problem using it. Knowing all this, now is your time to share and install this incredible shader pack and have a new look at your Minecraft; check out our guide for installation and downloads for Cybox Shader Pack.
Loved this Minecraft shader? If you’re looking for more breathtaking visuals, don’t miss out on BSL Shaders, Sildur’s Vibrant Shaders, and Sonic Ether’s Unbelievable Shaders—each offering unique lighting and realism!
Gallery
How to Install?
The installation guide has been relocated to the installation tab located at the top of the page.
Quick pollHelp Developers
Cybox Shader Links
Please note the following information:
- Some shaders have not been updated for version 1.21.6 of Minecraft. However, all shaders have been tested and are confirmed to work correctly in Minecraft 1.21.6.
- All download links are original and sourced from the creator. We do not host or modify any files. Our role is solely to provide direct links to our users, ensuring security and quality.
- Additionally, browse the best shader packs for Minecraft, grouped by category for easier navigation.
We have compiled helpful installation guides to ensure correct installation of this shaderpack in your Minecraft. Follow these guides for a seamless installation experience.
Backup Guide
It is strongly advised to create a backup of your Minecraft map before updating the game to new versions to ensure the safety of your progress.
Locate the Folder
Locate your Minecraft installation folder. The default location for the Minecraft folder varies depending on your operating system:
- Windows: %appdata%.minecraft
- Mac: ~/Library/Application Support/minecraft
- Linux: ~/.minecraft
Make a Copy
Once you’ve found the Minecraft folder, make a copy of it and paste it into a different location, such as an external drive or a backup folder on your computer.
Save and Restore if Necessary
The copied Minecraft folder will serve as your backup. If anything goes wrong during the mod installation process or if you want to revert to the original state, you can replace the modified Minecraft folder with the backup.
Java Installation Guide
Optifine and Forge require Java to be installed on your computer in order to work properly with Minecraft.
Download the Java installer
Visit the official Java website here: On the website, click on the “Download Java” button.
Run the installer
Once the installer is downloaded, locate the file and double-click on it to run it.

OptiFine Loader
Required 1.8.8+Step by Step
Download Optifine:
Download the appropriate version for your Minecraft.
Install Optifine
Once the Optifine file is downloaded, run the installer and follow the on-screen instructions to install it

Download Shaders:
Download the Shader package that is compatible with your Minecraft version.
Launch Minecraft with OptiFine
Open the Minecraft launcher and select the newly installed OptiFine profile to launch the game.

Locate the Shaders option
Once in the game, navigate to the “Options” menu, then select “Video Settings,” and click on “Shaders.”

Install Shaders
In the Shaders menu, you’ll find a “shaderpacks” folder button. Copy the downloaded shader pack’s zip file into this folder.

Enable the shader in Minecraft
You should see the installed shader pack listed in the in-game Shaders menu. Select it to enable the shader.

Iris Loader
Required 1.16.2+Step by Step
Download Iris:
Download the latest version of the Iris installer.
Install Iris
Locate the downloaded Iris Installer and open it.
Choose installation type:
- Iris Install: Select this option if you don’t plan on using any other mods alongside Iris.
- Fabric Install: Opt for this option if you intend to use Iris with Fabric and other mods. The Iris jar files will be copied to the mods folder within the .minecraft directory.

Download Shader:
Download the Shader package that is compatible with your Minecraft version.
Launch Minecraft
Launch the Minecraft launcher. Choose the profile you decided to install in the previous step.

Install Shaders
Navigate to Options > Video Settings > Shader Packs within the game.

Drag and Drop
You can directly drag and drop the BSL shaders zip file into the Minecraft window to install a shader pack.


