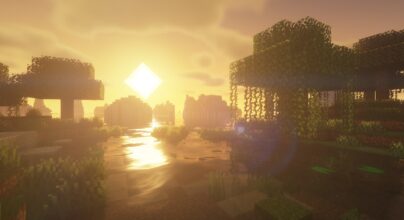
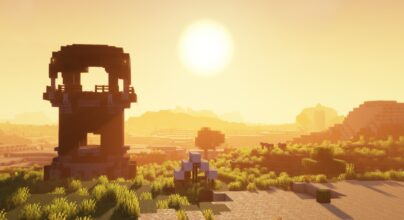
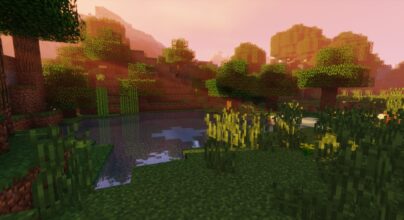
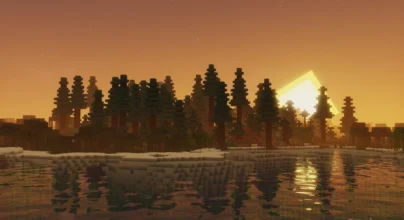
Review
How to install
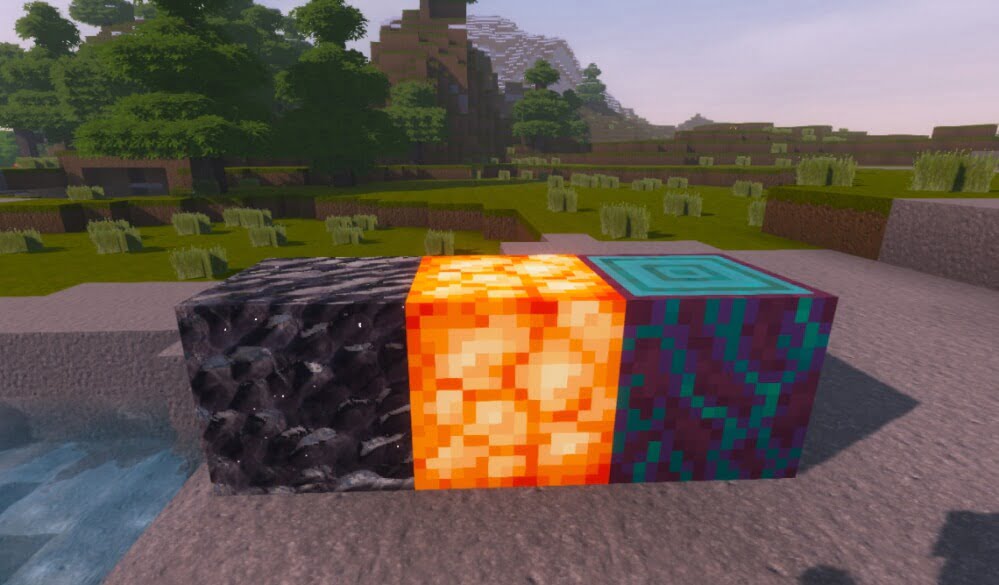
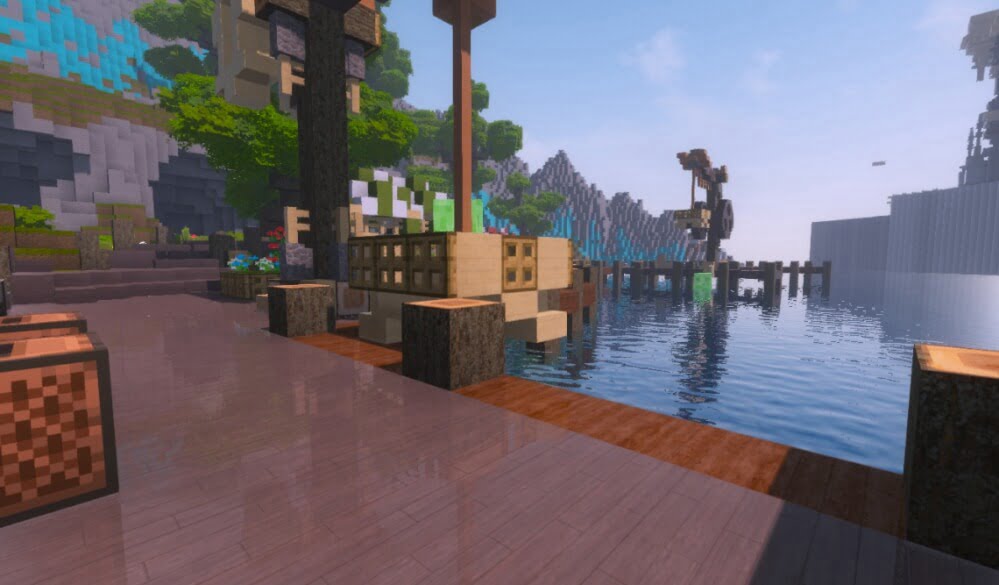
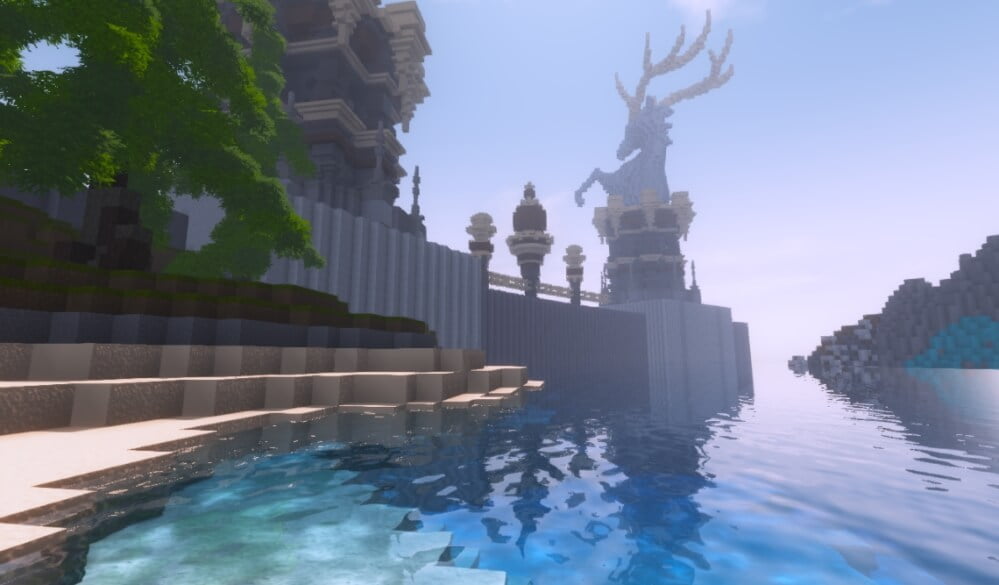
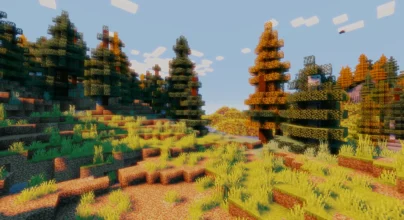
Kuda Shaders also called Cuda Shader, is one of the packs created by Dedelner, and he adds amazing graphics to Minecraft. When it comes to the game of Minecraft, most people are quick to talk about building their worlds in innovative ways. They focus on aspects like killing mobs, building houses, farming, rearing animals and many others. However, very few people talk about the game’s graphics. Even if they do, such is not discussed in detail. It doesn’t matter what you think about Minecraft graphics, as one thing is always inevitable. This is the fact that getting an immersive experience without an impressive graphic is very difficult. In other to have the best graphics, you need something as powerful as Cuda Shaders. As simple as this may sound, it can take the appearance of your world to the next level. This is really beyond your imagination. Read the details below to find out what KUDA Shaders can bring to your overall gameplay in Minecraft.
After completing its beta testing in 2017, KUDA Shaders got released into the world of Minecraft. Its creator, DeDelner, really has to be given credit for coming up with such a mod with robust features. Very few shaders can take your gaming experience to another level like this one. One of the reasons why KUDA shaders have been able to make an instant impression in the world of Minecraft is due to how it has been designed. For instance, you will notice that most Minecraft shader packs are advanced in terms of features and requirements. This means that players require highly sophisticated machines to explore such shaders. On the other hand, you will notice the so-called “basic” shaders are very poor in terms of features. That is to say, and they don’t contribute too much to the game’s graphics. Installing them means you are still using something as good as the default vanilla graphics.
Kuda Shaders is a game-changer, given that it has been able to strike a balance. For instance, the additions that it brings are worth trying out. Also, it enables lots of customizations to meet the diverse graphics needs of players. The best part is that your PC doesn’t need to have a high graphic processor before it can be used. This is nothing short of pure genius from DeDelner. It is one of the reasons why Kuda shaders have been very popular in the Minecraft community.
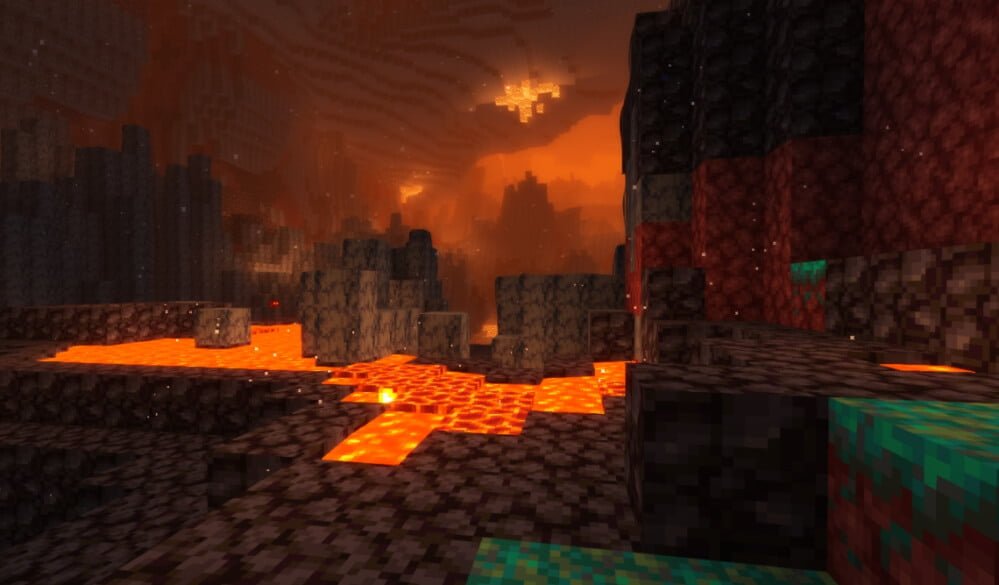
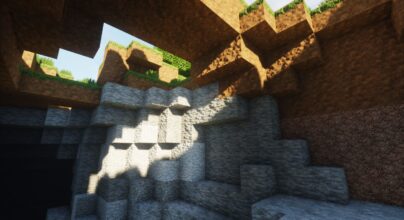
Just as mentioned above, the features of KUDA Shaders are pretty robust and complete in many regards. For instance, it brings in various effects. These can be customized or adjusted as you would like. In addition, it has been created to transform areas like rock, water, cloud, sky, trees, grass, sunlight, etc. So in case you are searching for a shader pack that adds lots of stunning effects into the world of Minecraft without any compromise, this is one of such. If you have always loved what Chocapic13’s V9 has got to offer, there is no doubting the fact that you will find KUDA shaders fascinating. This is because they both share lots of similarities. Just as said, you can either increase or decrease any of these effects. The textures, as well as the effects, are authentic. Also, you will notice that snow is falling like a real-life scenario. For the first time, water in your world will be affected by wind speed. There is also a stoppage of fixed water animation. Nether is characterized by nether fog.
Another aspect of its features is lighting. You will notice that vanilla Minecraft shadow is nothing to write home about. Sometimes shadows are placed inappropriately, which takes away the excitement that this game is known for. KUDA shaders will correct such problems in the most effective manner. This becomes it comes with an impressive lighting effect to make your world stand out.
It appears that its author no longer updates this Minecraft Shader. There is no need to worry, though, since this can be good news. For instance, you will not need to worry about having an updated version after downloading and installing it on your system. All you have to do is have it downloaded once and start using it. Also, it is essential to note that your graphic processor needs to have some decent features. This will enable KUDA shaders to run smoothly without any problem.
Enjoyed this shader pack? Take your game even further with Complementary Shaders, Bliss Shaders, and Sildur’s Vibrant Shaders—three top-tier choices for immersive lighting and stunning details!
Gallery
How to Install?
The installation guide has been relocated to the installation tab located at the top of the page.
Quick pollHelp Developers
KUDA Shader Links
Please note the following information:
- Some shaders have not been updated for version 1.21.4 of Minecraft. However, all shaders have been tested and are confirmed to work correctly in Minecraft 1.21.4.
- All download links are original and sourced from the creator. We do not host or modify any files. Our role is solely to provide direct links to our users, ensuring security and quality.
- Additionally, you can explore the list of the best Minecraft shaders of all time.
We have compiled helpful installation guides to ensure correct installation of this shaderpack in your Minecraft. Follow these guides for a seamless installation experience.
Backup Guide
It is strongly advised to create a backup of your Minecraft map before updating the game to new versions to ensure the safety of your progress.
Locate the Folder
Locate your Minecraft installation folder. The default location for the Minecraft folder varies depending on your operating system:
- Windows: %appdata%.minecraft
- Mac: ~/Library/Application Support/minecraft
- Linux: ~/.minecraft
Make a Copy
Once you’ve found the Minecraft folder, make a copy of it and paste it into a different location, such as an external drive or a backup folder on your computer.
Save and Restore if Necessary
The copied Minecraft folder will serve as your backup. If anything goes wrong during the mod installation process or if you want to revert to the original state, you can replace the modified Minecraft folder with the backup.
Java Installation Guide
Optifine and Forge require Java to be installed on your computer in order to work properly with Minecraft.
Download the Java installer
Visit the official Java website here: On the website, click on the “Download Java” button.
Run the installer
Once the installer is downloaded, locate the file and double-click on it to run it.

OptiFine Loader
Required 1.8.8+Step by Step
Download Optifine:
Download the appropriate version for your Minecraft.
Install Optifine
Once the Optifine file is downloaded, run the installer and follow the on-screen instructions to install it

Download Shaders:
Download the Shader package that is compatible with your Minecraft version.
Launch Minecraft with OptiFine
Open the Minecraft launcher and select the newly installed OptiFine profile to launch the game.

Locate the Shaders option
Once in the game, navigate to the “Options” menu, then select “Video Settings,” and click on “Shaders.”

Install Shaders
In the Shaders menu, you’ll find a “shaderpacks” folder button. Copy the downloaded shader pack’s zip file into this folder.

Enable the shader in Minecraft
You should see the installed shader pack listed in the in-game Shaders menu. Select it to enable the shader.

Iris Loader
Required 1.16.2+Step by Step
Download Iris:
Download the latest version of the Iris installer.
Install Iris
Locate the downloaded Iris Installer and open it.
Choose installation type:
- Iris Install: Select this option if you don’t plan on using any other mods alongside Iris.
- Fabric Install: Opt for this option if you intend to use Iris with Fabric and other mods. The Iris jar files will be copied to the mods folder within the .minecraft directory.

Download Shader:
Download the Shader package that is compatible with your Minecraft version.
Launch Minecraft
Launch the Minecraft launcher. Choose the profile you decided to install in the previous step.

Install Shaders
Navigate to Options > Video Settings > Shader Packs within the game.

Drag and Drop
You can directly drag and drop the shaders zip file into the Minecraft window to install a shader pack.


