Review
How to install
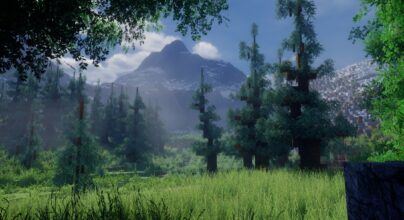
Today, we will be talking about why Pastel Shaders 1.21.5 → 1.21.4 are highly recommended. Many shaders have indeed come into existence in the world of Minecraft over the years. They all have one primary goal – to make your gaming experience unforgettable with stunning graphics. The problem is that the majority of these shader packs have fallen short of expectations in numerous ways. Sometimes, you must download and install various shader packs on your PC to find the one with perfect graphics for your gaming experience. Well, not any more, given the advent of pastel shaders. It is one of the few shaders that have managed to take the world of Minecraft by storm.
Before delving any further in a bid to learn more about pastel shaders, it is crucial to understand more about its history. It is a shader pack that has been brought into existence by the famous and creative ElocinDev. Despite being created in 2023, it has managed to rack up more than 25,000 downloads. When it comes to adding different colours to the game of Minecraft, very few shaders out there can compete with pastel. This is because it stands out as one of the best around. In a nutshell, it has been designed to provide multiple colour presets for players like you. These can take your game’s aesthetics to a whole new level.
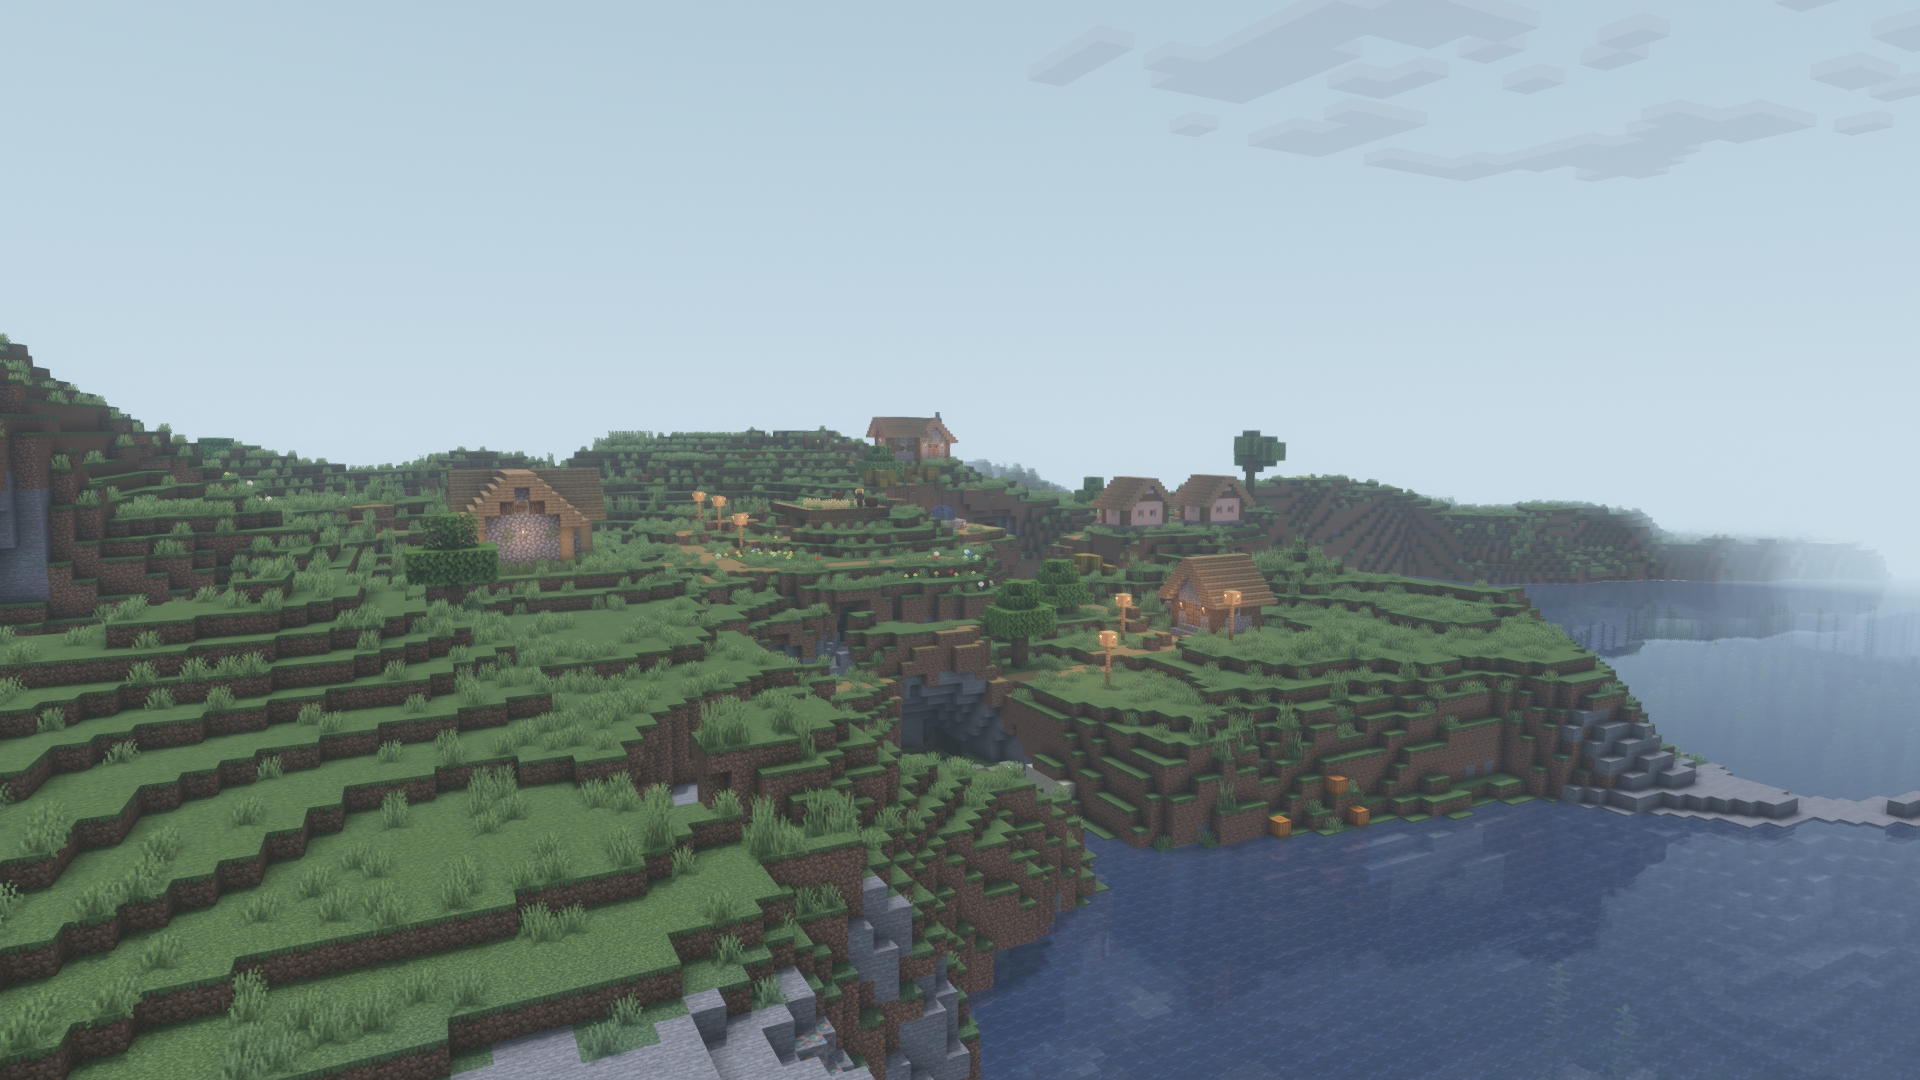
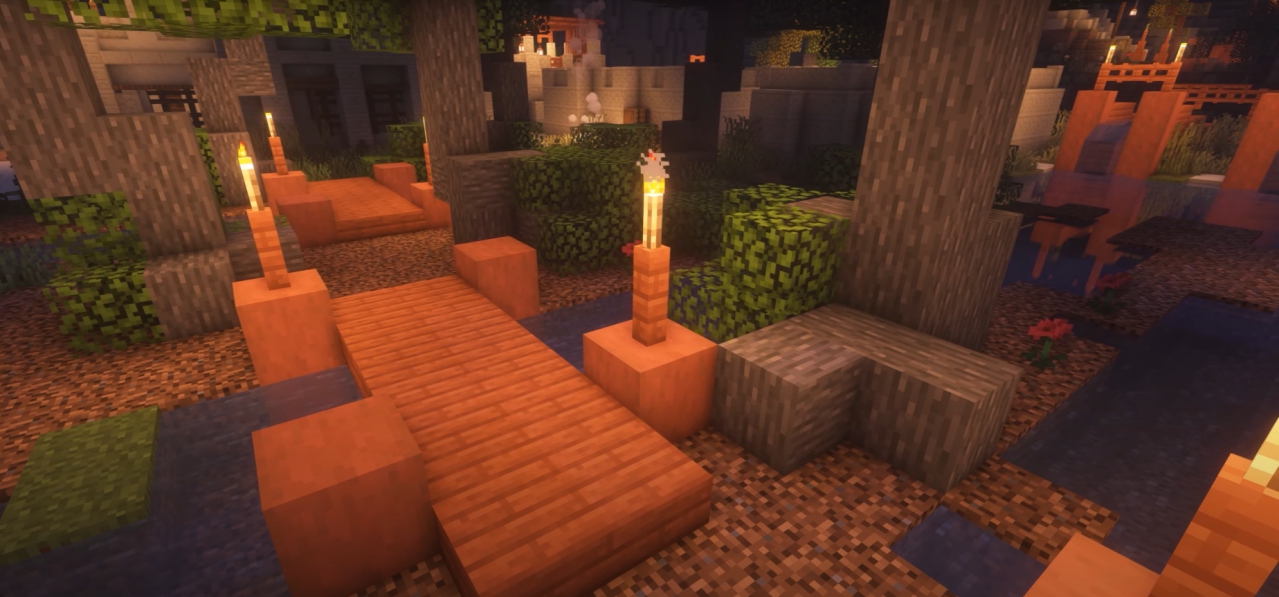
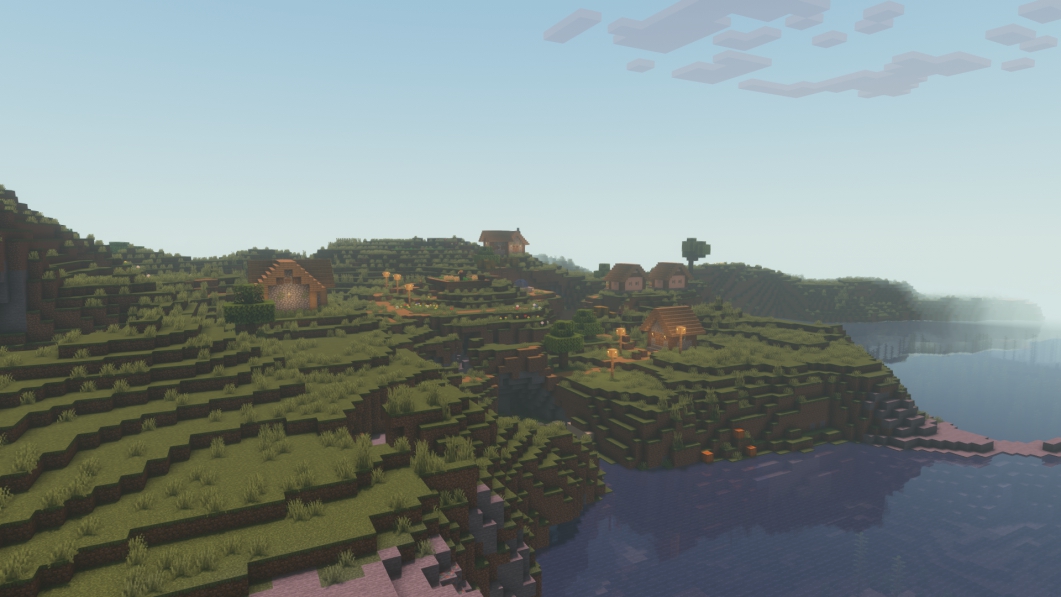
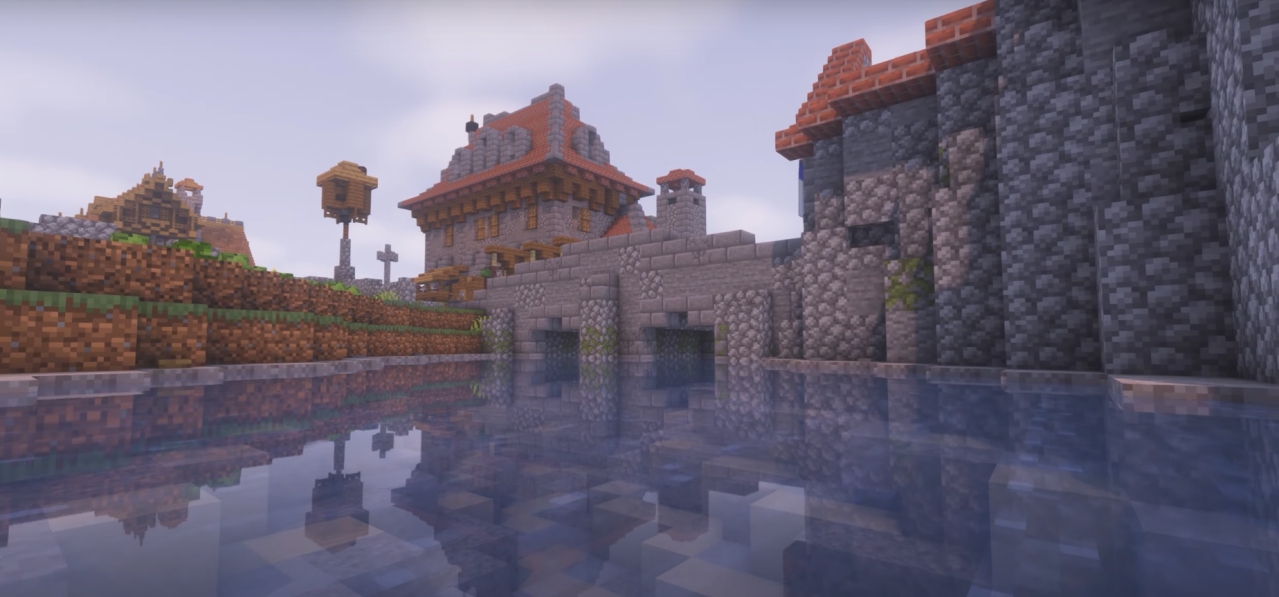
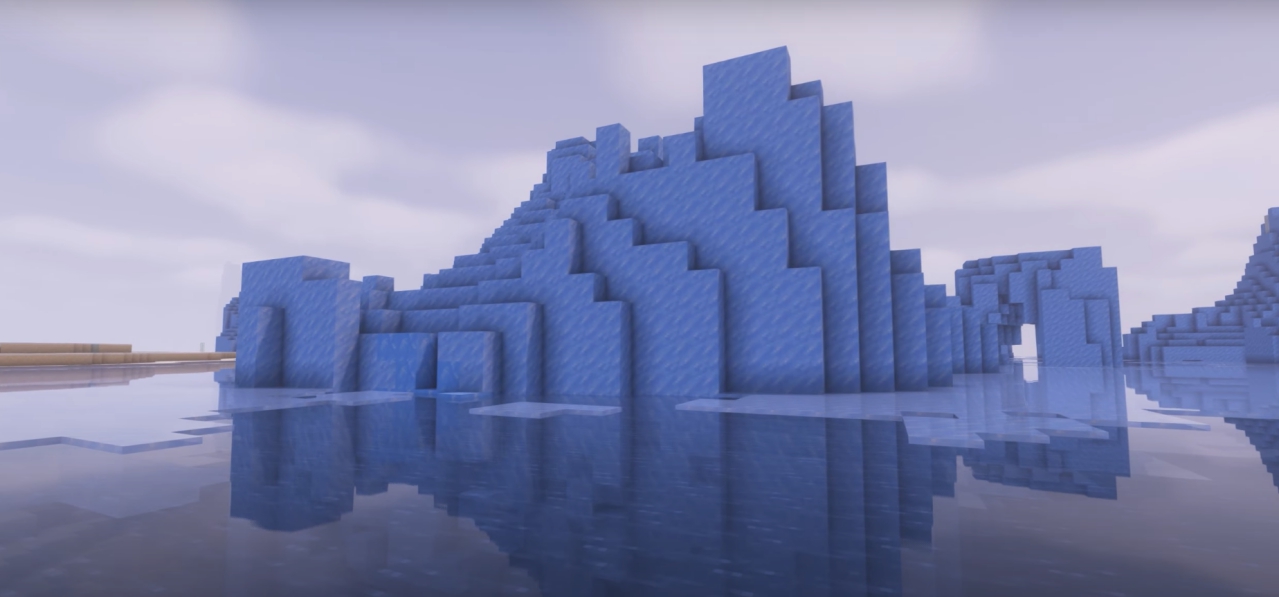
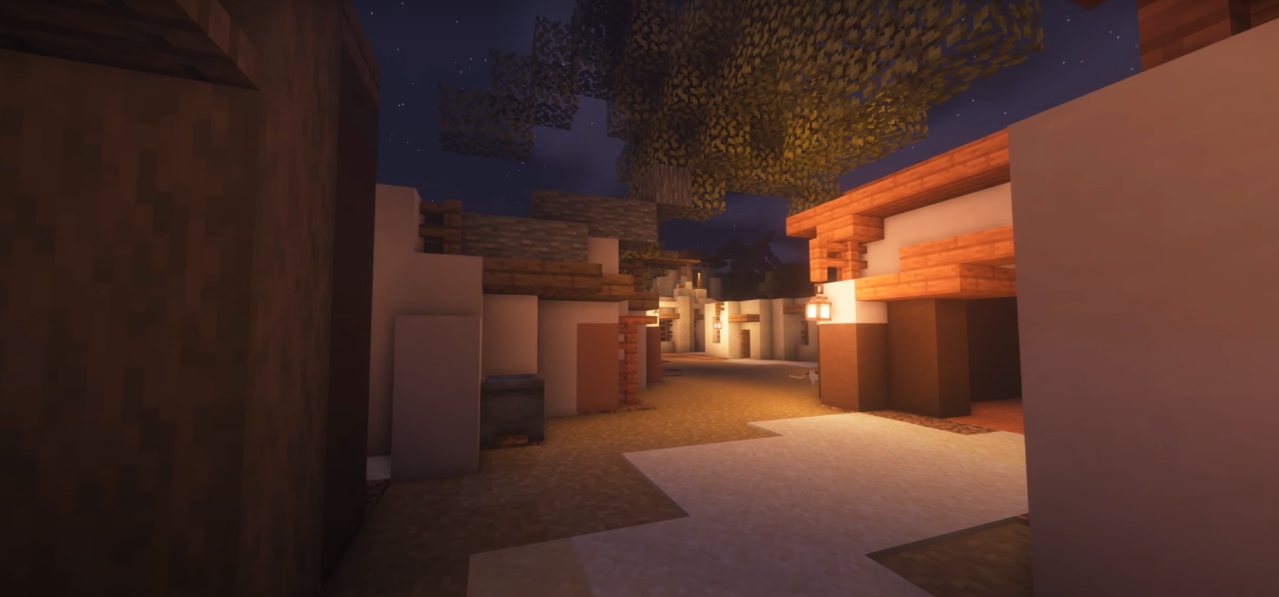
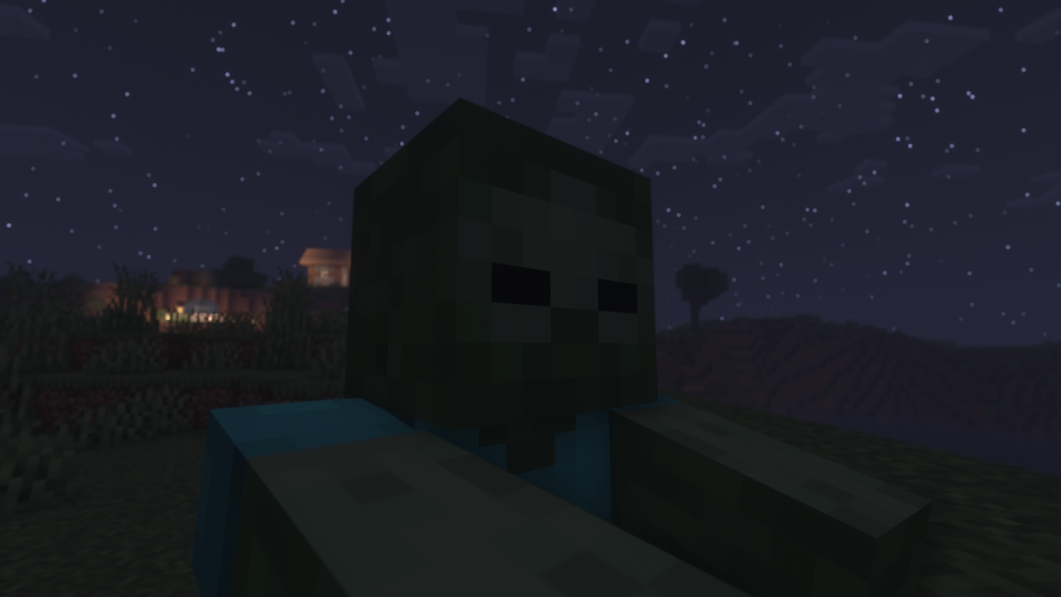
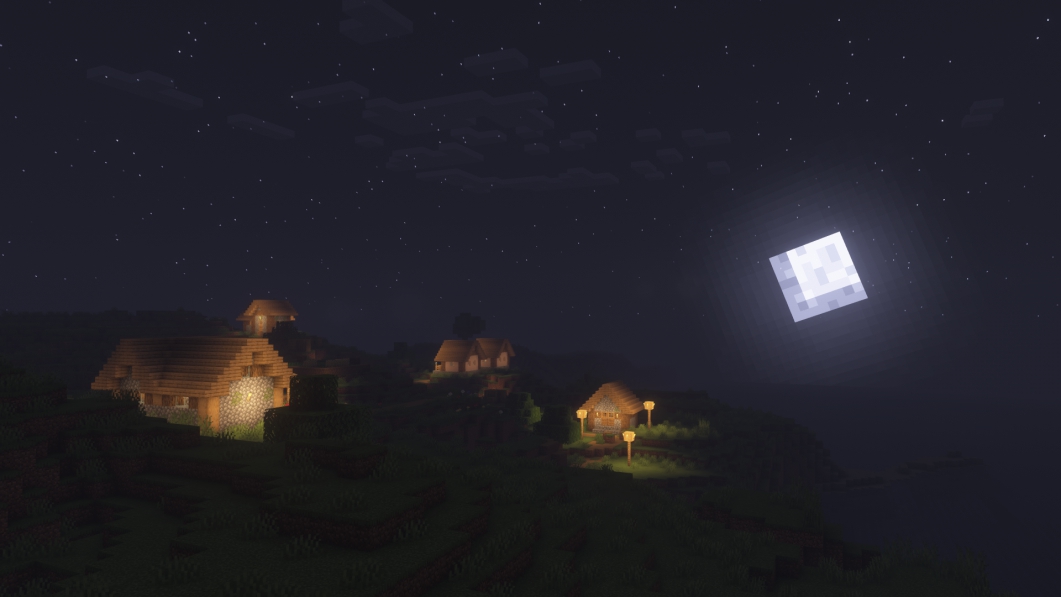
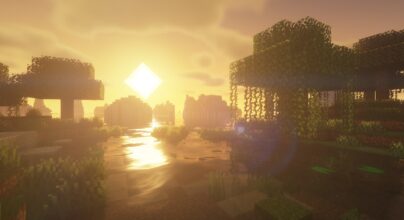
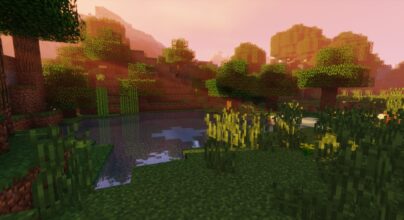
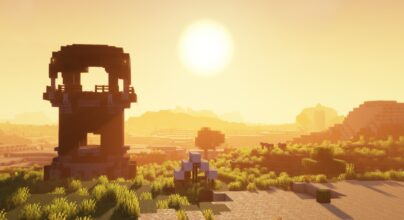
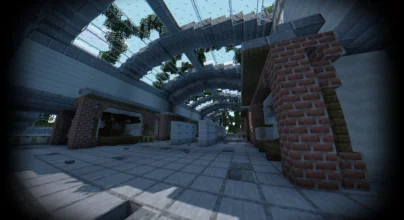
In case you are still wondering about the additions that pastel shaders can bring to the table, never rack your brains again. This is because we will highlight all of them in this section. One of the changes you will notice after its installation is the clear starry nights. Players have complained that night periods in Minecraft are nothing to write home about. In other words, they don’t meet the requirements that can guarantee the ultimate gaming experience. Never worry because pastel shaders can change all of that to a great extent. For instance, players can quickly notice a clear difference between night and day. You will also see the atmosphere is quite chilly. The sunset and sunrise you will experience are breathtaking. The colour variations that can bring to your world are rose quartz, lemon, and periwinkle. As simple as they may sound, the truth is that these can add some realistic touches to your world.
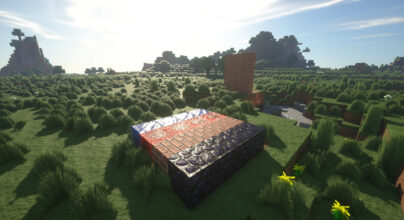
The features of a shader pack can determine whether it will be popular amongst Minecraft players or not. This is why pastel shaders remain one of the favourites of the Minecraft community. For instance, it can run on various PCs. Even if you have a low end PC, it can guarantee high-end performance. Also, you can choose from various colour palettes. From yellowish, blueish to pinkish. Furthermore, it doesn’t just come with easy customization for new and advanced users. It is also unlimited in terms of what can be customized. The best part is that you won’t be overwhelmed by its settings. It comes with quick settings that are present in the majority of modern games. Having seen all of the above, it is clear that pastel shaders have been created to change some major aspects of Minecraft. A firsthand experience of its amazing features will definitely make you proud.
Gallery
How to Install?
The installation guide has been relocated to the installation tab located at the top of the page.
Quick pollHelp Developers
Pastel Shader Links
Please note the following information:
- Some shaders have not been updated for version 1.21.7 of Minecraft. However, all shaders have been tested and are confirmed to work correctly in Minecraft 1.21.6.
- All download links are original and sourced from the creator. We do not host or modify any files. Our role is solely to provide direct links to our users, ensuring security and quality.
- Additionally, browse the best shader packs for Minecraft, grouped by category for easier navigation.
We have compiled helpful installation guides to ensure correct installation of this shaderpack in your Minecraft. Follow these guides for a seamless installation experience.
Backup Guide
It is strongly advised to create a backup of your Minecraft map before updating the game to new versions to ensure the safety of your progress.
Locate the Folder
Locate your Minecraft installation folder. The default location for the Minecraft folder varies depending on your operating system:
- Windows: %appdata%.minecraft
- Mac: ~/Library/Application Support/minecraft
- Linux: ~/.minecraft
Make a Copy
Once you’ve found the Minecraft folder, make a copy of it and paste it into a different location, such as an external drive or a backup folder on your computer.
Save and Restore if Necessary
The copied Minecraft folder will serve as your backup. If anything goes wrong during the mod installation process or if you want to revert to the original state, you can replace the modified Minecraft folder with the backup.
Java Installation Guide
Optifine and Forge require Java to be installed on your computer in order to work properly with Minecraft.
Download the Java installer
Visit the official Java website here: On the website, click on the “Download Java” button.
Run the installer
Once the installer is downloaded, locate the file and double-click on it to run it.

OptiFine Loader
Required 1.8.8+Step by Step
Download Optifine:
Download the appropriate version for your Minecraft.
Install Optifine
Once the Optifine file is downloaded, run the installer and follow the on-screen instructions to install it

Download Shaders:
Download the Shader package that is compatible with your Minecraft version.
Launch Minecraft with OptiFine
Open the Minecraft launcher and select the newly installed OptiFine profile to launch the game.

Locate the Shaders option
Once in the game, navigate to the “Options” menu, then select “Video Settings,” and click on “Shaders.”

Install Shaders
In the Shaders menu, you’ll find a “shaderpacks” folder button. Copy the downloaded shader pack’s zip file into this folder.

Enable the shader in Minecraft
You should see the installed shader pack listed in the in-game Shaders menu. Select it to enable the shader.

Iris Loader
Required 1.16.2+Step by Step
Download Iris:
Download the latest version of the Iris installer.
Install Iris
Locate the downloaded Iris Installer and open it.
Choose installation type:
- Iris Install: Select this option if you don’t plan on using any other mods alongside Iris.
- Fabric Install: Opt for this option if you intend to use Iris with Fabric and other mods. The Iris jar files will be copied to the mods folder within the .minecraft directory.

Download Shader:
Download the Shader package that is compatible with your Minecraft version.
Launch Minecraft
Launch the Minecraft launcher. Choose the profile you decided to install in the previous step.

Install Shaders
Navigate to Options > Video Settings > Shader Packs within the game.

Drag and Drop
You can directly drag and drop the BSL shaders zip file into the Minecraft window to install a shader pack.


