Review
How to install
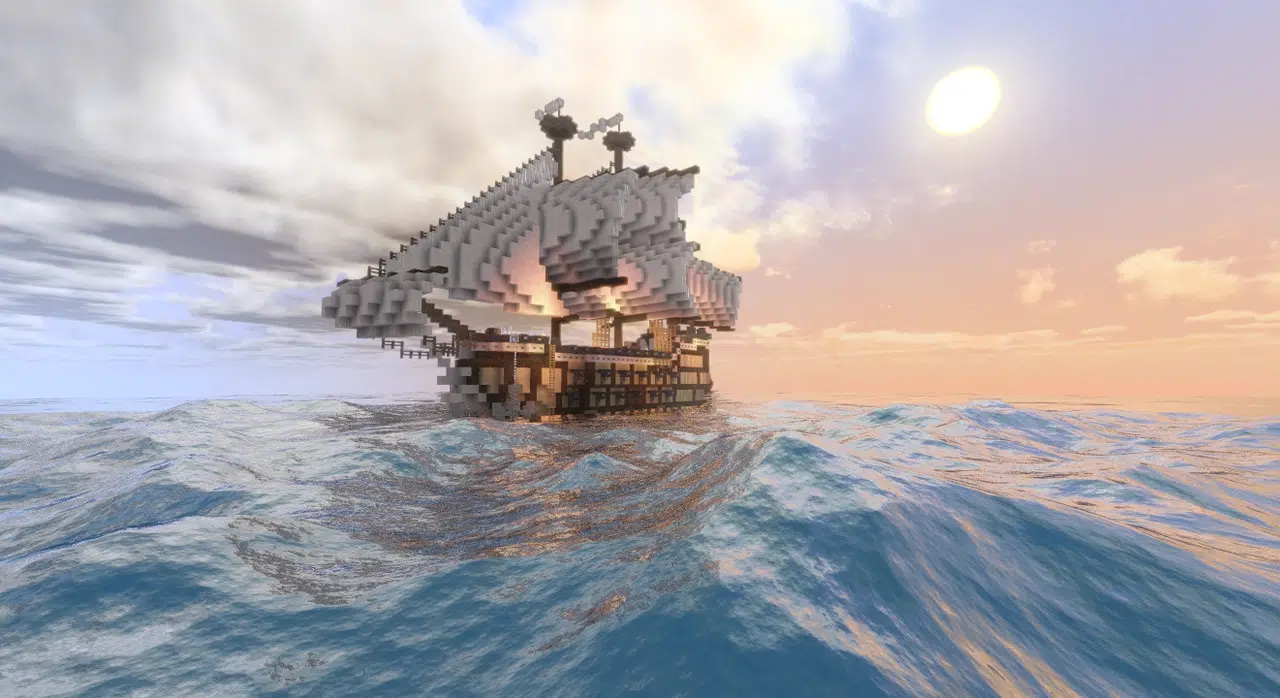
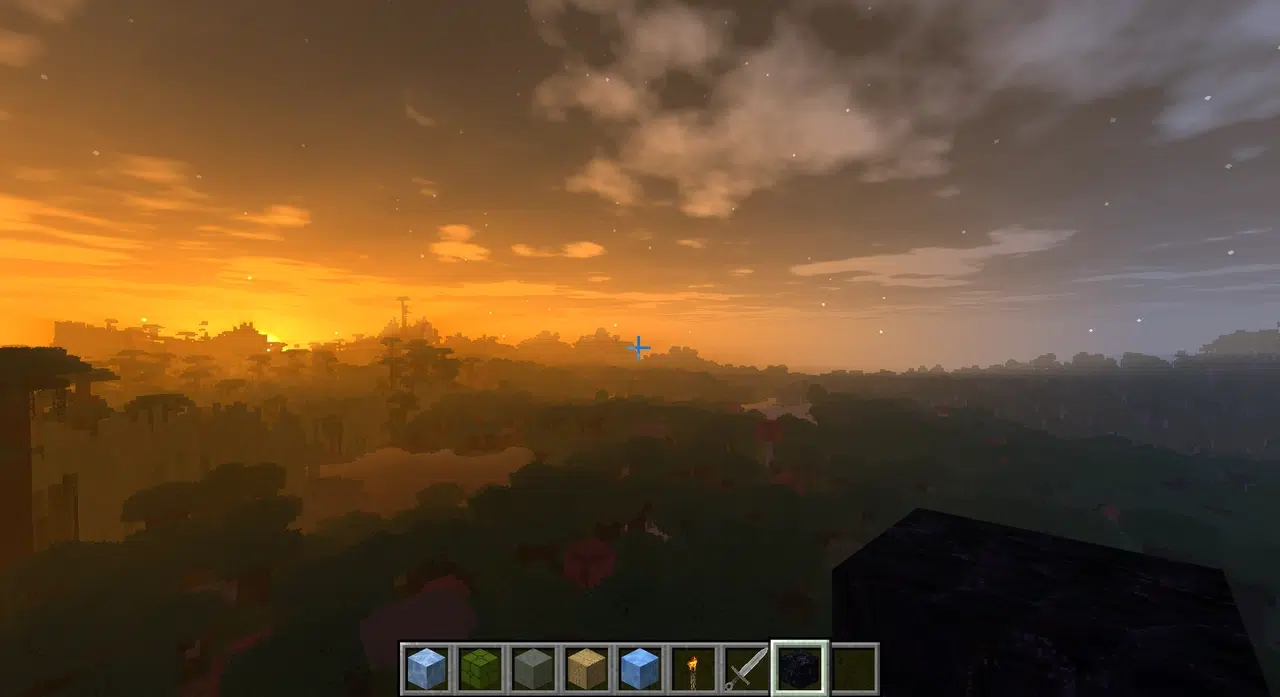
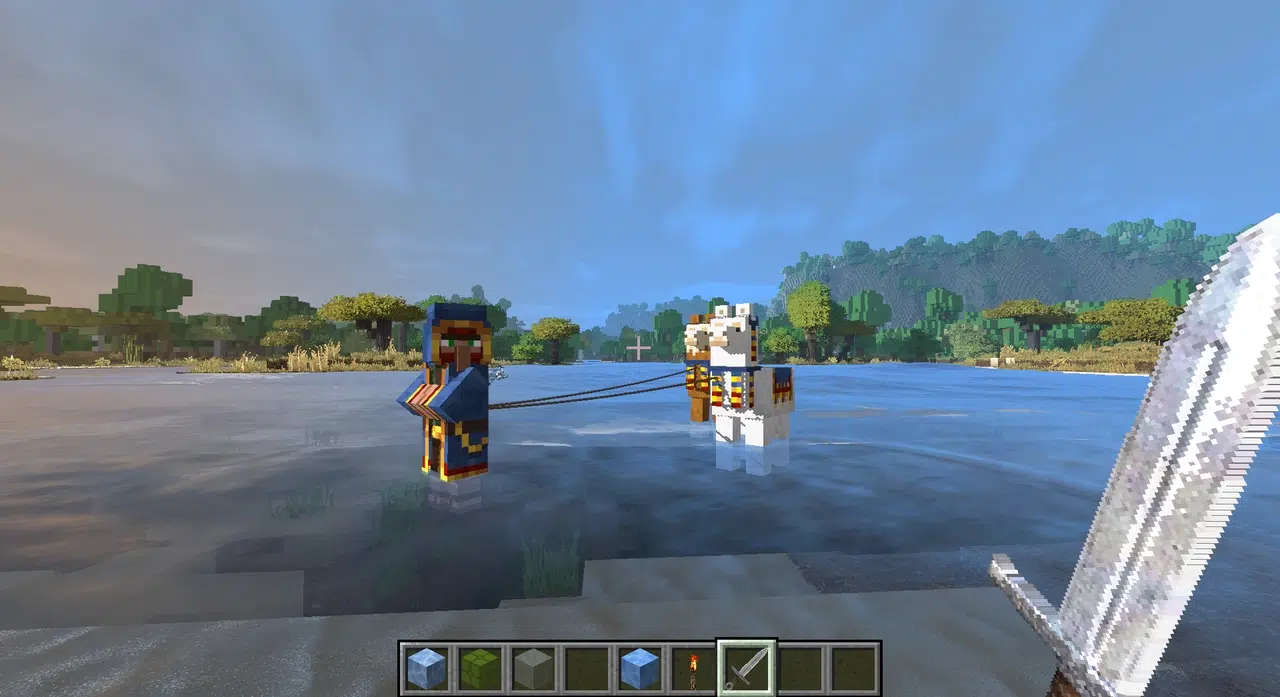
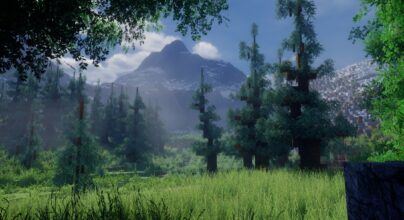
Would you like to try different styles of Minecraft world? Then, do pay some attention to Minecraft’s Pegasus shaders 1.21.9 → 1.21.8; we do invite you. With such impressive and effective transformations, you are able to enjoy the aesthetics of a fantasy world or a realistic world at the same time.
Beyond generally considering the aesthetics of the surrounding world, you can check out what improves different settings. You are able to customize the surrounding world with the use of these new features. It will look much better because of this customization. The primary benefit is that this add-on is compatible with other mods. Pegasus Shaders promises both an optimized visual experience and an enjoyable one, regardless of whether you are a casual builder or an adventurer who has gotten lost in the depths of modded Minecraft.
Features
Pegasus Shaders is a project that aims to combine some advanced features from the Icarus and CTMPOMFIX shaders while offering the optimized performance of the Simply Upscaled shader. Its goal is to provide a balance between advanced visual effects and optimal gameplay fluidity. It is particularly notable for its support for several popular mods, allowing for seamless integration with various Minecraft add-ons.
Among its main current features are:
- Compatibility with the Distant Horizons mod, allowing you to improve the rendering of distant places.
- Support for the Physics Mod, which adds realistic physics effects to game elements.
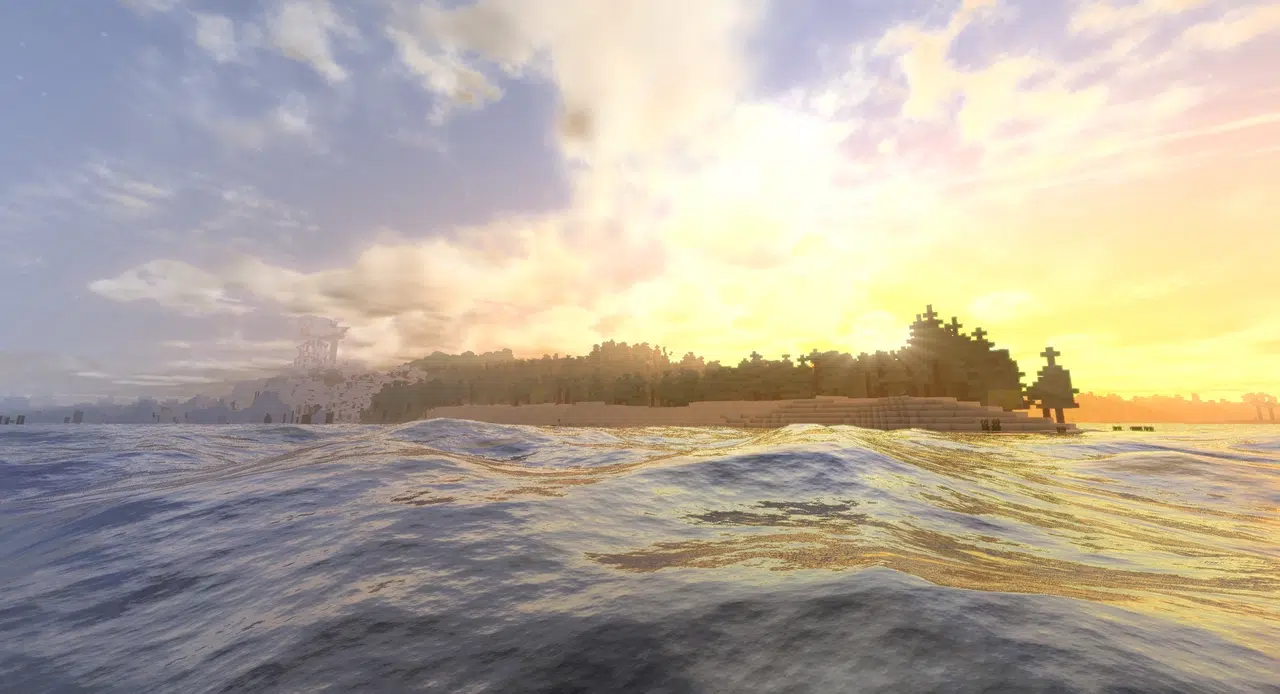
- Dynamic waves on beaches, which require the Physics Mod and Iris on Minecraft 1.20.1 or higher.
- Optional texture upscaling, providing better display quality without drastically impacting performance.
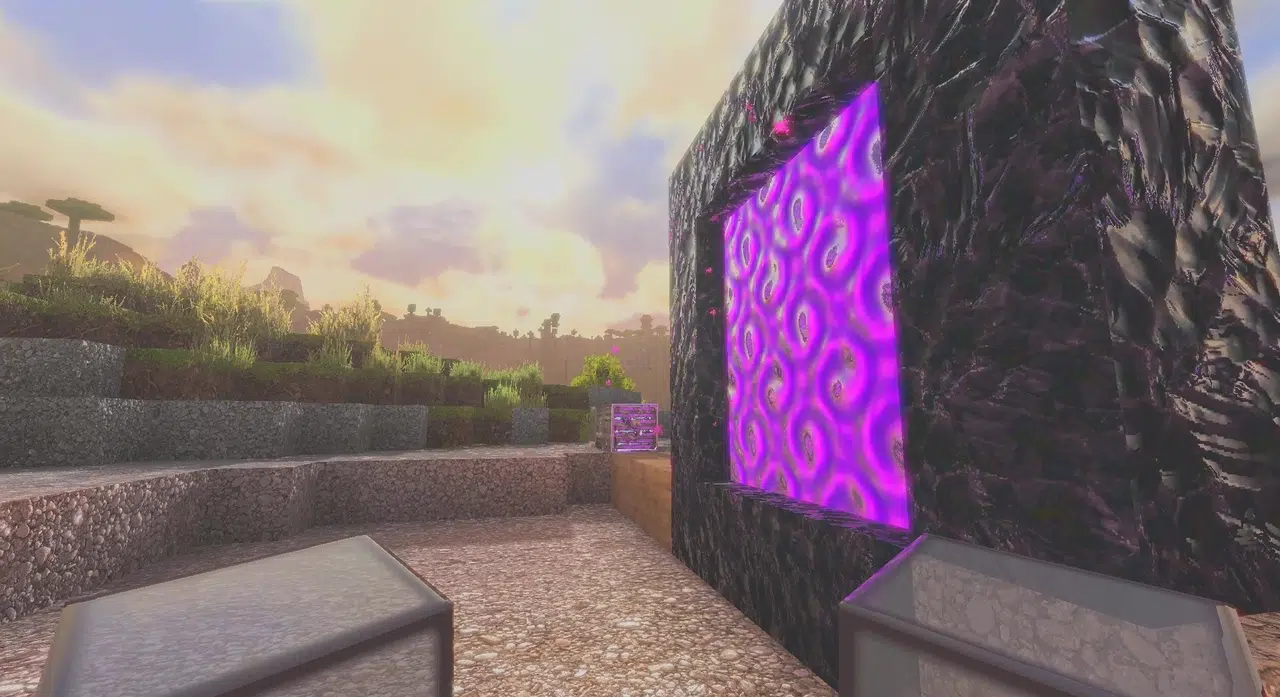
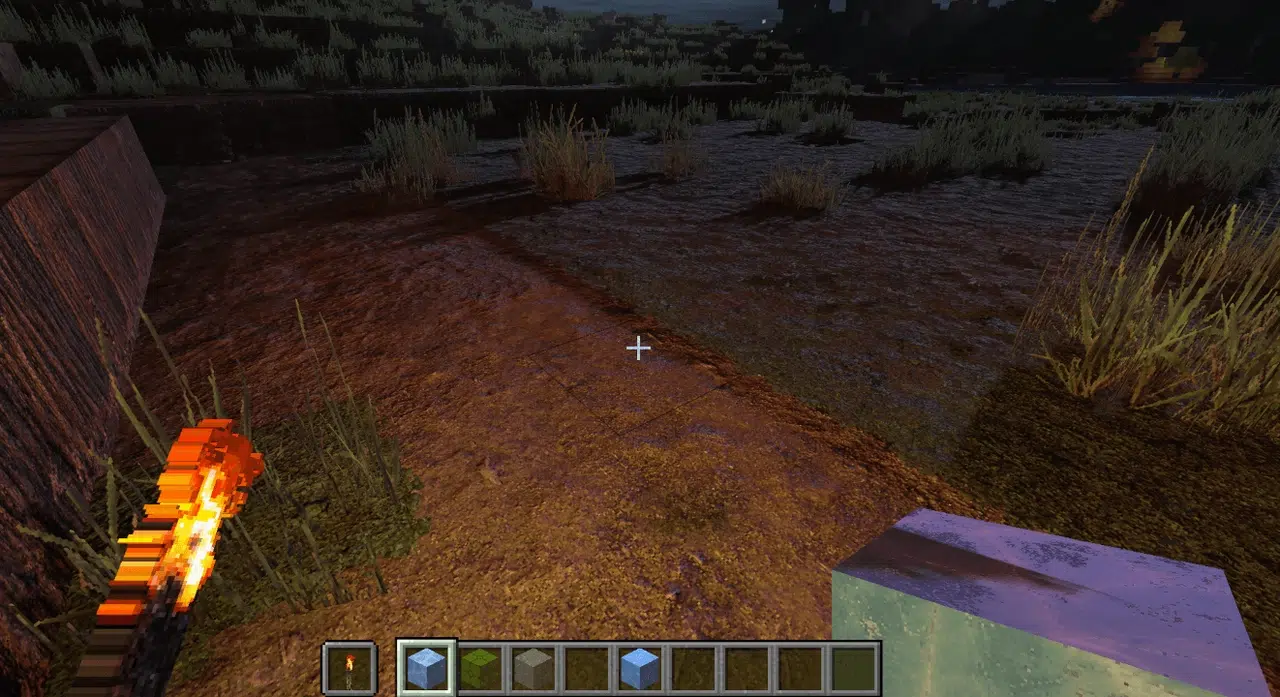
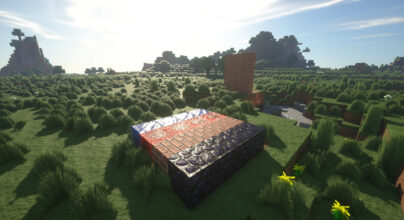
- Support for PBR (Physically Based Rendering) for more realistic materials.
- An excellent compromise between speed and visual quality.
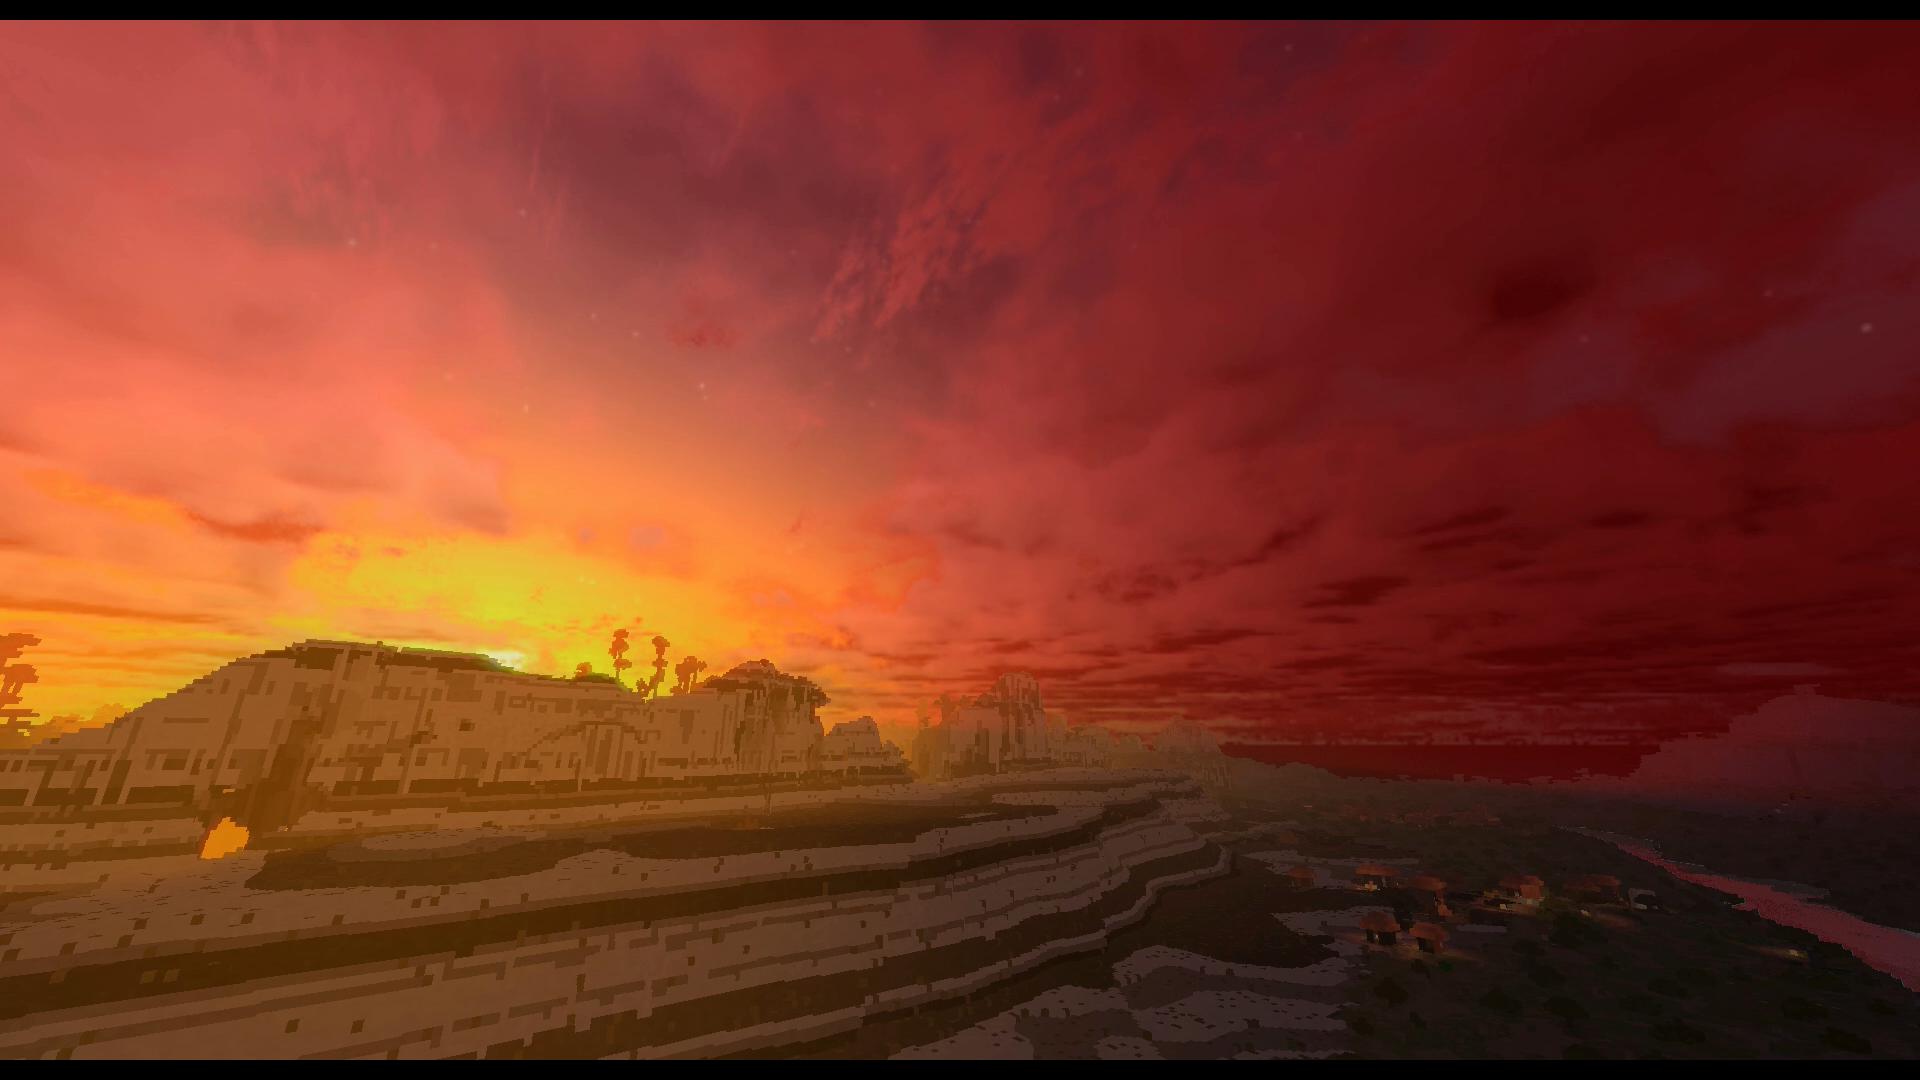
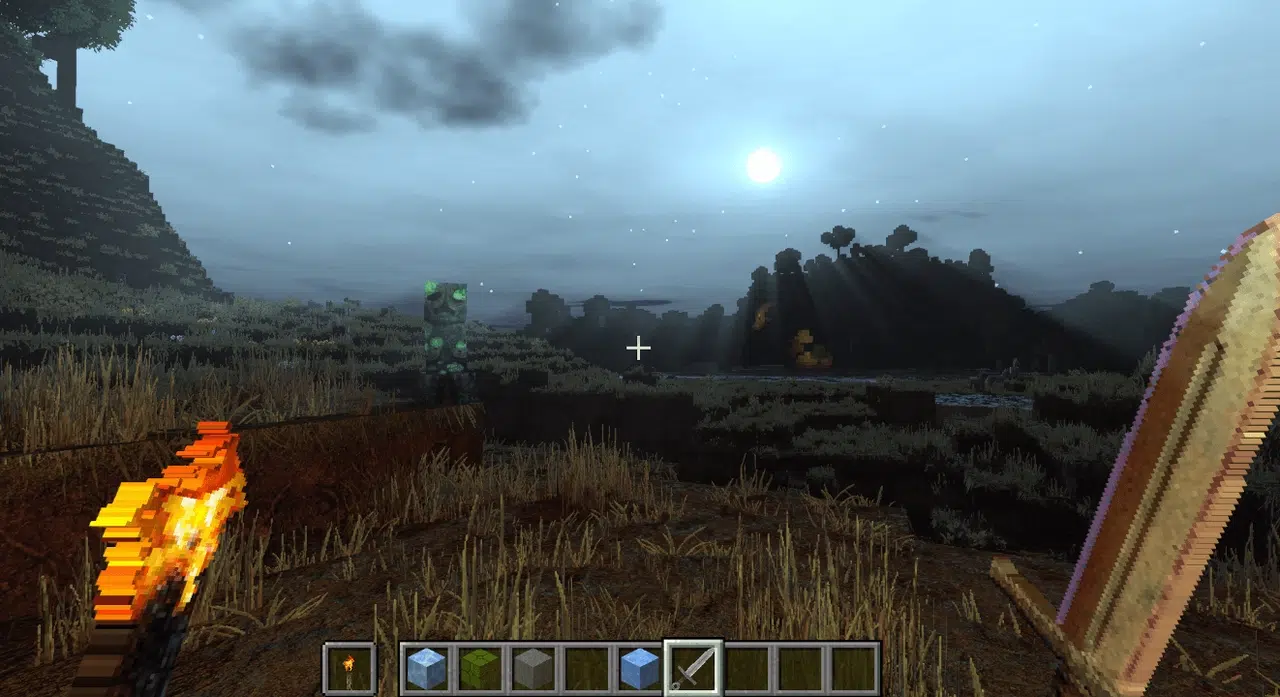
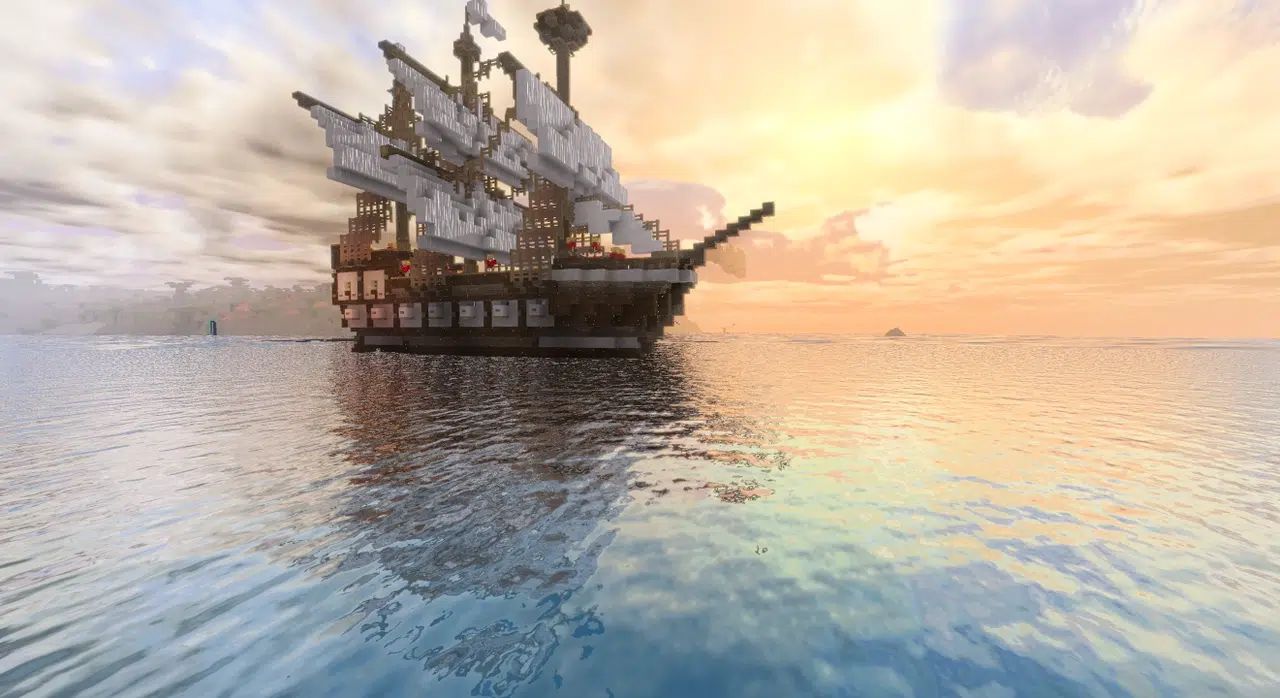
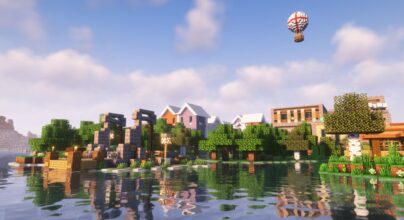
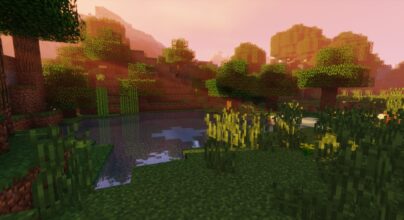
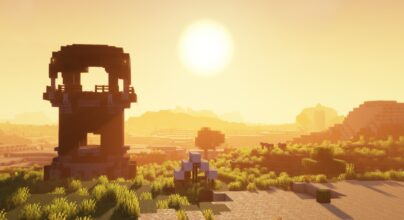
- Multiple graphic styles are available, including vanilla, cartoon, and realistic/fantasy renderings realistic display of light
Although already promising, Pegasus Shaders is still in development, and many features are planned for future updates. Among them:
- The integration of improvements from CTM/POM-FIX should allow better management of connected textures and relief.
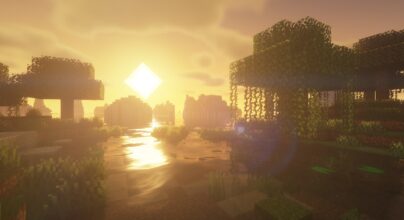
- Background lighting shaders for a more natural and immersive atmosphere.
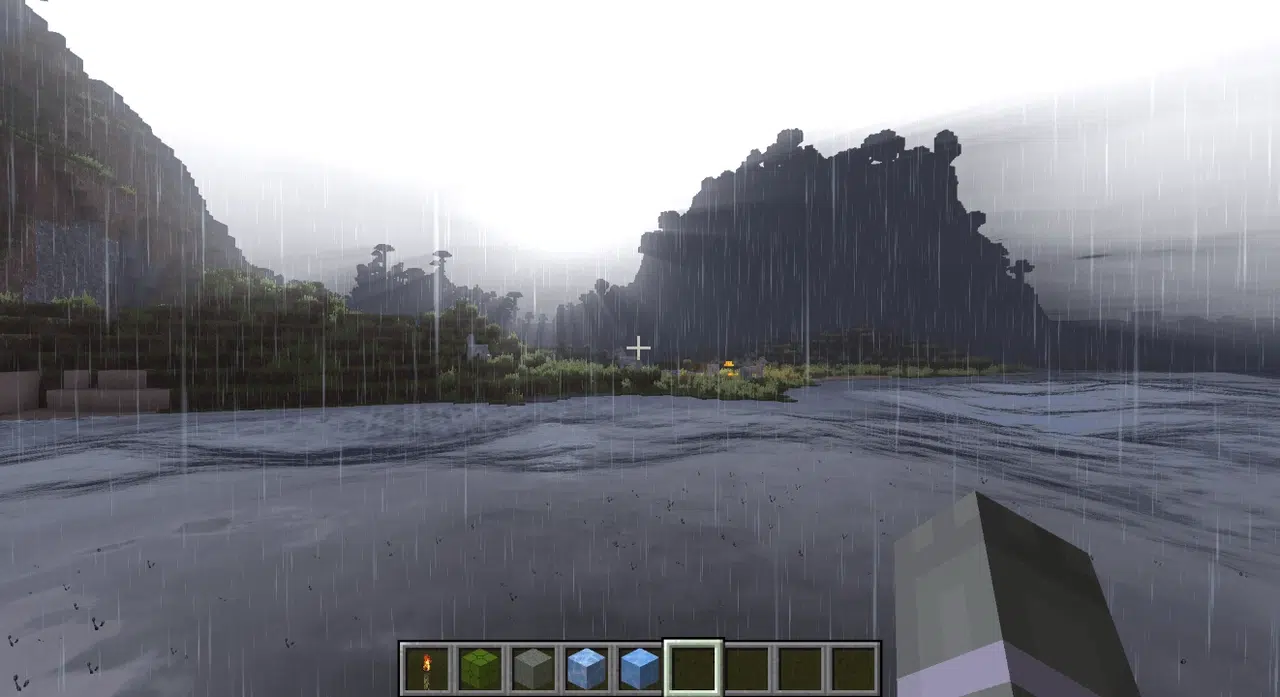
- Improved rain effects, with ripples and puddles that react to weather conditions.
- Optimized reflections for better management of reflective surfaces.
- Integration of some Icarus features without requiring the resource-intensive nature of light simulation.
Pegasus Shader is still in early development, but its ambition is clear: to offer a high-performance alternative to the most demanding shaders while integrating modern visual effects.
Pegasus Shaders stands out as a promising shader pack that skillfully enhances visuals while maintaining smooth gameplay performance. Minecraft worlds offer flexible and engaging customization options for players through visual styles, dynamic effects, and popular mods. Additionally, further enhancing the experience, the planned features, such as more refined reflections or surfaces responsive to the weather and some background lighting, show great potential to elevate the experience even further. Pegasus Shaders is quite ideal for those players who seek a visually rich and performance-conscious choice over heavier shader packs.
In case you want to look at some other great alternatives of shaders, here are three great shaders you should take a look at:
- BSL Shaders has been renowned for having beautiful lighting effects, soft shadows, and colorful shaders.
- Sildur Vibrant Shaders offer extensive customization options, ranging from light presets to the extreme, and are optimized to perform even on mid-range PCs.
- Complementary Shaders aims to provide a very polished and bug-free experience while maintaining gorgeous lighting and color accuracy.
Gallery
How to Install?
The installation guide has been relocated to the installation tab located at the top of the page.
Quick pollHelp Developers
Pegasus Shaders Links
Please note the following information:
- Some Shaders have not been appropriately updated to 1.21.9. Still, all have been tested and work correctly in Minecraft 1.21.9.
- All download links are original and from the creator himself. We never host or edit any files. We only distribute them as a direct link to our users, ensuring security and quality. If you doubt this, don’t forget to read our Terms.
- Additionally, browse the best Shader Packs for Minecraft, grouped by category for easier navigation.
We have compiled helpful installation guides to ensure correct installation of this shaderpack in your Minecraft. Follow these guides for a seamless installation experience.
Backup Guide
It is strongly advised to create a backup of your Minecraft map before updating the game to new versions to ensure the safety of your progress.
Locate the Folder
Locate your Minecraft installation folder. The default location for the Minecraft folder varies depending on your operating system:
- Windows: %appdata%.minecraft
- Mac: ~/Library/Application Support/minecraft
- Linux: ~/.minecraft
Make a Copy
Once you’ve found the Minecraft folder, make a copy of it and paste it into a different location, such as an external drive or a backup folder on your computer.
Save and Restore if Necessary
The copied Minecraft folder will serve as your backup. If anything goes wrong during the mod installation process or if you want to revert to the original state, you can replace the modified Minecraft folder with the backup.
Java Installation Guide
Optifine and Forge require Java to be installed on your computer in order to work properly with Minecraft.
Download the Java installer
Visit the official Java website here: On the website, click on the “Download Java” button.
Run the installer
Once the installer is downloaded, locate the file and double-click on it to run it.

OptiFine Loader
Required 1.8.8+Step by Step
Download Optifine:
Download the appropriate version for your Minecraft.
Install Optifine
Once the Optifine file is downloaded, run the installer and follow the on-screen instructions to install it

Download Shaders:
Download the Shader package that is compatible with your Minecraft version.
Launch Minecraft with OptiFine
Open the Minecraft launcher and select the newly installed OptiFine profile to launch the game.

Locate the Shaders option
Once in the game, navigate to the “Options” menu, then select “Video Settings,” and click on “Shaders.”

Install Shaders
In the Shaders menu, you’ll find a “shaderpacks” folder button. Copy the downloaded shader pack’s zip file into this folder.

Enable the shader in Minecraft
You should see the installed shader pack listed in the in-game Shaders menu. Select it to enable the shader.


Iris Loader
Required 1.16.2+Step by Step
Download Iris:
Download the latest version of the Iris installer.
Install Iris
Locate the downloaded Iris Installer and open it.
Choose installation type:
- Iris Install: Select this option if you don’t plan on using any other mods alongside Iris.
- Fabric Install: Opt for this option if you intend to use Iris with Fabric and other mods. The Iris jar files will be copied to the mods folder within the .minecraft directory.

Download Shader:
Download the Shader package that is compatible with your Minecraft version.
Launch Minecraft
Launch the Minecraft launcher. Choose the profile you decided to install in the previous step.

Install Shaders
Navigate to Options > Video Settings > Shader Packs within the game.

Drag and Drop
You can directly drag and drop the shaders zip file into the Minecraft window to install a shader pack.

You Might Also Like
Best
BSL Shaders 1.21.8, 1.21.7 → 1.20.1 is one of the most popular shaders available for Minecraft
Up!
The Complementary Reimagined Shaders can improve the Minecraft Java edition. It has a unique style that gives the original appearance to every object.
Best
Sildur’s Vibrant Shaders is one of the most renowned Minecraft shader packs.
Best
Complementary Shaders is one of the most popular Minecraft shader packs.
Outdated
SEUS Shaders, simply the favorite Shader of the Minecraft community.
Best
Bliss Shaders is another excellent Minecraft shader that gives a better appearance in the game and increases performance.