Review
How to install
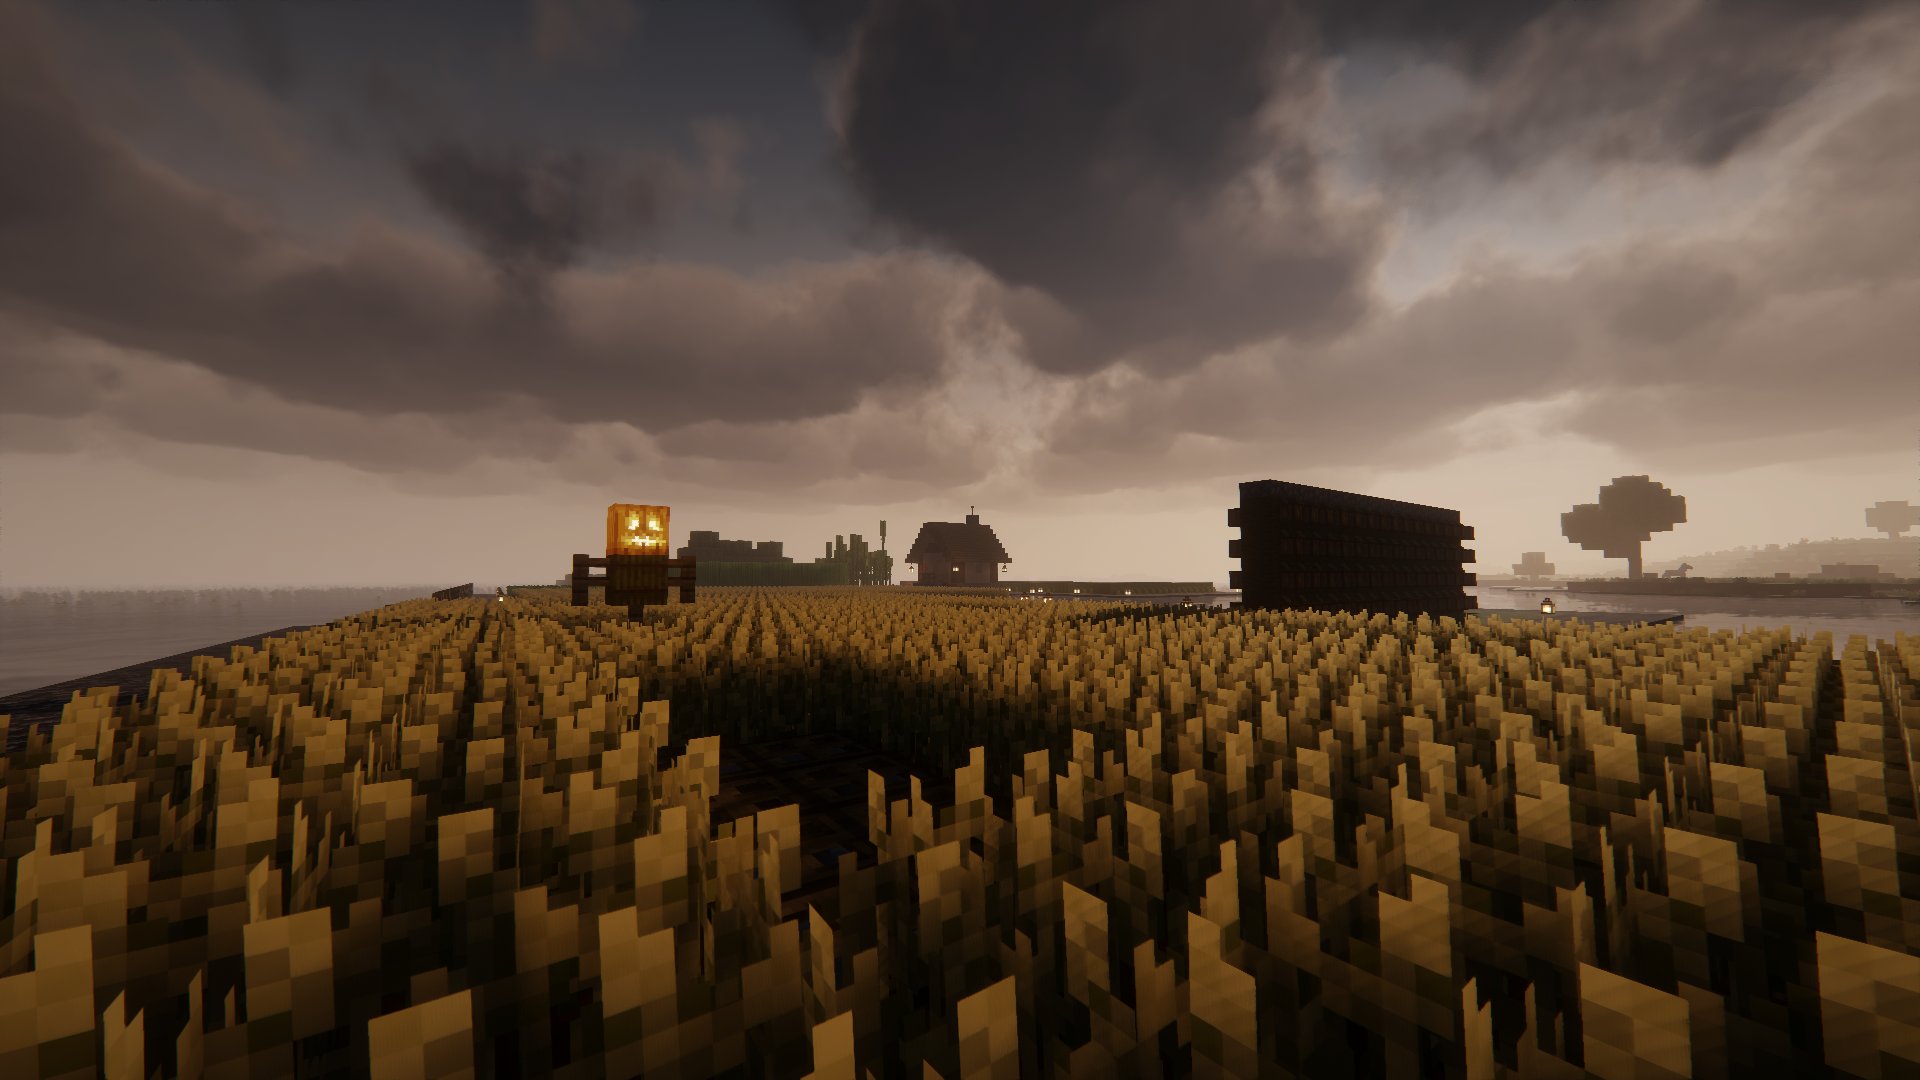
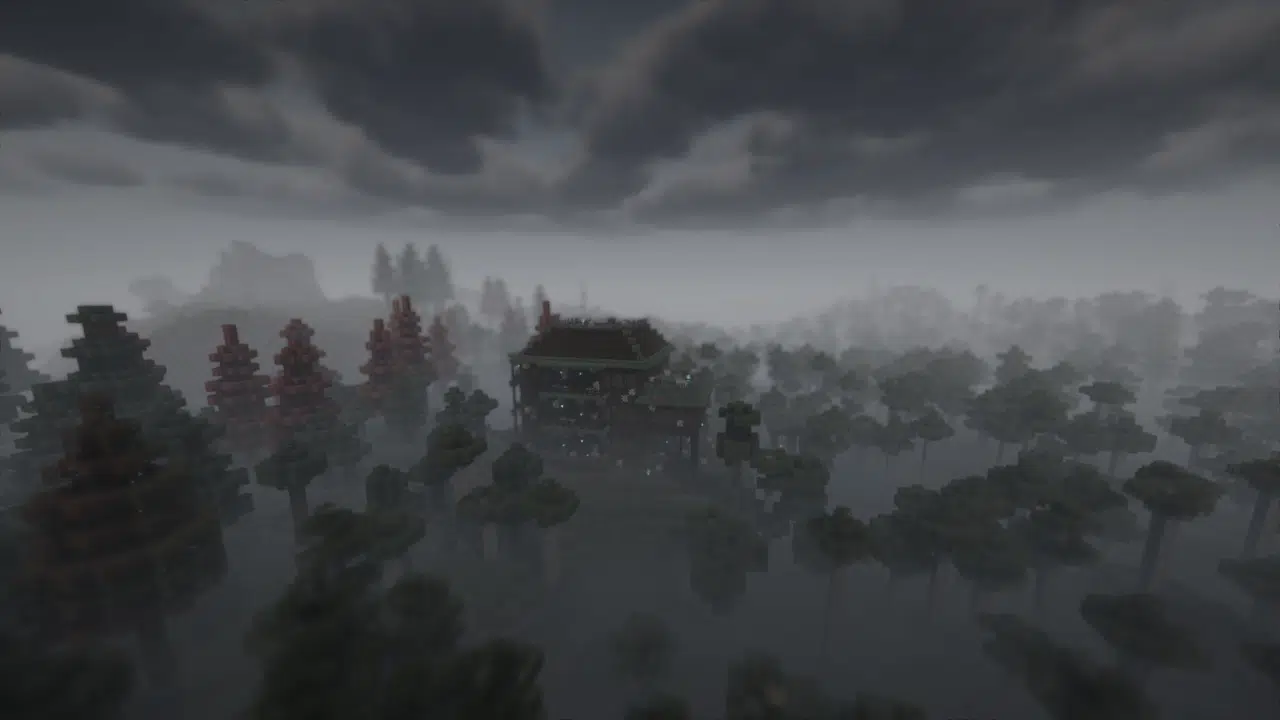
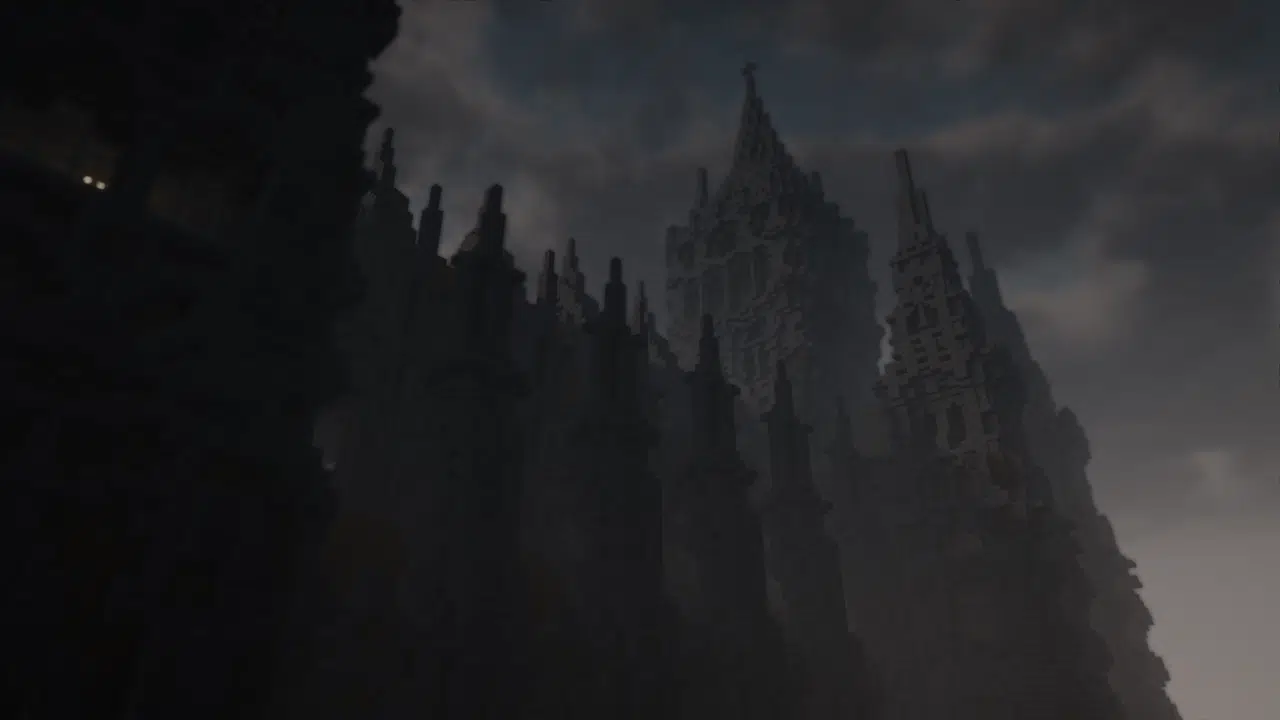
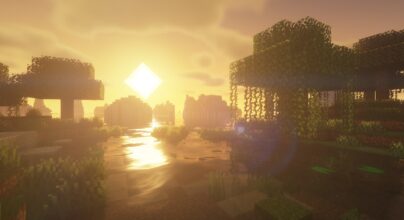
Spooklementary Shaders 26.2 → 26.1.2, created by SpacEagle17, is one of the most downloaded shader packs in Minecraft, surpassing 5 million downloads since its release in 2023. Built as a spooky edit of EminGT’sComplementary Shaders, Spooklementary transforms Minecraft’s usual look into something eerie and atmospheric. The goal is to change Minecraft’s visual elements like lighting, shadows, as well as colors to create a scary atmosphere. It might darken the skies, throw in some fog, and tweak the colors of blocks. This will make your world look mysterious.
It is perfect for Halloween or if you’re in the mood for a more sinister Minecraft experience. When you play with the Spooklementary Shader, everything looks different. Even during the day, it can make you feel frightened. The visuals might “send shivers down your spine,” as some players say. This shader is popular among those who love themed gameplay. So, want to make your Minecraft experience a bit creepier? Give the Spooklementary Shader a try! It’s like stepping into a haunted version of your favorite game.
Key Features
Here are the features of the Spooklementary Shader, along with explanations for each:
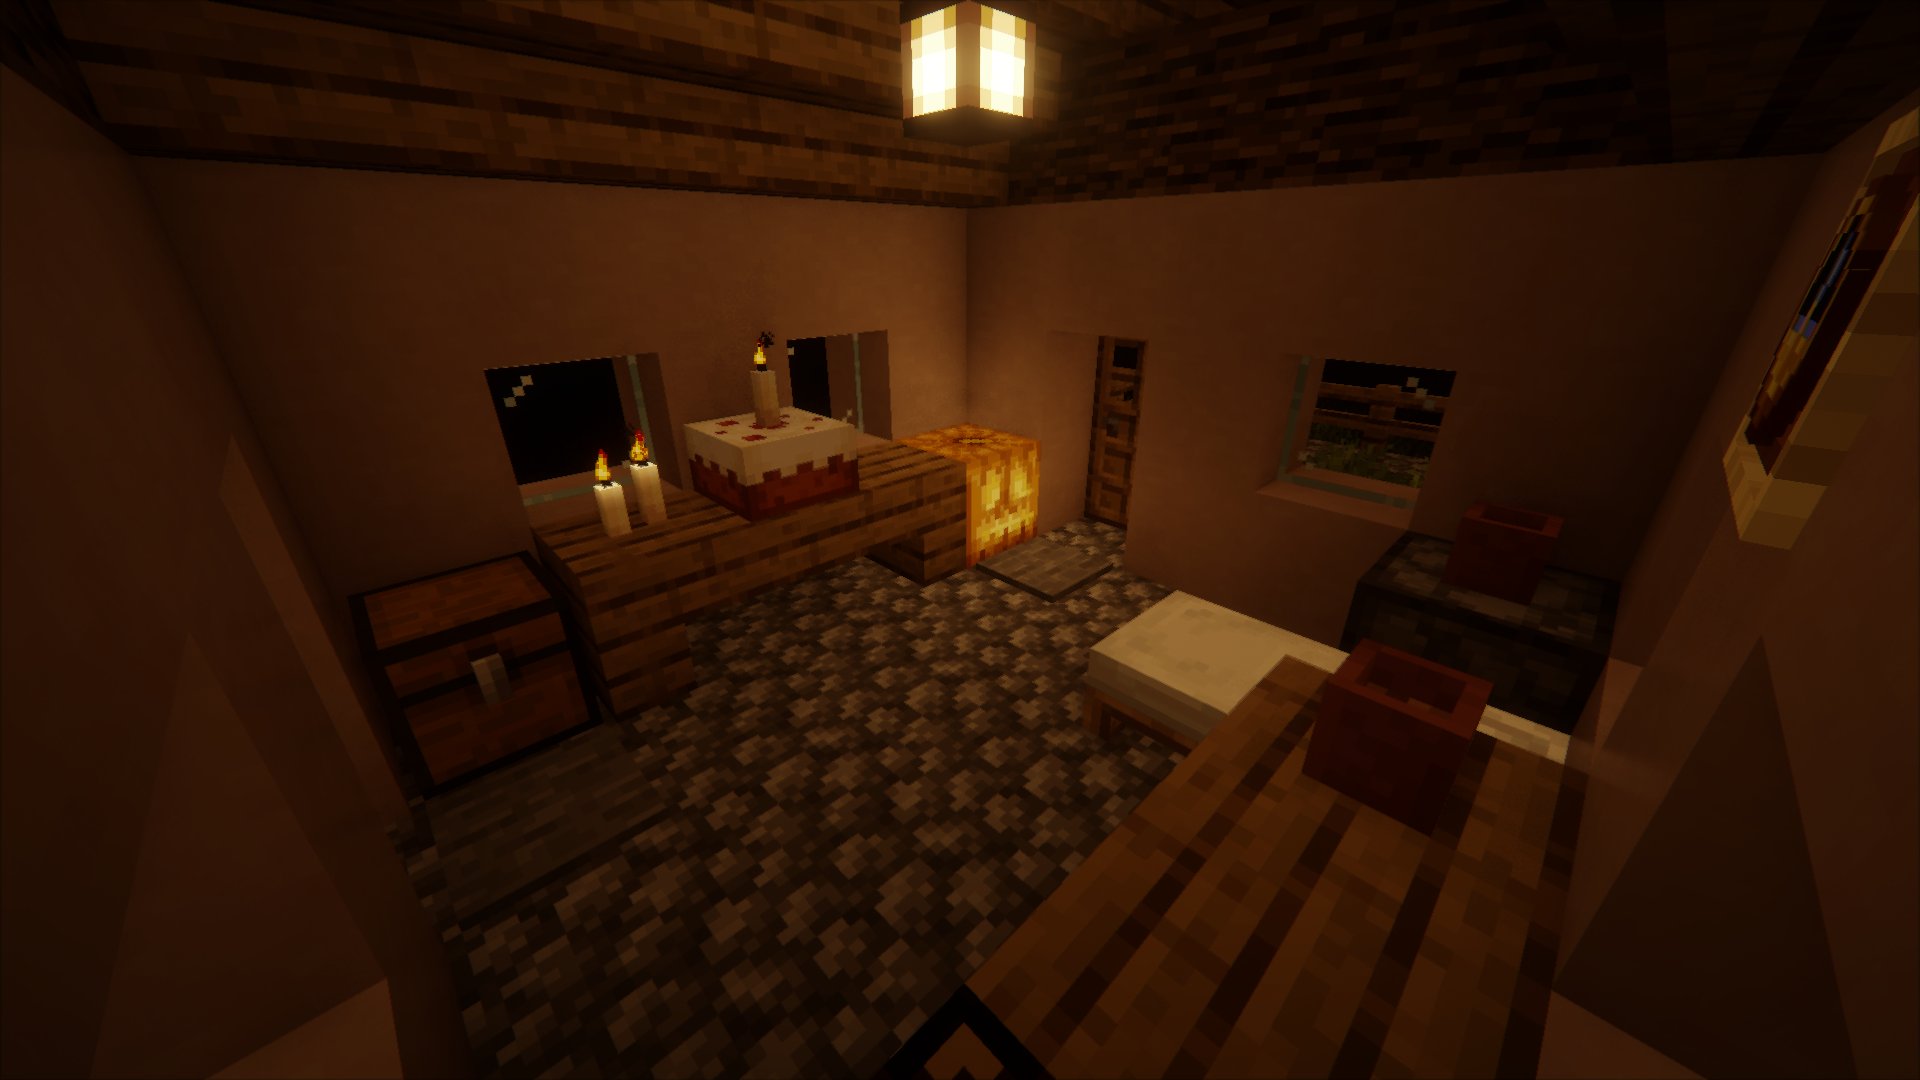
- Moody Aesthetic: The shader changes the look of the game. It creates a darker, as well as more atmospheric environment. This can boost the spooky feel.
- Blocklight Flickers: Light sources flicker to add an unsettling ambience. It makes the environment feel more dynamic as well as alive.
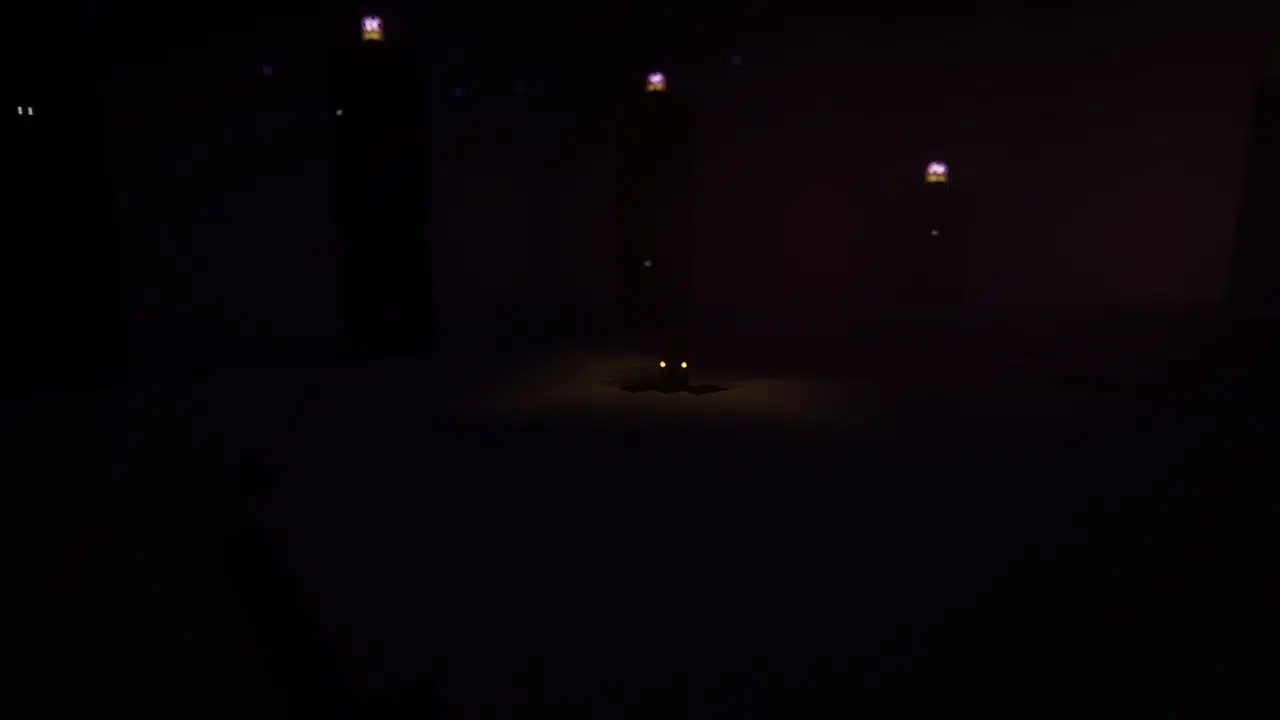
- Eyes in the Dark: Eyes randomly appear in dark areas, which can frighten players. It enhances the horror theme and surprises players.
- Rare Disappearances: As you play, leaves will suddenly vanish. This adds to the eerie atmosphere. It keeps players on edge as they explore the game.
- Flickering Emissives: Glowing objects can flicker. This makes the environment unpredictable. It also creates an unusual visual captivation.
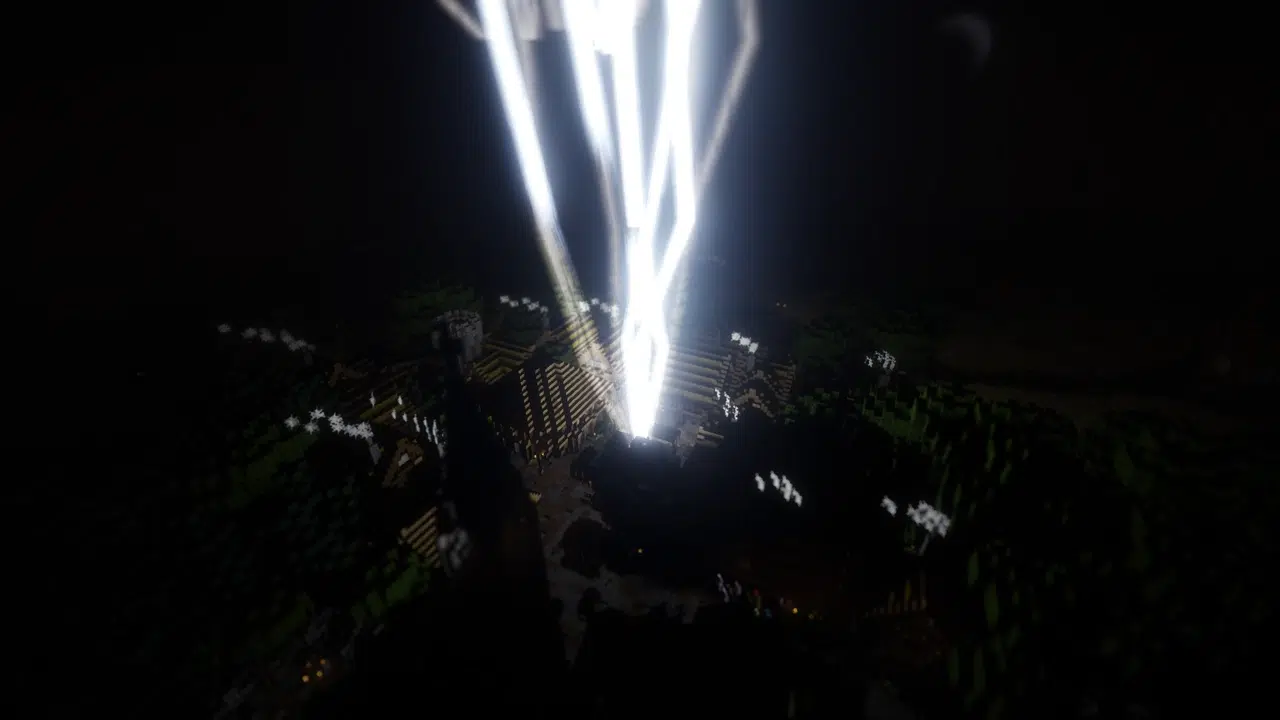
- Lightning Effects: Lightning bolts light up the surroundings as well as clouds. Such creates dramatic lighting changes. It can heighten tension during storms.
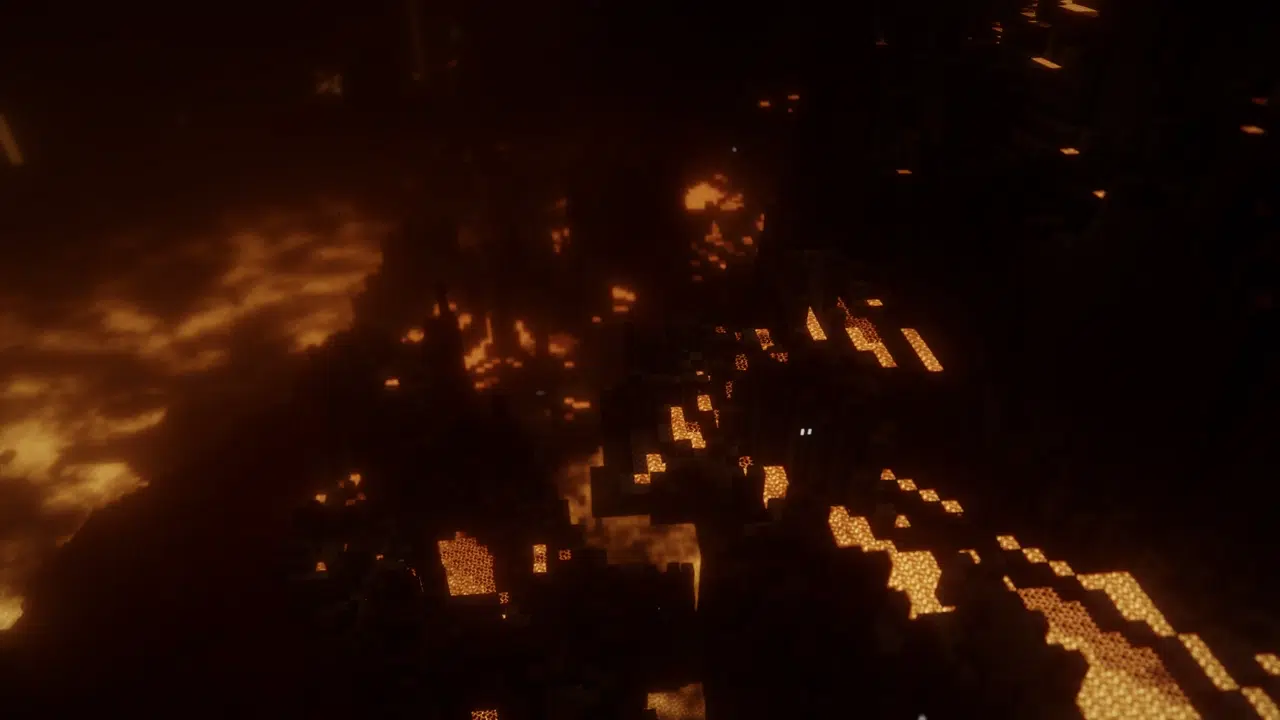
- Detailed Lava: Lava textures get a boost for more realism, thereby making them look amazing. It adds to the overall immersion of the environment.
- Custom Jack O’ Lantern Animation: Jack O’ Lanterns now have a unique flicker animation. This makes them look more realistic. It also adds to the Halloween theme.
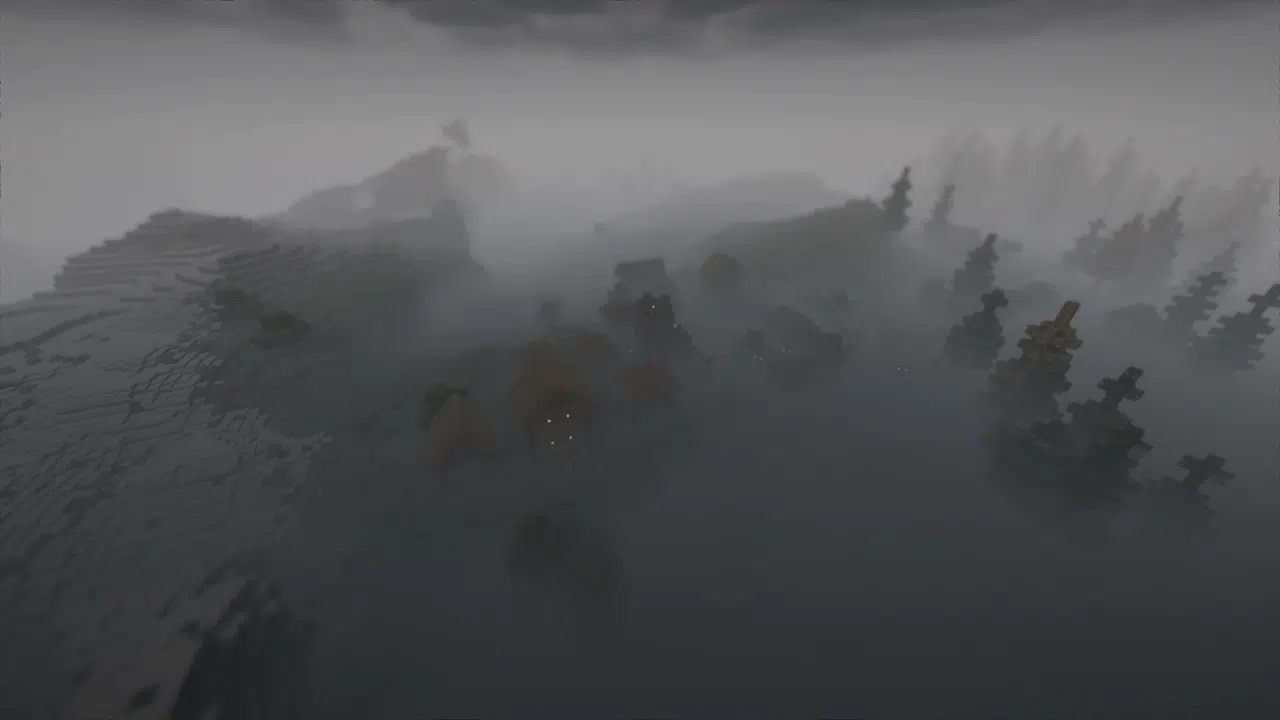
- Increased Fog: The shader adds more fog which obscures vision as well as creates a mysterious atmosphere.
- Enhanced Darkness: Darkness is intensified. Caves now have a darkness fade. This makes exploration more challenging.
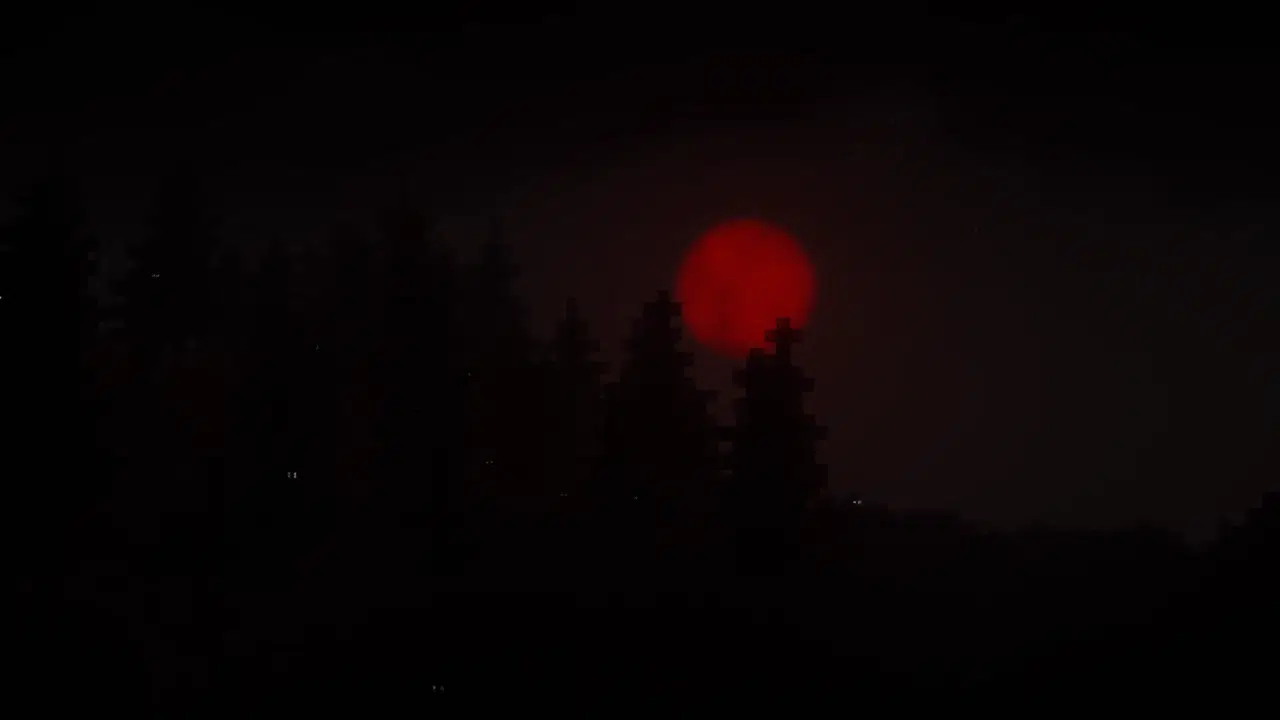
- Blood Moons: Full moons become blood moons. This adds a chilling visual element. It enhances the spooky theme of the shader.
- Chromatic Aberration: Staying in the dark too long increases chromatic aberration effects. This creates a disorienting visual experience.
Overall, Spooklementary Shader is great for Minecraft fans who want a darker, as well as more atmospheric world. It can easily add some spooky vibes to your adventures. This shader pack offers a unique, and visually engaging experience. Want to know the best part? Such is the fact that it is compatible with NVIDIA, AMD, INTEL, Mac, LINUX, and APPLE M1/M2. This means you have lots of options to explore its features.
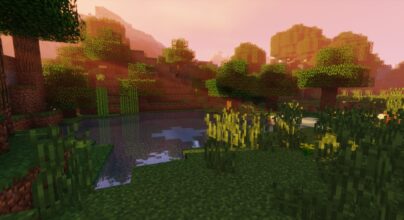
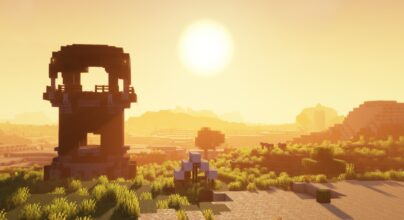
Gallery

How to Install?
To install Spooklementary Shaders, download the pack and use Iris or OptiFine to load it. Enable it in Minecraft’s video settings for spooky visuals. Need help setting it up? We’ve got a full guide to walk you through every step.
Quick pollHelp Developers
Spooklementary Shaders Links
Please note the following information:
- Some Shaders have not been appropriately updated to 26.1. Still, all have been tested and work correctly in Minecraft 26.1.
- All download links are original and from the creator himself. We never host or edit any files. We only distribute them as a direct link to our users, ensuring security and quality. If you doubt this, don’t forget to read our Terms.
- Additionally, browse the best Minecraft Shaders, grouped by category for easier navigation.
We have compiled helpful installation guides to ensure correct installation of this shaderpack in your Minecraft. Follow these guides for a seamless installation experience.
Backup Guide
It is strongly advised to create a backup of your Minecraft map before updating the game to new versions to ensure the safety of your progress.
Locate the Folder
Locate your Minecraft installation folder. The default location for the Minecraft folder varies depending on your operating system:
- Windows: %appdata%.minecraft
- Mac: ~/Library/Application Support/minecraft
- Linux: ~/.minecraft
Make a Copy
Once you’ve found the Minecraft folder, make a copy of it and paste it into a different location, such as an external drive or a backup folder on your computer.
Save and Restore if Necessary
The copied Minecraft folder will serve as your backup. If anything goes wrong during the mod installation process or if you want to revert to the original state, you can replace the modified Minecraft folder with the backup.
Java Installation Guide
Optifine and Forge require Java to be installed on your computer in order to work properly with Minecraft.
Download the Java installer
Visit the official Java website here: On the website, click on the “Download Java” button.
Run the installer
Once the installer is downloaded, locate the file and double-click on it to run it.

OptiFine Loader
Required 1.8.8+Step by Step
Download Optifine:
Download the appropriate version for your Minecraft.
Install Optifine
Once the Optifine file is downloaded, run the installer and follow the on-screen instructions to install it

Download Shaders:
Download the Shader package that is compatible with your Minecraft version.
Launch Minecraft with OptiFine
Open the Minecraft launcher and select the newly installed OptiFine profile to launch the game.

Locate the Shaders option
Once in the game, navigate to the “Options” menu, then select “Video Settings,” and click on “Shaders.”

Install Shaders
In the Shaders menu, you’ll find a “shaderpacks” folder button. Copy the downloaded shader pack’s zip file into this folder.

Enable the shader in Minecraft
You should see the installed shader pack listed in the in-game Shaders menu. Select it to enable the shader.


Iris Loader
Required 1.16.2+Step by Step
Download Iris:
Download the latest version of the Iris installer.
Install Iris
Locate the downloaded Iris Installer and open it.
Choose installation type:
- Iris Install: Select this option if you don’t plan on using any other mods alongside Iris.
- Fabric Install: Opt for this option if you intend to use Iris with Fabric and other mods. The Iris jar files will be copied to the mods folder within the .minecraft directory.

Download Shader:
Download the Shader package that is compatible with your Minecraft version.
Launch Minecraft
Launch the Minecraft launcher. Choose the profile you decided to install in the previous step.

Install Shaders
Navigate to Options > Video Settings > Shader Packs within the game.

Drag and Drop
You can directly drag and drop the shaders zip file into the Minecraft window to install a shader pack.

You Might Also Like

New
OPAL Shaders combines a fantasy feel and contrasting colours without compromising the original game’s aesthetic
Best
BSL Shaders is one of the most popular shaders available for Minecraft

Up!
The Complementary Reimagined Shaders can improve the Minecraft Java edition.

Best
Sildur’s Vibrant Shaders is one of the most renowned Minecraft shader packs.
Best
Complementary Shaders is one of the most popular Minecraft shader packs.