Review
How to install
Voyager Shaders 1.21.11 → 1.21.10 Adds a renewed gaming experience thanks to its graphic improvements. One of the mistakes that Minecraft players usually make is resting on their laurels. In other words, they are always complacent and don’t even fancy the idea of trying out something new. If you don’t know, Minecraft is a game that is all about exploration. You have got to test out new stuff to have an immersive experience. Talking about testing out something new, Voyager Shaders is one of those Minecraft Shaders that you don’t want to miss out on for any reason. This is because, given the reviews from other players and fans of Minecraft, there is every reason to believe that its features are mind-blowing in lots of regards. The principal aim of this post is to reveal why you need to start considering installing Voyager Shader 2.0. There is no doubt that after reading the details below, you will be wondering why it has taken this long to start exploring what this mod has got to offer. Voyager Shader 2.0 is a mod that the popular symbiome67 has created. It came into existence in May 2021. Just as mentioned above, this mod has gotten numerous positive reviews from users. At least almost 7,000 downloads are not harmful from a mod that was released barely weeks ago. If you don’t know, the former version of the Voyager Shader had some shortcomings in terms of effects. Although it was pretty impressive, there was room for improvement. This is what Voyager Shader has been created to correct in the world of Minecraft.
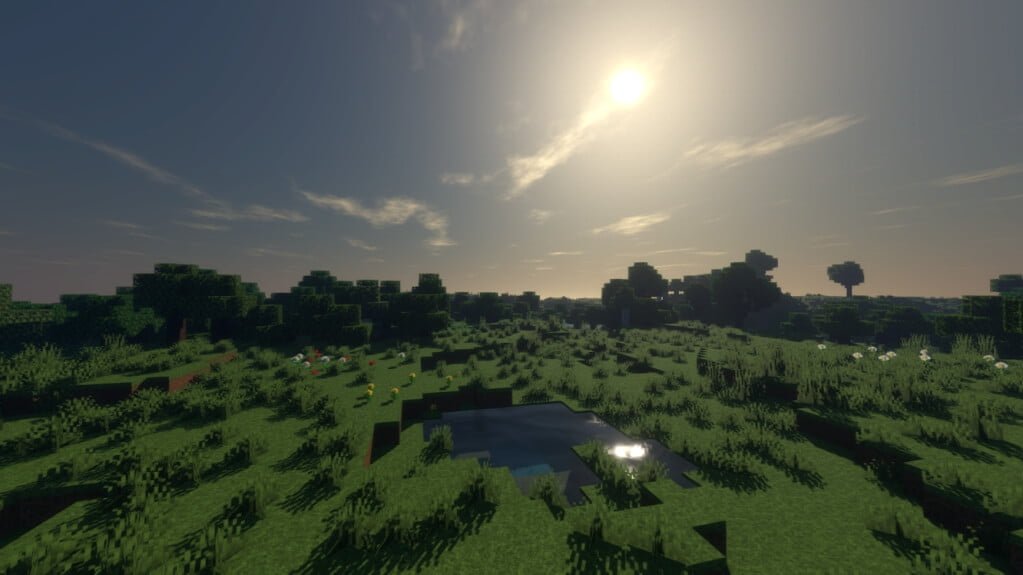
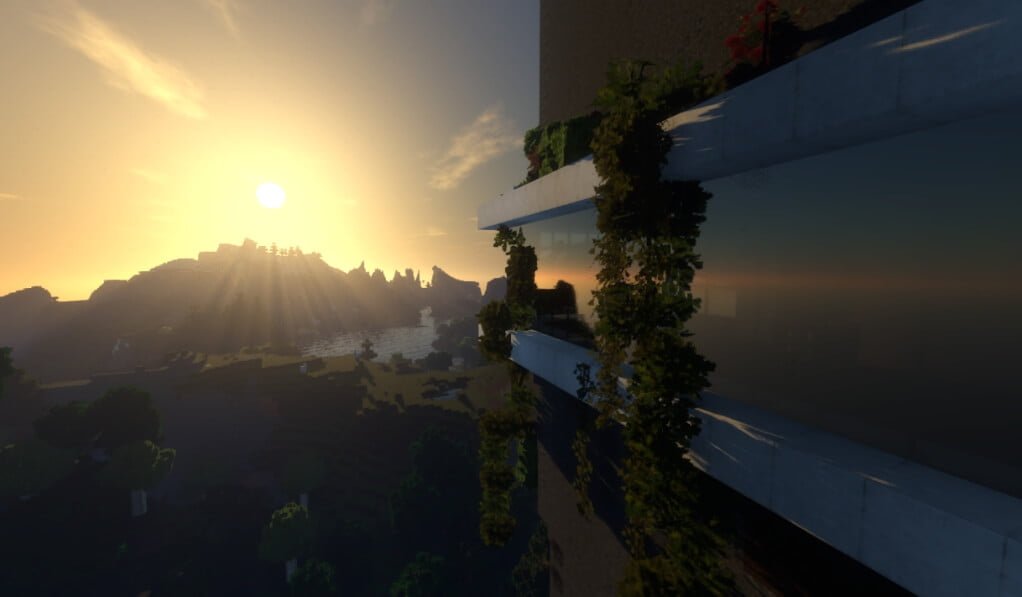
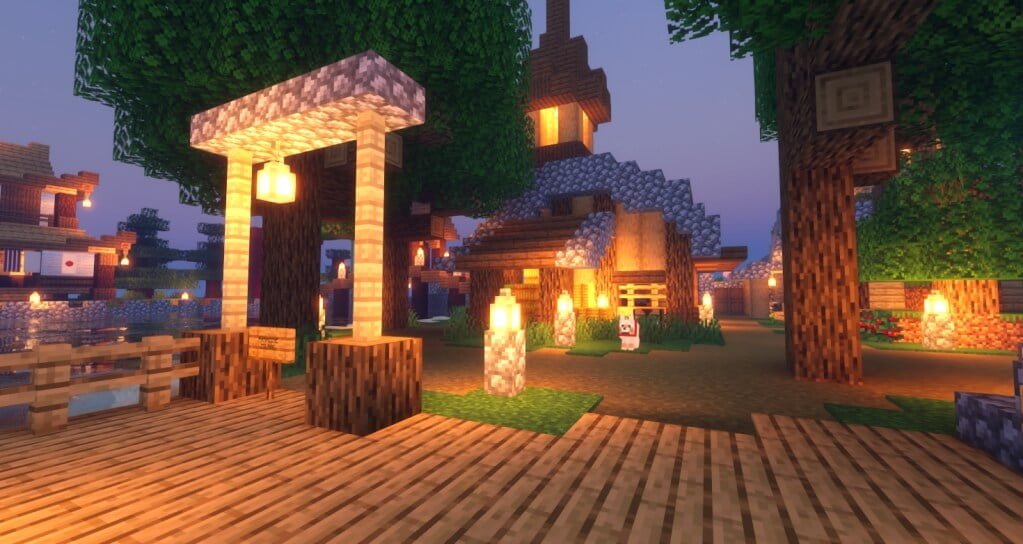
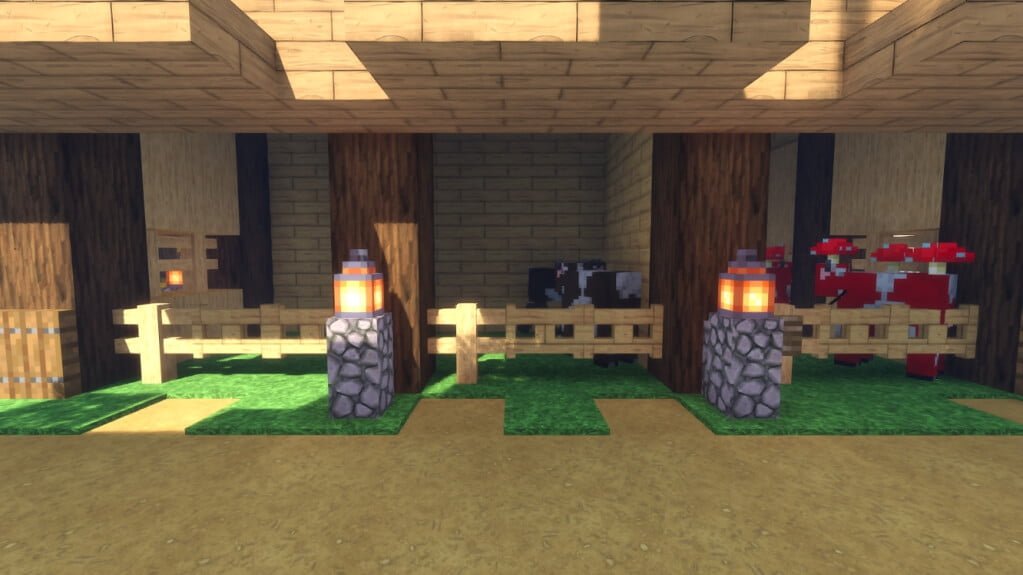
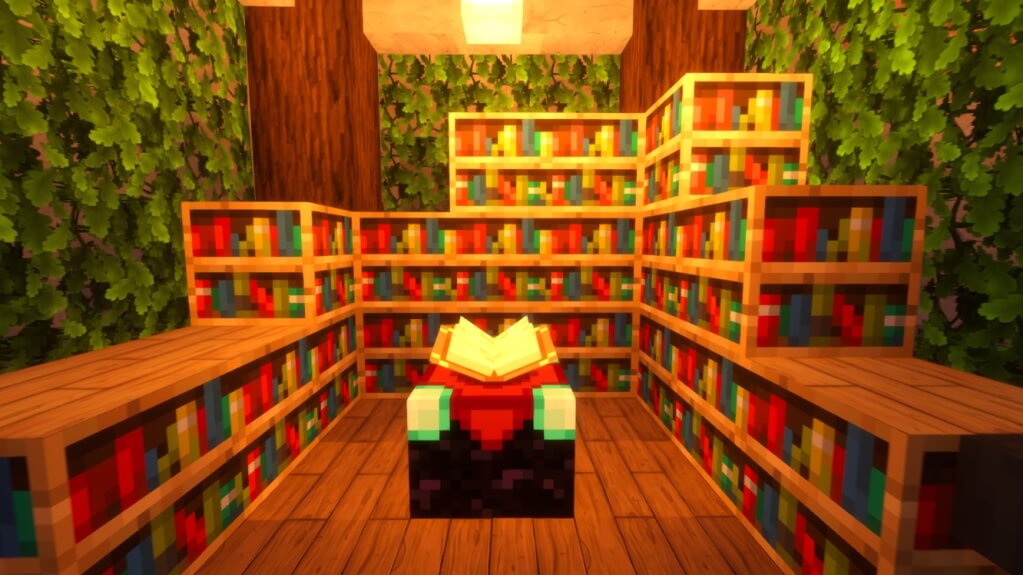
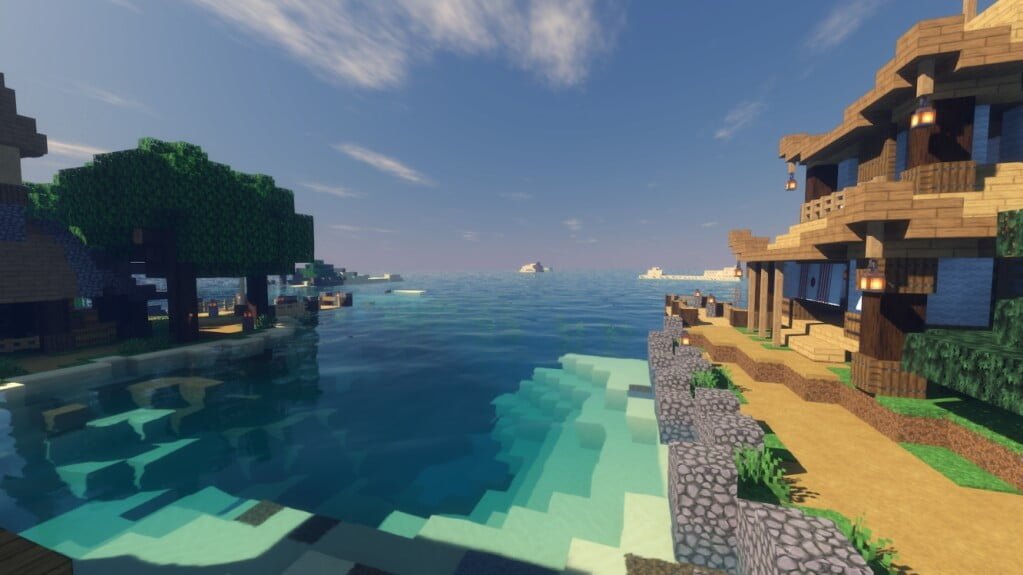
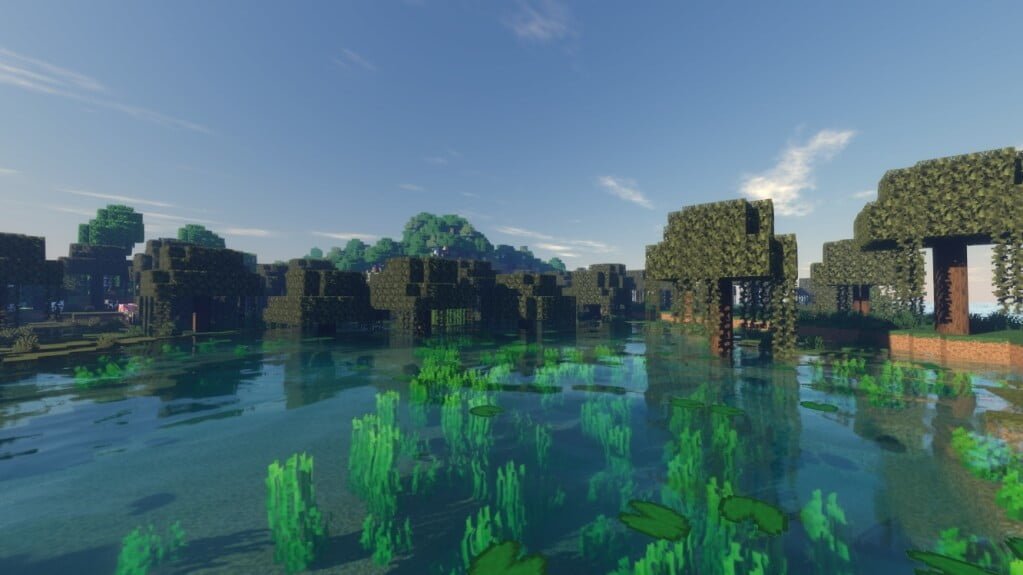
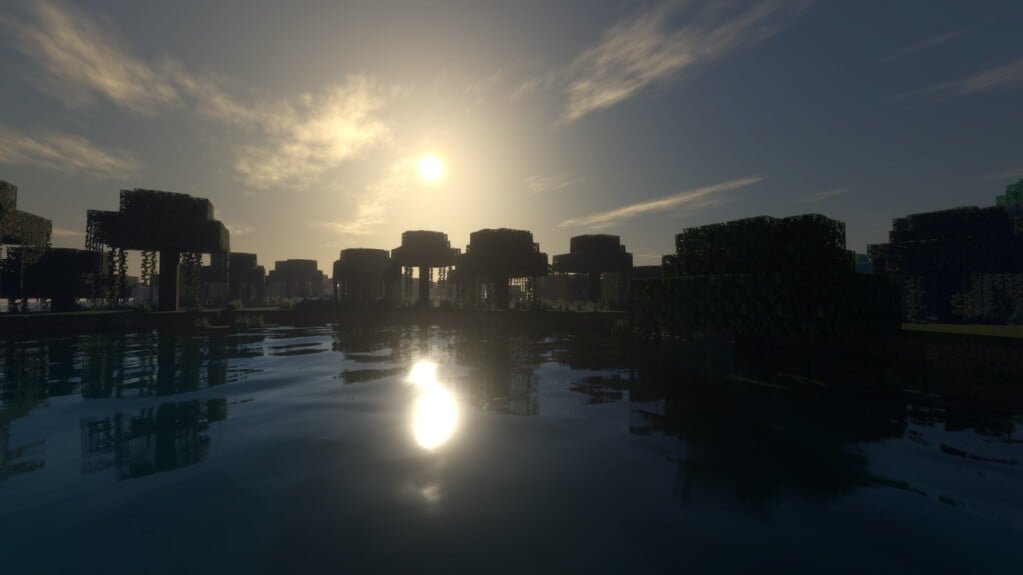
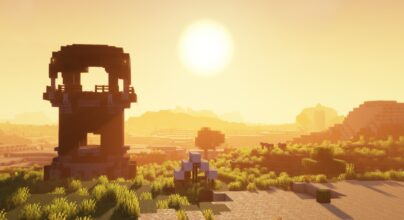
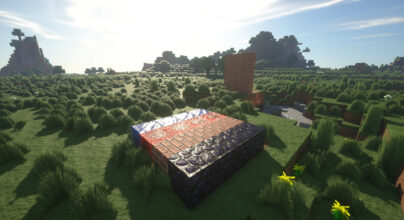
One of the most notable additions that this new mod is known for is the effects that it brings. If you have thought that Minecraft mods have reached their peak when it comes to the addition of the impact, Voyager shader 2.0 Shaders is going to prove you wrong. The truth is that its additions are nothing short of impressive. Very few shaders can take the game’s visuals from nothing into something quite extraordinary like this one. Imagine your world looking real than before. Everyone knows that the default visuals and graphics of Minecraft aren’t good enough. They don’t just don’t cut it to enable players like you to get the ultimate gaming experience. The truth is that if you want to enjoy premium graphics, there is every reason to make use of a tested and proven Shaders Mod. This is what Voyager Shader 2.0 have been created to address. After its installation, you won’t have to bother about how your world looks again. This is because everything will come alive. Immensely few mods can improve your game’s graphics and visuals without compromise. Voyager Shader 2.0 is one of such.
Its creator, symbiome67, has done everything possible to ensure you get an upgrade to the former version. If you love the first Voyager shader, there is no doubt that you will get hooked by what this one tends to offer players.
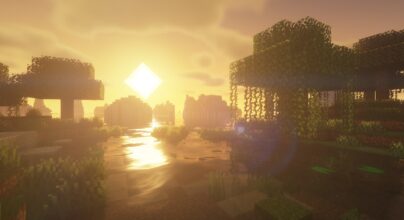
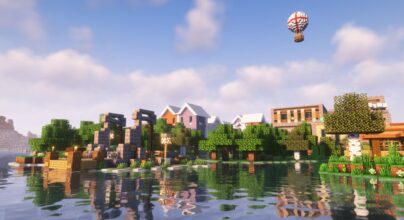
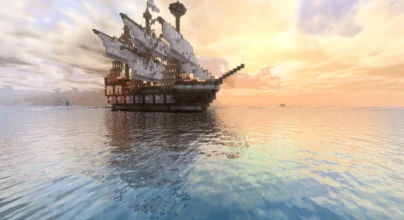
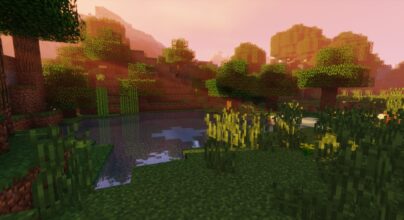
Gallery
How to Install?
The installation guide has been relocated to the installation tab located at the top of the page.
Quick pollHelp Developers
Voyager Shader Links
Please note the following information:
- Some Shaders have not been appropriately updated to 26.1. Still, all have been tested and work correctly in Minecraft 26.1.
- All download links are original and from the creator himself. We never host or edit any files. We only distribute them as a direct link to our users, ensuring security and quality. If you doubt this, don’t forget to read our Terms.
- Additionally, browse the best Minecraft Shaders, grouped by category for easier navigation.
We have compiled helpful installation guides to ensure correct installation of this shaderpack in your Minecraft. Follow these guides for a seamless installation experience.
Backup Guide
It is strongly advised to create a backup of your Minecraft map before updating the game to new versions to ensure the safety of your progress.
Locate the Folder
Locate your Minecraft installation folder. The default location for the Minecraft folder varies depending on your operating system:
- Windows: %appdata%.minecraft
- Mac: ~/Library/Application Support/minecraft
- Linux: ~/.minecraft
Make a Copy
Once you’ve found the Minecraft folder, make a copy of it and paste it into a different location, such as an external drive or a backup folder on your computer.
Save and Restore if Necessary
The copied Minecraft folder will serve as your backup. If anything goes wrong during the mod installation process or if you want to revert to the original state, you can replace the modified Minecraft folder with the backup.
Java Installation Guide
Optifine and Forge require Java to be installed on your computer in order to work properly with Minecraft.
Download the Java installer
Visit the official Java website here: On the website, click on the “Download Java” button.
Run the installer
Once the installer is downloaded, locate the file and double-click on it to run it.

OptiFine Loader
Required 1.8.8+Step by Step
Download Optifine:
Download the appropriate version for your Minecraft.
Install Optifine
Once the Optifine file is downloaded, run the installer and follow the on-screen instructions to install it

Download Shaders:
Download the Shader package that is compatible with your Minecraft version.
Launch Minecraft with OptiFine
Open the Minecraft launcher and select the newly installed OptiFine profile to launch the game.

Locate the Shaders option
Once in the game, navigate to the “Options” menu, then select “Video Settings,” and click on “Shaders.”

Install Shaders
In the Shaders menu, you’ll find a “shaderpacks” folder button. Copy the downloaded shader pack’s zip file into this folder.

Enable the shader in Minecraft
You should see the installed shader pack listed in the in-game Shaders menu. Select it to enable the shader.


Iris Loader
Required 1.16.2+Step by Step
Download Iris:
Download the latest version of the Iris installer.
Install Iris
Locate the downloaded Iris Installer and open it.
Choose installation type:
- Iris Install: Select this option if you don’t plan on using any other mods alongside Iris.
- Fabric Install: Opt for this option if you intend to use Iris with Fabric and other mods. The Iris jar files will be copied to the mods folder within the .minecraft directory.

Download Shader:
Download the Shader package that is compatible with your Minecraft version.
Launch Minecraft
Launch the Minecraft launcher. Choose the profile you decided to install in the previous step.

Install Shaders
Navigate to Options > Video Settings > Shader Packs within the game.

Drag and Drop
You can directly drag and drop the shaders zip file into the Minecraft window to install a shader pack.

You Might Also Like
Best
BSL Shaders is one of the most popular shaders available for Minecraft
Up!
The Complementary Reimagined Shaders can improve the Minecraft Java edition.
New
Pegasus Shaders stands out as a promising shader pack.
Best
Sildur’s Vibrant Shaders is one of the most renowned Minecraft shader packs.
Best
Complementary Shaders is one of the most popular Minecraft shader packs.
Outdated
SEUS Shaders, simply the favorite Shader of the Minecraft community.