Realism Mats Texture Pack 1.21.8 → 1.21.9
Hot
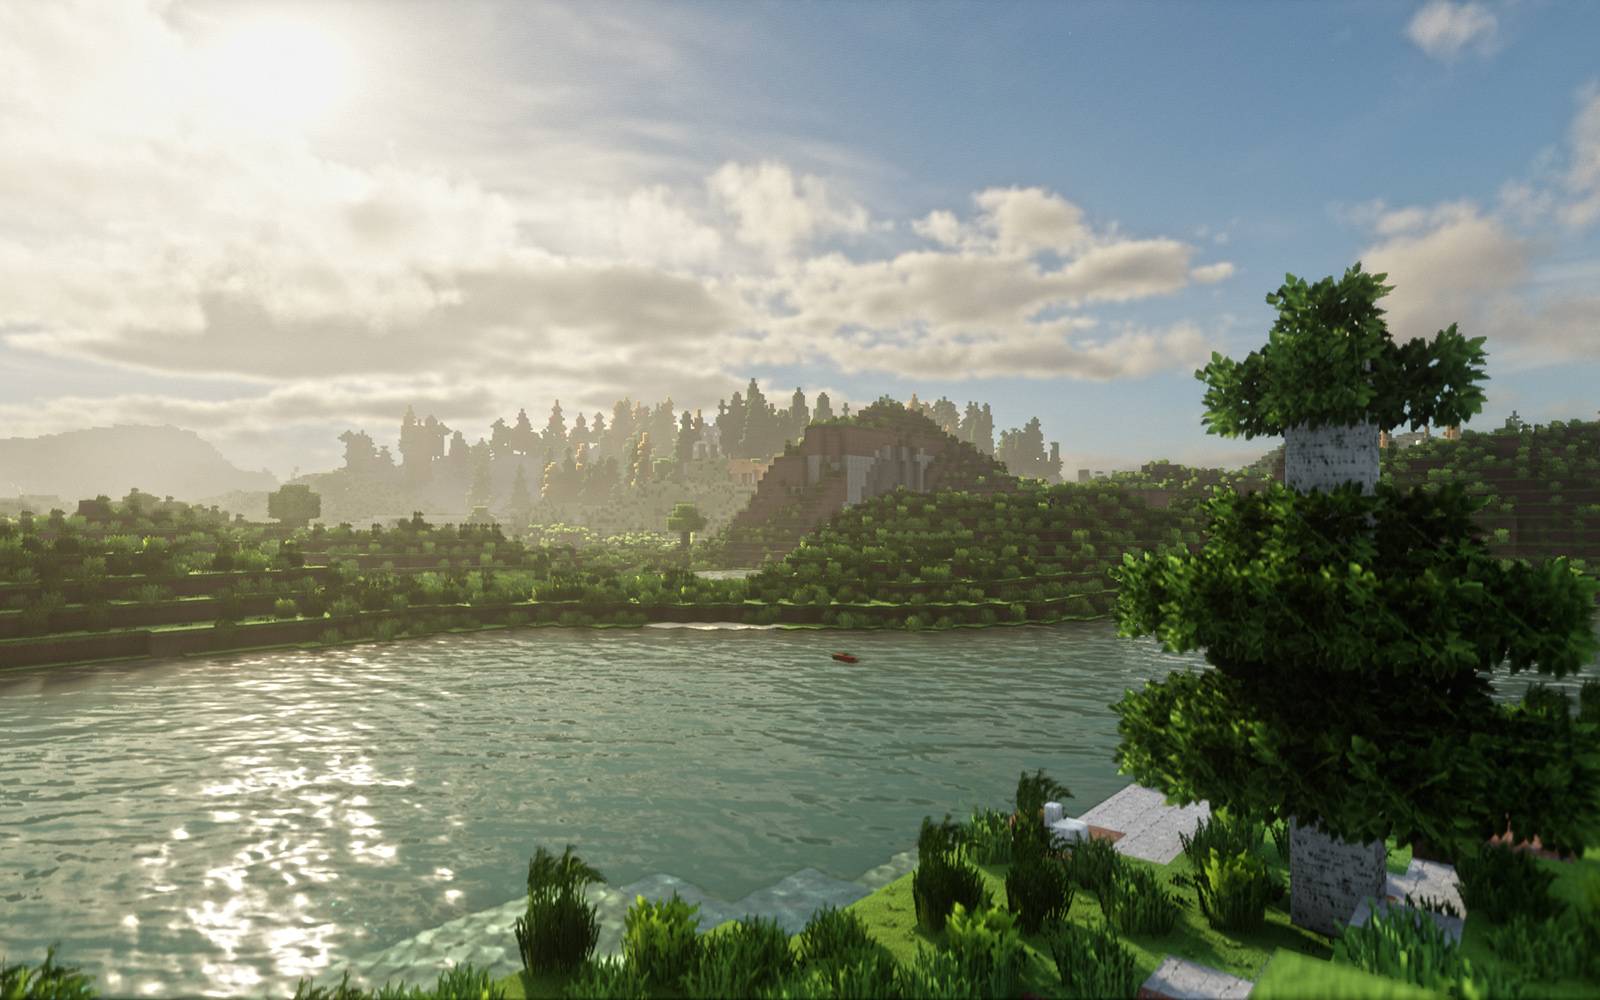
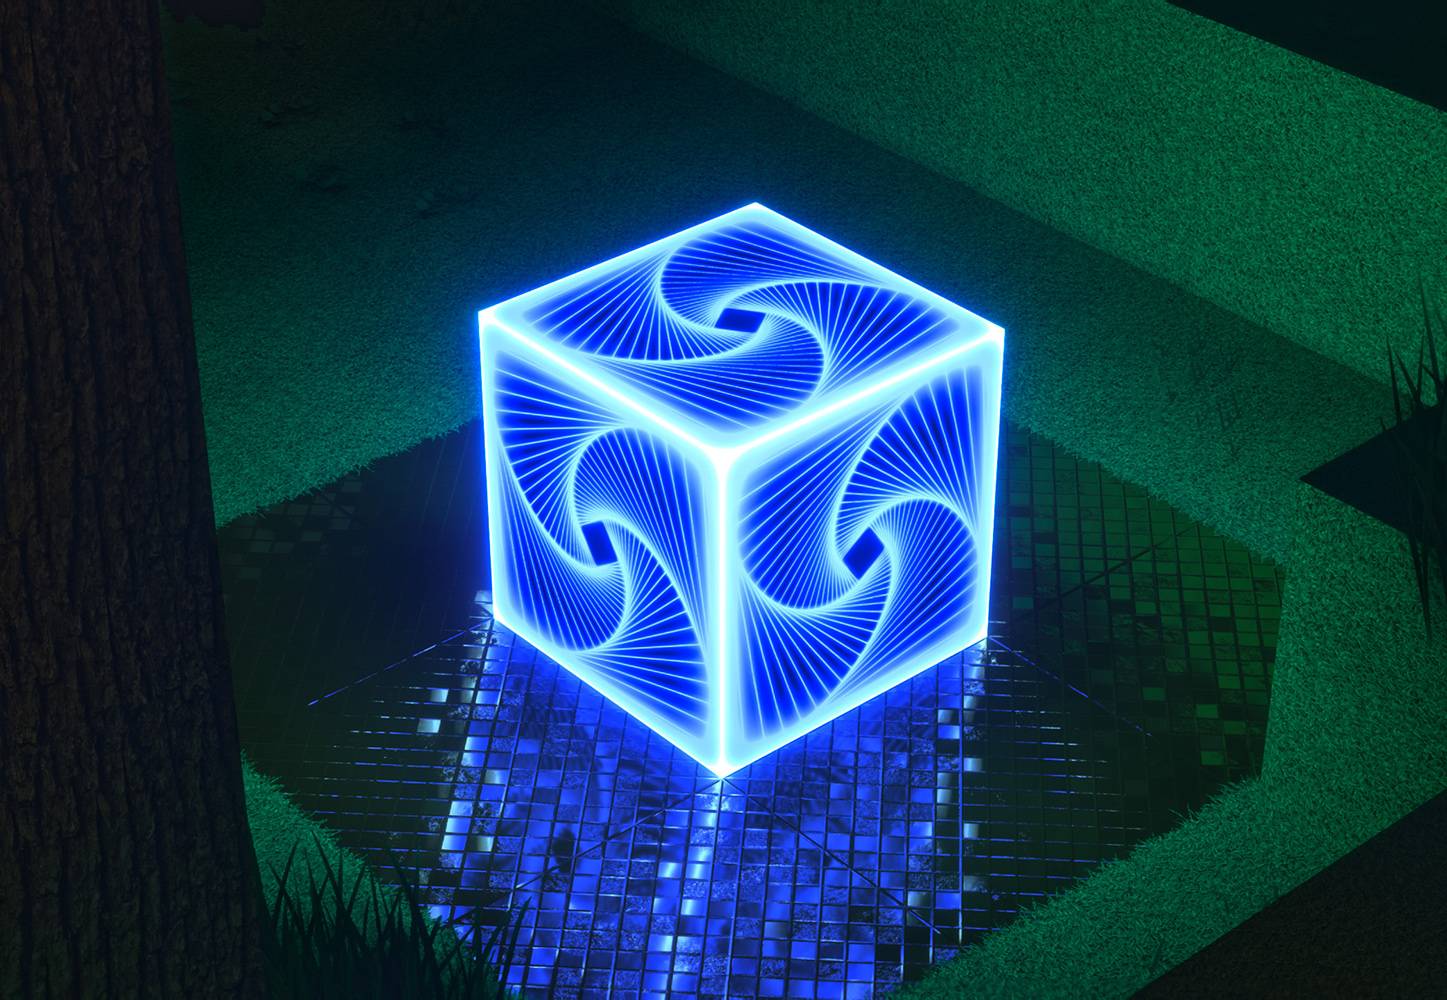
Realism Mats transforms Minecraft with ultra-realistic textures, 3D surfaces, and lifelike lighting—perfect for high-end immersive builds.
Realism Mats Texture Pack 1.21.8 → 1.21.9 is one of the most complete and visually stunning Minecraft resource packs available today. Designed with a strong focus on realism, clarity, and performance, it transforms your Minecraft world into a breathtakingly immersive environment that still feels true to the original game. Whether you are gathering resources, building an empire, or exploring the wilderness in survival mode, Realism Mats elevates every moment with ultra-detailed textures and professionally balanced visuals.
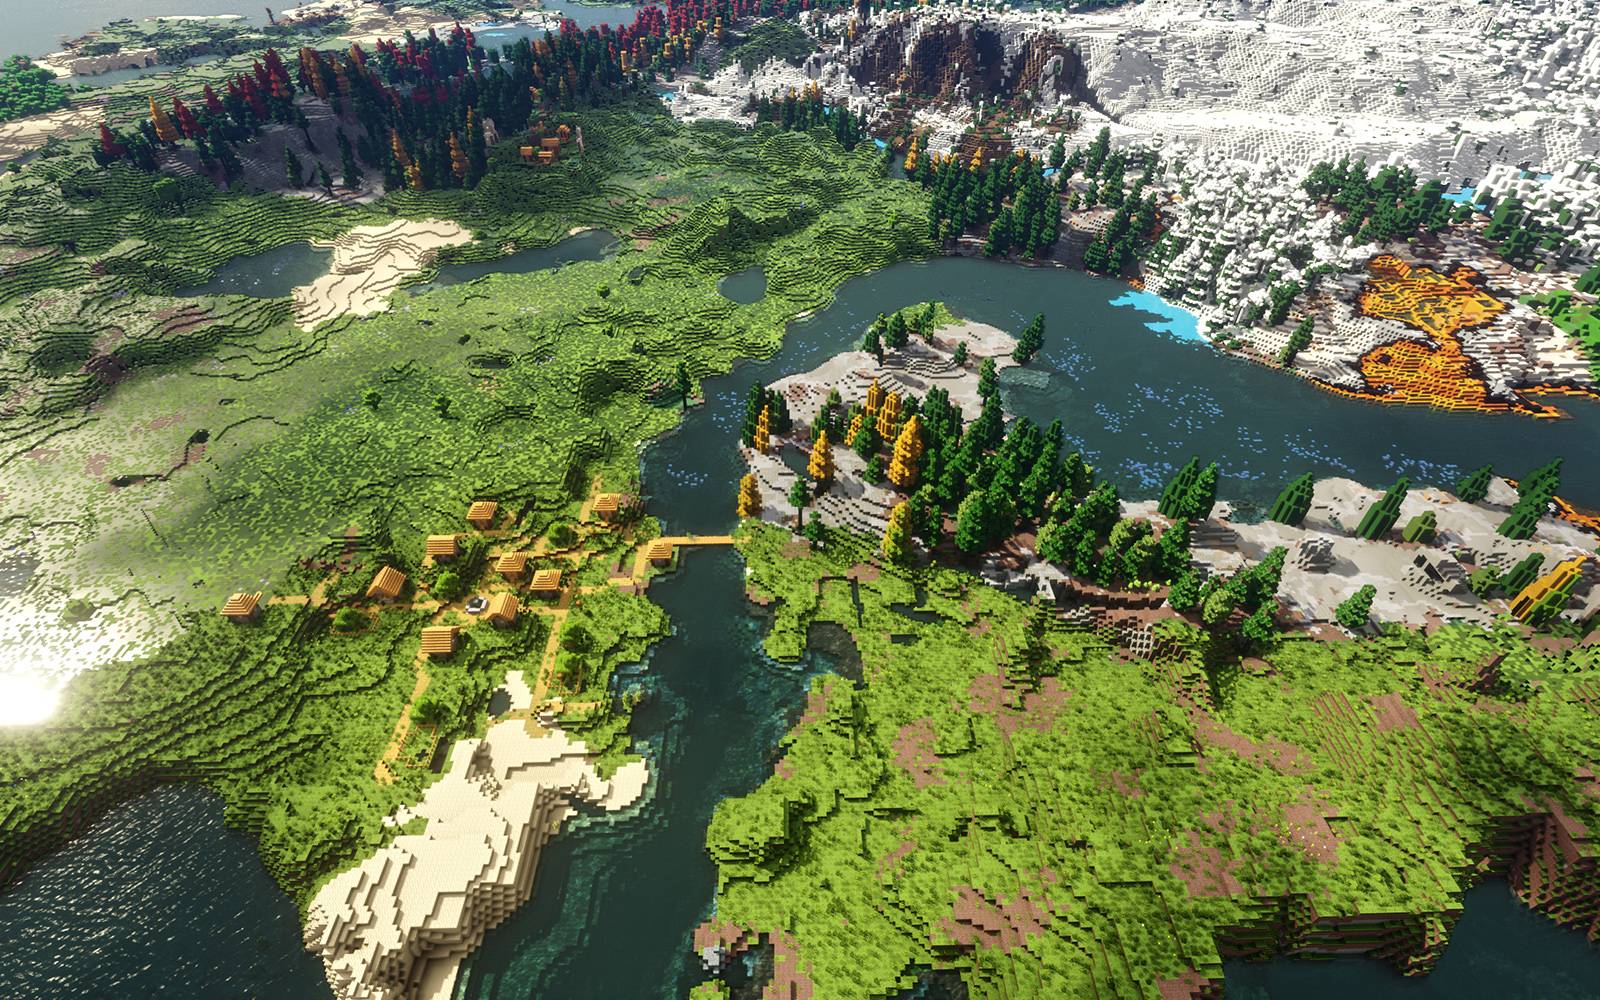
Unlike many other high-resolution texture packs that tend to clutter the screen or exaggerate the look of basic items, Realism Mats keeps things grounded. It enhances both natural landscapes and man-made structures while staying faithful to Minecraft’s identity. The textures are clean, sharp, and balanced in tone and contrast, which makes gameplay more enjoyable and easier on the eyes, especially during long play sessions. This pack is built for players who appreciate realism without overwhelming visual noise.
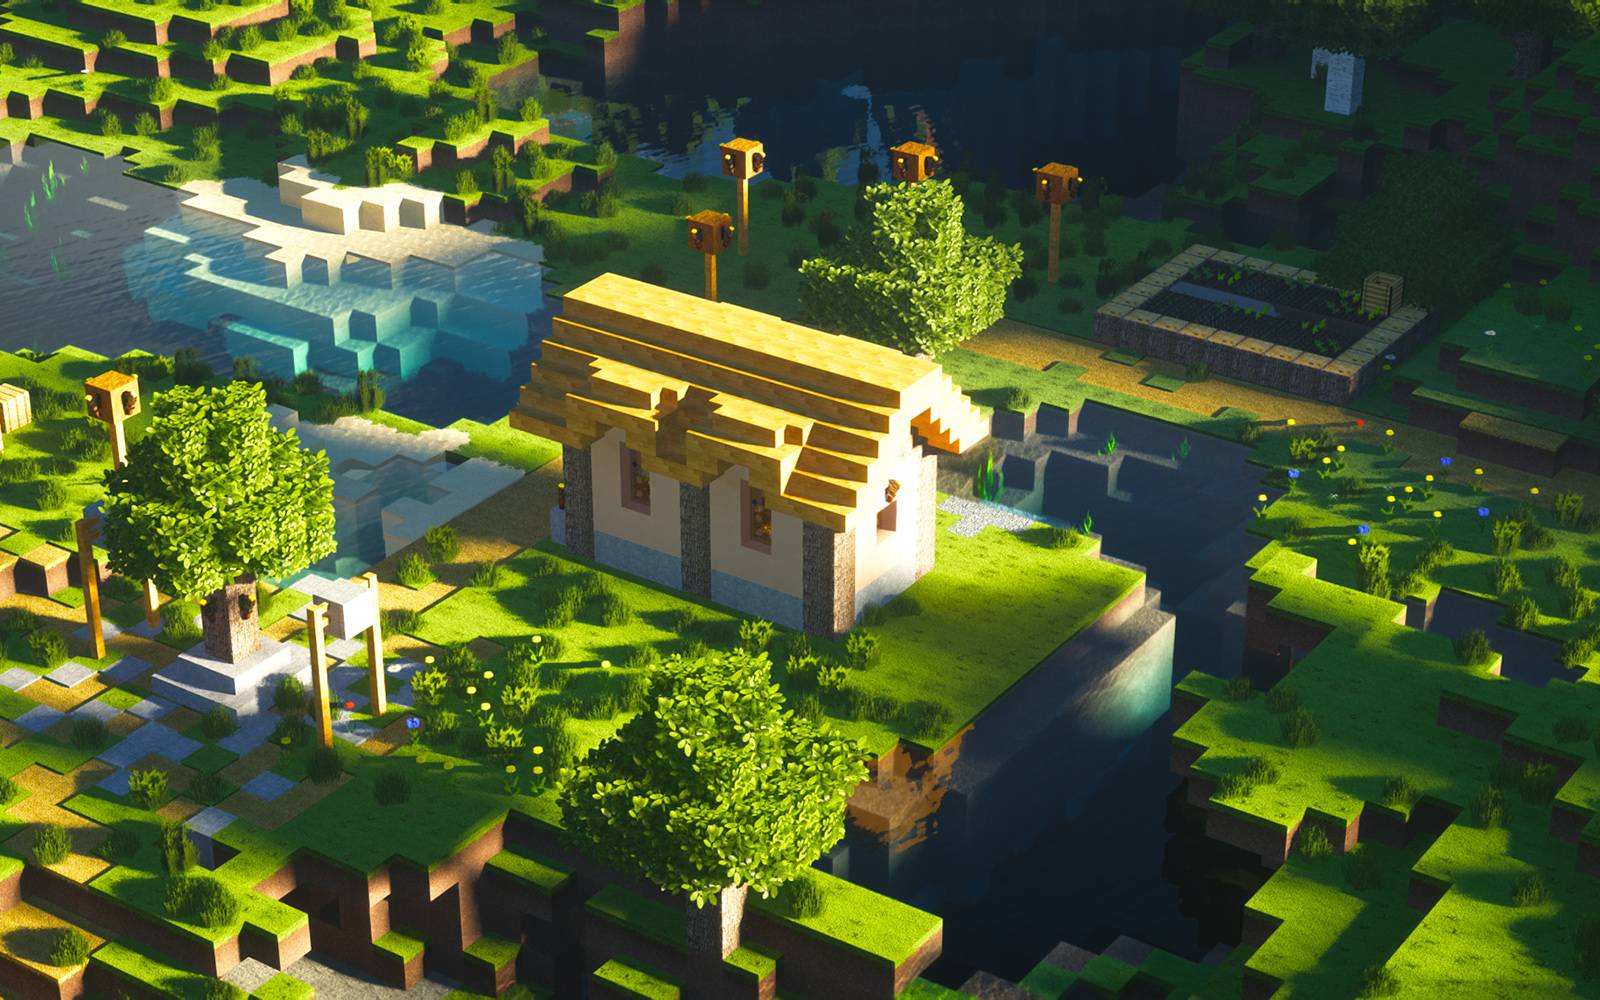
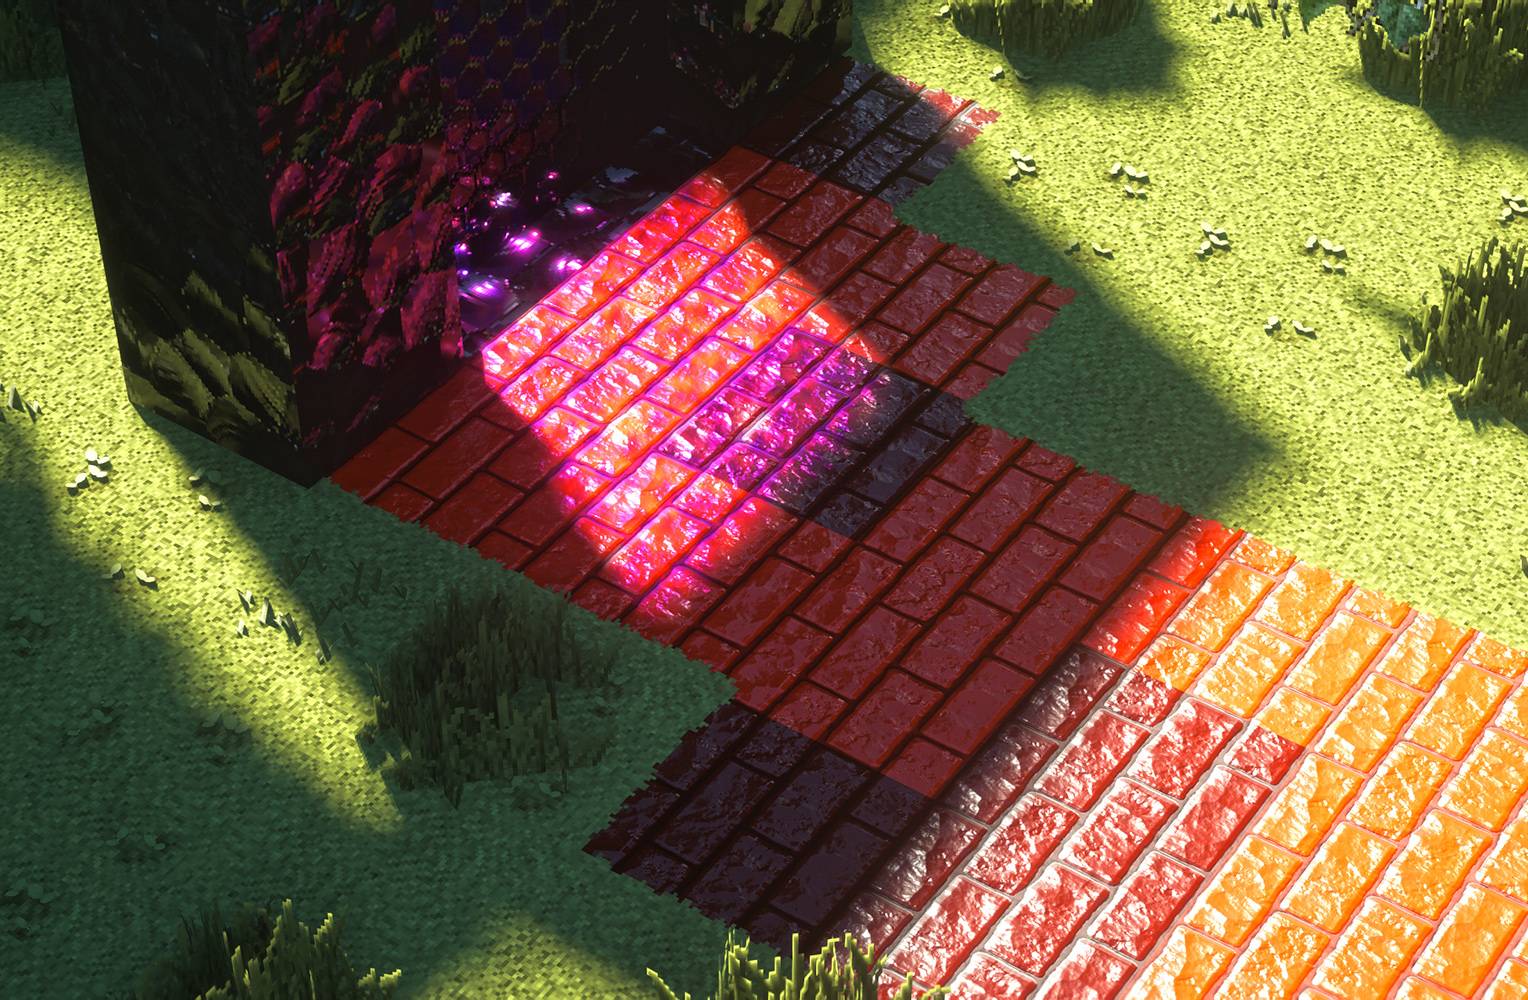
Realism Mats is optimized for performance and works flawlessly with most PBR-supported shaders. It is fully compatible with SEUS PTGI shaders, Bliss Shaders, and many other popular shader packs. Thanks to careful texture mapping and performance tuning, Realism Mats delivers smooth frame rates even when paired with complex shaders, making it ideal for survival gameplay where both visual clarity and performance matter.
The pack supports multiple resolutions, including 256x, 512x, and 1024x, so players can choose the best option based on their hardware. Even mid-range systems can enjoy a significant visual upgrade without dropping performance. For players with high-end PCs, the 1024x version delivers a truly next-level Minecraft experience with lifelike surfaces, refined lighting, and stunning environmental detail.
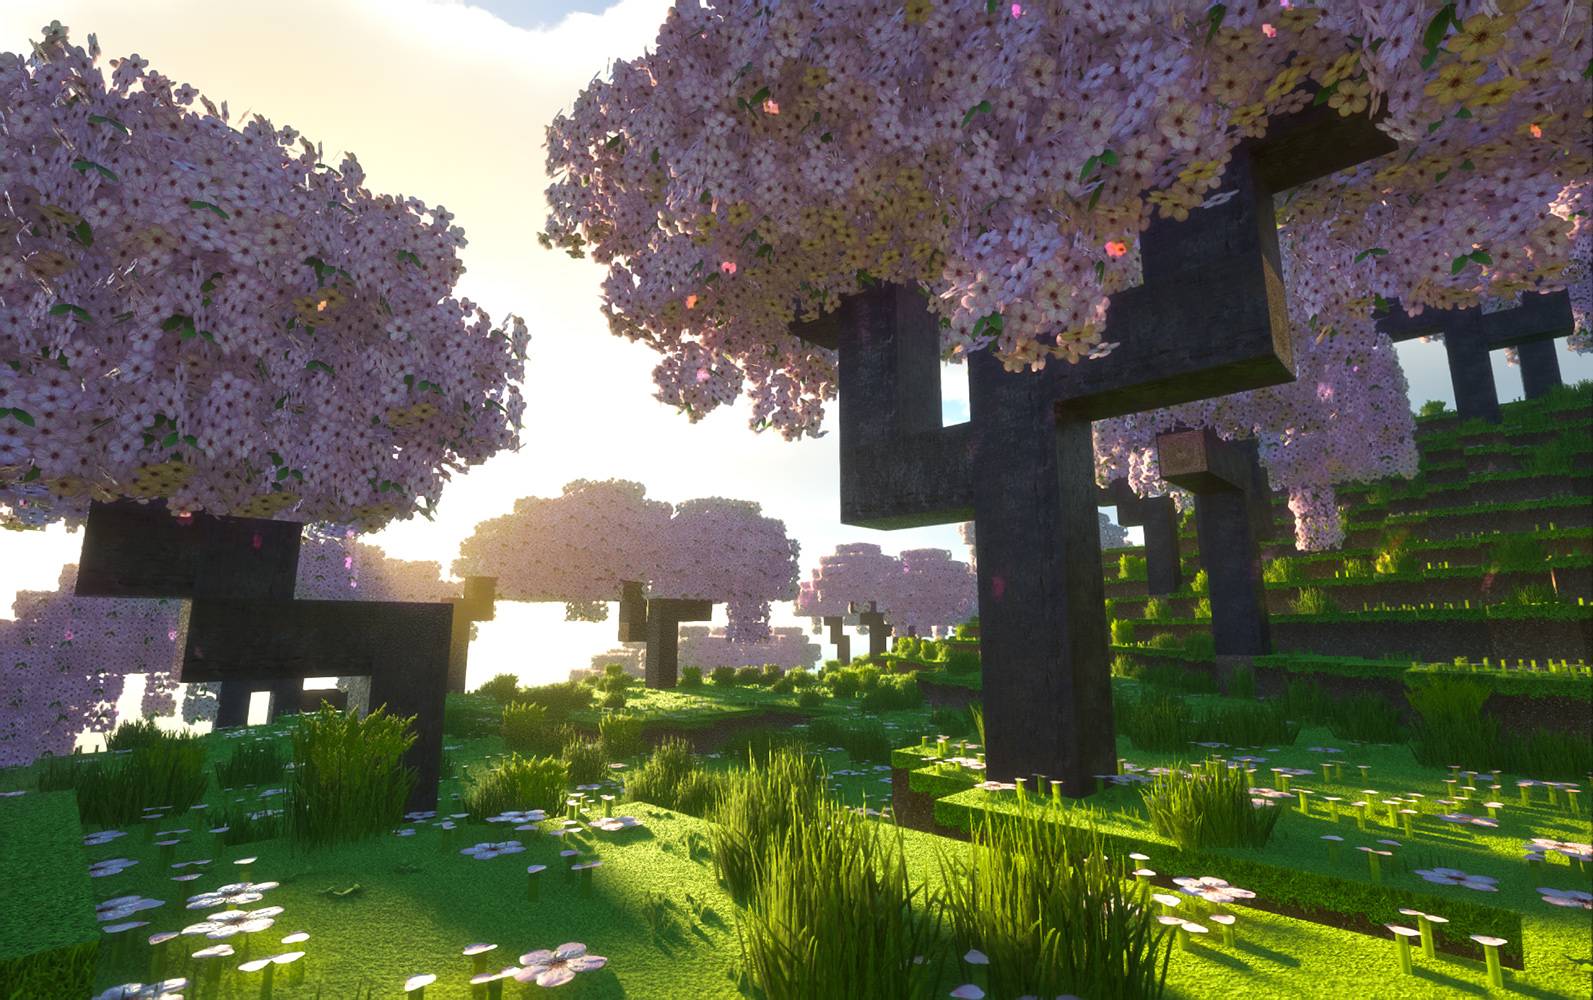
Realism Mats is also actively maintained and compatible with a wide range of Minecraft versions. It works perfectly with Minecraft 1.12, 1.16, 1.17, 1.18, 1.19, 1.20, and 1.21, ensuring you can enjoy its full potential no matter what version you prefer to play on.
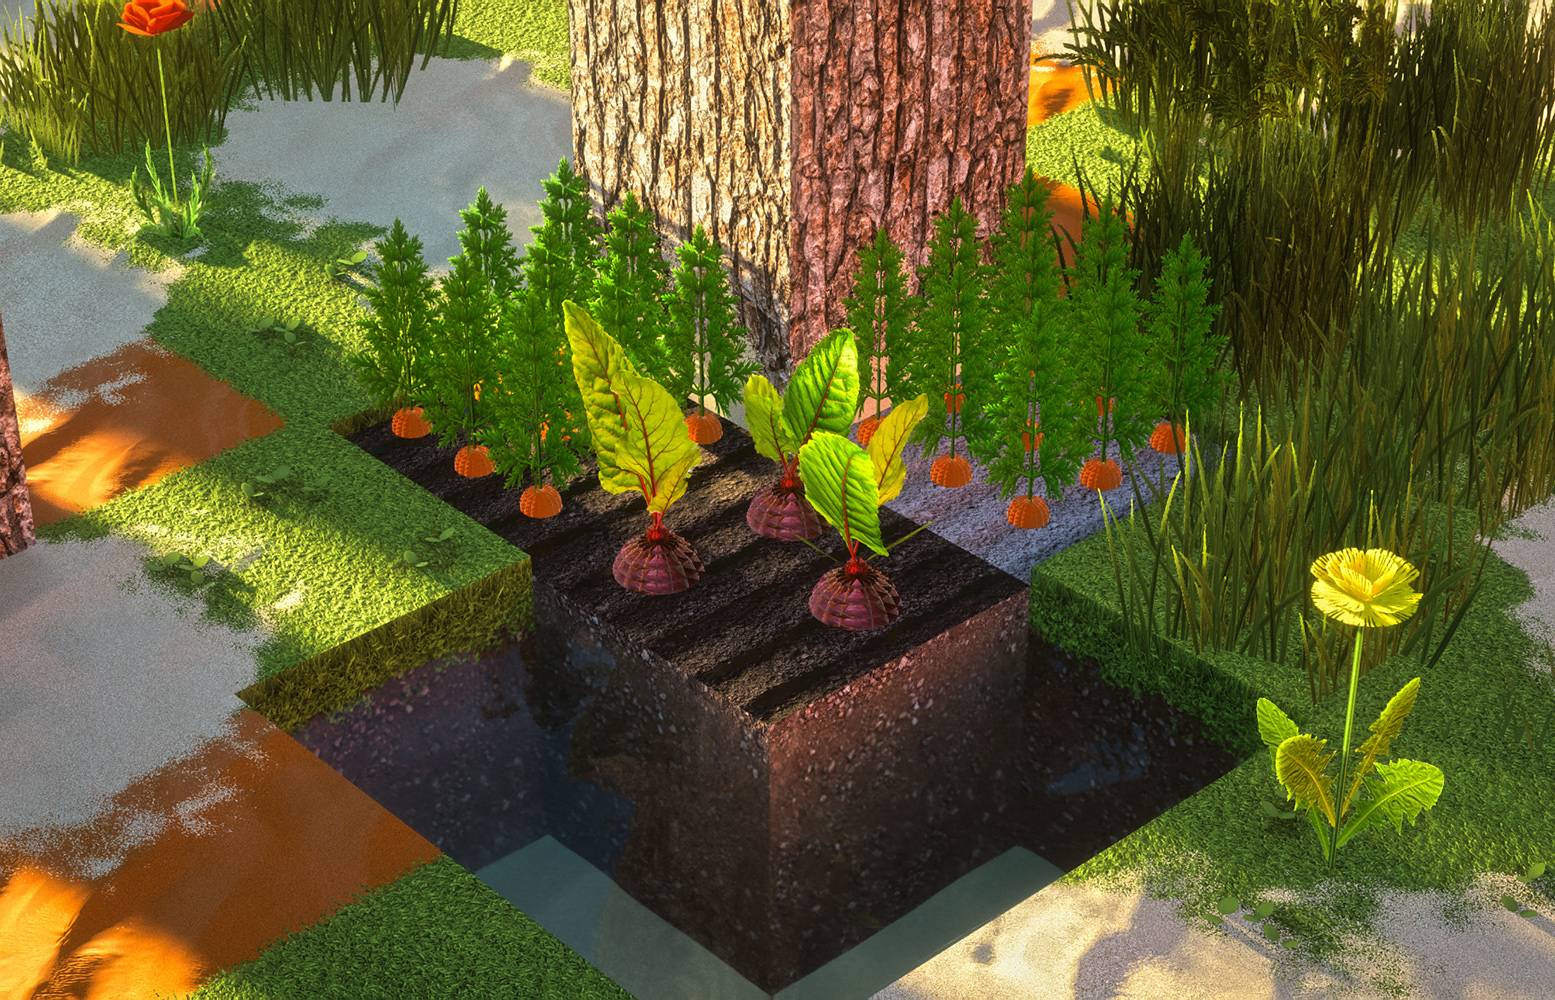
Whether you are a casual player or a serious Minecraft builder, Realism Mats offers a polished, professional, and immersive visual upgrade that stands out from the rest. With ongoing development, exceptional shader support, and unmatched texture quality, it is one of the best choices for anyone looking to make Minecraft look as realistic and beautiful as possible.

The installation guide has been relocated to the installation tab located at the top of the page.
We have compiled helpful installation guides to ensure correct installation of this texture pack in your Minecraft. Follow these guides for a seamless installation experience.
It is strongly advised to create a backup of your Minecraft map before updating the game to new versions to ensure the safety of your progress.
Locate your Minecraft installation folder. The default location for the Minecraft folder varies depending on your operating system:
Once you’ve found the Minecraft folder, make a copy of it and paste it into a different location, such as an external drive or a backup folder on your computer.
The copied Minecraft folder will serve as your backup. If anything goes wrong during the mod installation process or if you want to revert to the original state, you can replace the modified Minecraft folder with the backup.
Optifine requires Java to be installed on your computer in order to work properly with Minecraft.
Visit the official Java website here: On the website, click on the “Download Java” button.
Once the installer is downloaded, locate the file and double-click on it to run it.

Download the Texture Pack that is compatible with your Minecraft version.
Launch the Minecraft client using the Optifine Profile.

Once the main menu appears, click on “Options.” In the options menu, locate and click on “Resource packs.”

Within the resource packs menu, click on “Open Pack Folder.” Locate the .zip file that you downloaded in step 1 and move it into the folder.

After moving the .zip file to the appropriate folder, the texture pack should appear in the left window of the resource packs menu. To access it, hover over the pack and click the arrow pointing to the right. Click on “Done”.


The Xray Texture Pack, unlike many others, has been created to make the game easier to play.
Luminous Dreams 1.21.90 → 1.21.80 is a Minecraft Bedrock texture and shader pack that reimagines your world with glowing colors, soft light, and dreamy visuals
Vanilla RTX 1.21.90 → 1.21.80 is a Minecraft Bedrock shader and texture pack that enhances the default look with stunning ray tracing and realistic lighting.
Prizma Visuals 1.21.90 → 1.21.80 brings your Minecraft world to life with vivid textures and realistic shaders, creating an immersive and colorful adventure.
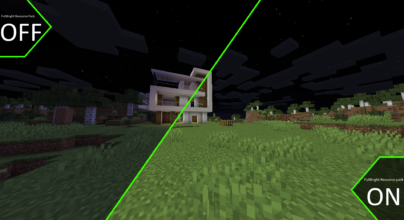
Enhance your Minecraft experience with the Fulbright Texture Pack.
Fresh Animation Texture Pack is one of the phenomenal texture packs that will change your whole Minecraft.