Review
How to install
ProjectLUMA 1.21 → 1.20 is the Kuda successor, even though it was not done from it. When Minecraft first got introduced for gamers in 2009, there were many hypes about its features, including what players could do in their respective worlds. It was a game that became very popular due to its high level of innovation and creativity. For instance, players had the chance of building their worlds to any level without any restriction whatsoever. Minecraft was the definition of a new generation game that most players had always dreamt of. Despite all that Minecraft had to offer, it has failed to deliver the immersive experience that players have always envisaged. The cause of this problem was the game’s poor graphics. According to most players, its visuals have been mediocre and thus, are very far from being realistic. But, of course, without premium graphics in your world, experiencing what the game has got to offer firsthand will be a severe problem.
This is why you need a complete Minecraft Shaders like ProjectLUMA. It has been known to help in transforming the worlds of players into something extraordinary and impressive. So there is no need to try to doubt this Shaders pack. This is because you will soon be discovering its potentials and how to get the best from it by reading this post. For the records, the projectLUMA Shaders was created by dedelner in 2019. It can be said that the introduction or release of this Shader pack is timely as there have been lots of calls for the existing shader packs to be upgraded. Honestly, it was created to help improve what can be considered to be the shortcomings or problems that players experienced while using other shader packs. It has been able to get about 173,142 downloads which are pretty impressive. This shader pack has been created to succeed the popular Kuda Shaders.
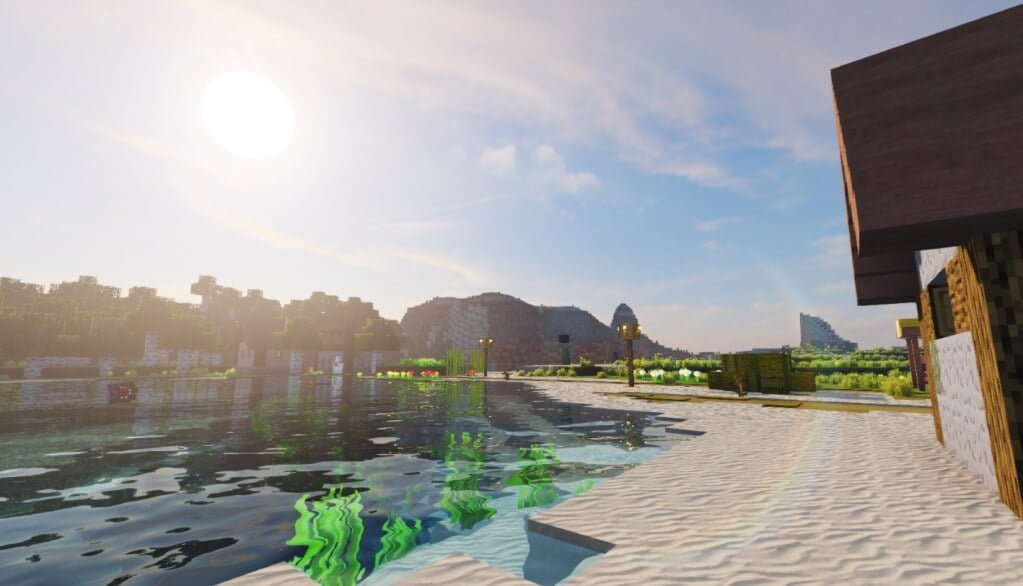
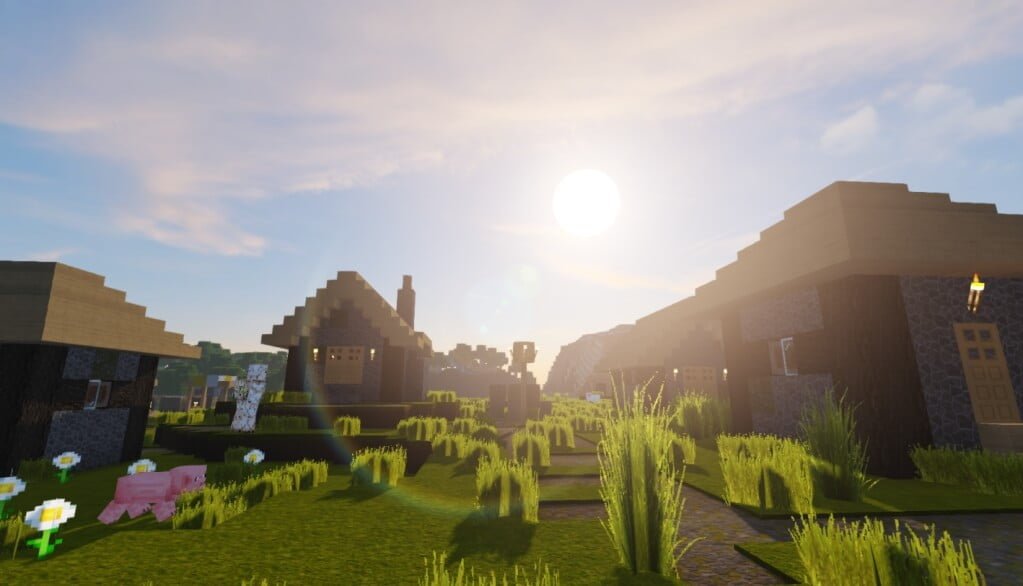
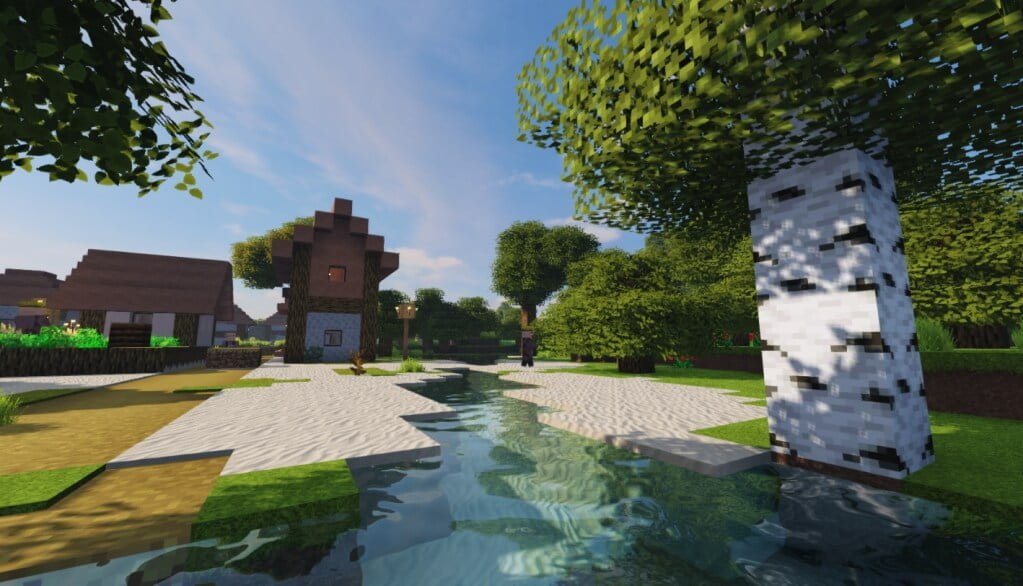
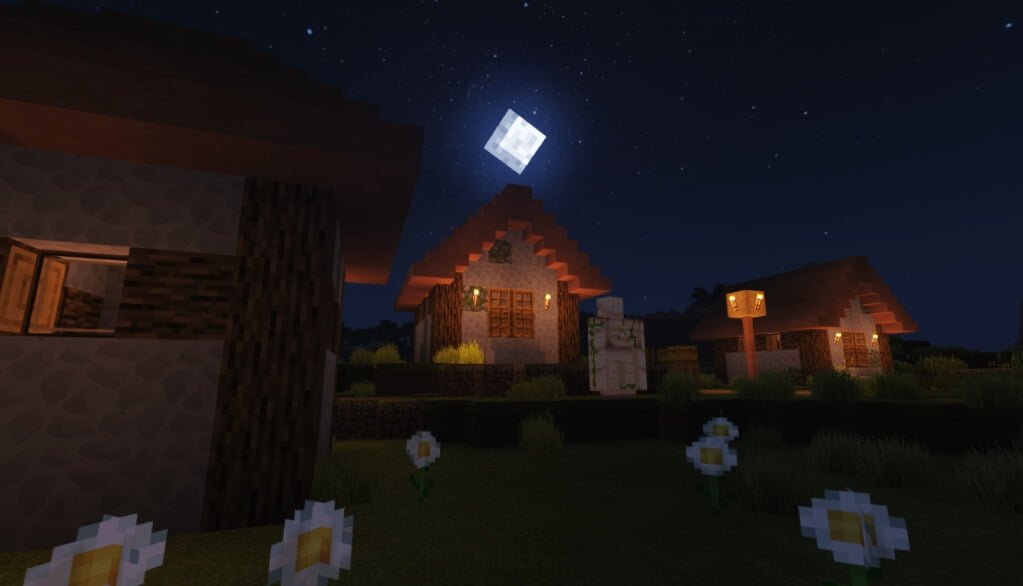
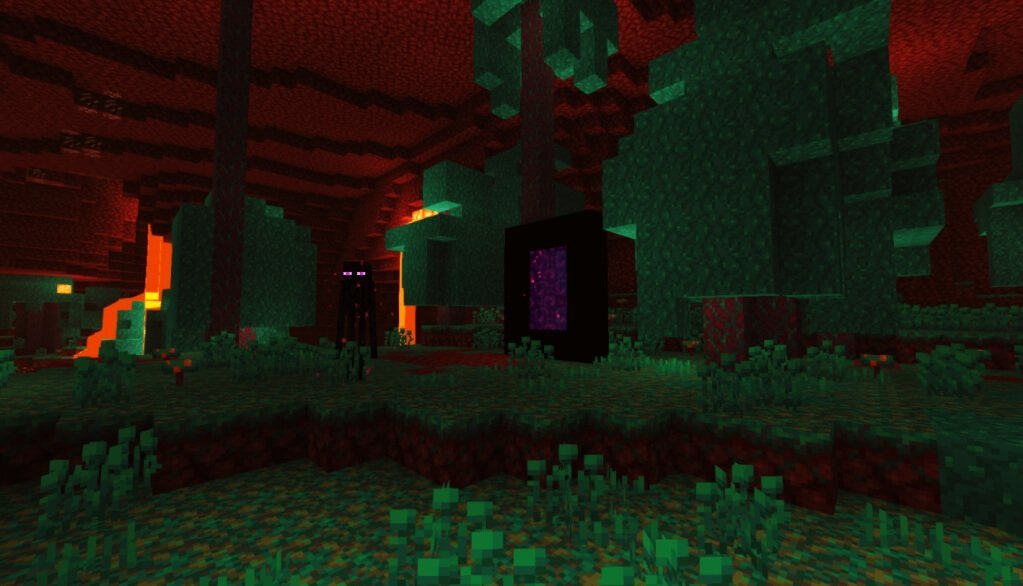
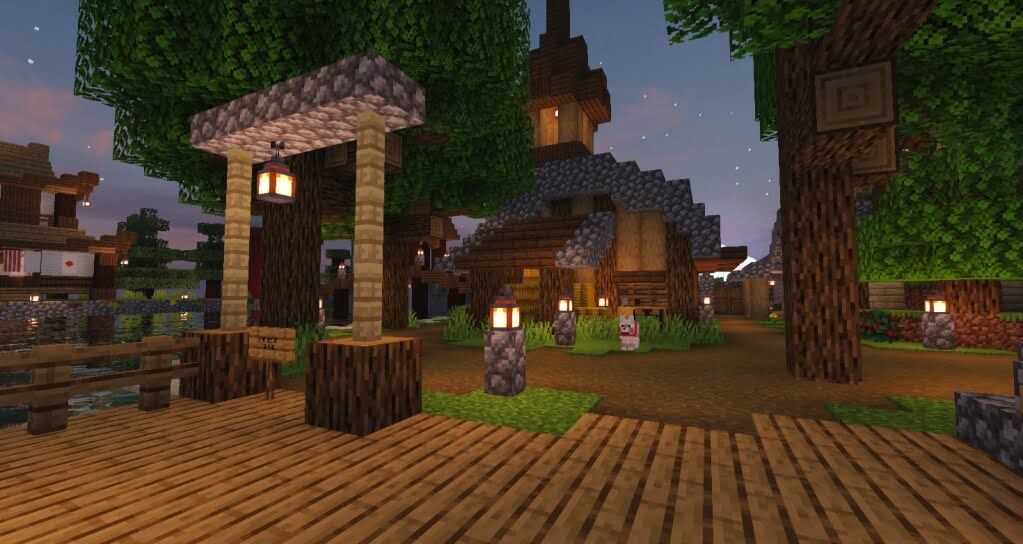
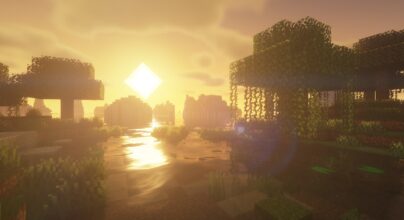
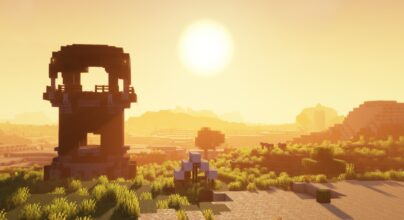
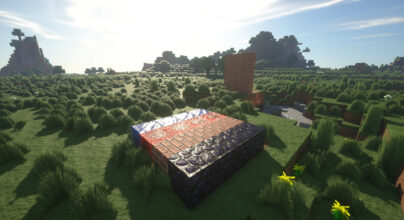
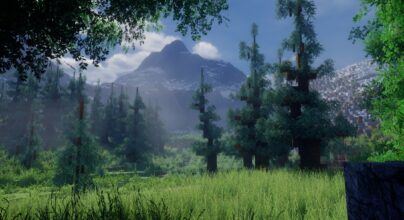
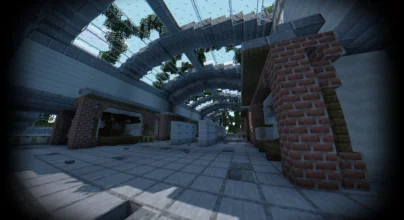
Are you searching for a reliable and proven shader pack in Minecraft? The truth is that very few shader packs have lived up to expectations over the years. The advent of project UMA Shaders has managed to change all of these, though. For instance, its additions and features are pretty impressive in lots of regards. For the first time, you will be getting access to something that can change your world for good. ProjectLUMA will bring out the beauty of your world. This is because it addresses various aspects of the game like water, reflections, trees, blocks and many others. Visuals and graphics are essential in the game Minecraft. As a player, failure to upgrade the default graphics of your Minecraft world can mean depriving yourself of the game’s immersive experience without even knowing. One of the best parts about this shader pack is that there are zero unnecessary details. In other words, the optimization is excellent. Also, its graphics are second to none in the game. With ProjectLUMA shaders, improving your world’s appearance is a complete walk in the park. For instance, the water will look beautiful. It will be characterized by reflections that are looking very real. It is also worthy of note to point out that the sky will appear natural and stunning. If you want to have those graphics that are guaranteed to raise eyebrows in your world, this is one shader pack to use. There is no doubt that you will be amazed at what it has got to offer.
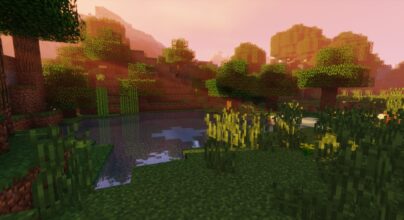
One of the most apparent benefits of ProjectLUMA shaders is that they can be installed on a low-end PC. Don’t worry, as the graphics will still be upgraded. This is because they will still look decent. Also, please note that OptiFine is required to be installed before it can work. Finally, remember that its last update was in 2019, which means there could be some bug issues.
Gallery
How to Install?
The installation guide has been relocated to the installation tab located at the top of the page.
Quick pollHelp Developers
ProjectLUMA Shader Links
Please note the following information:
- Some shaders have not been updated for version 1.21.7 of Minecraft. However, all shaders have been tested and are confirmed to work correctly in Minecraft 1.21.6.
- All download links are original and sourced from the creator. We do not host or modify any files. Our role is solely to provide direct links to our users, ensuring security and quality.
- Additionally, browse the best shader packs for Minecraft, grouped by category for easier navigation.
We have compiled helpful installation guides to ensure correct installation of this shaderpack in your Minecraft. Follow these guides for a seamless installation experience.
Backup Guide
It is strongly advised to create a backup of your Minecraft map before updating the game to new versions to ensure the safety of your progress.
Locate the Folder
Locate your Minecraft installation folder. The default location for the Minecraft folder varies depending on your operating system:
- Windows: %appdata%.minecraft
- Mac: ~/Library/Application Support/minecraft
- Linux: ~/.minecraft
Make a Copy
Once you’ve found the Minecraft folder, make a copy of it and paste it into a different location, such as an external drive or a backup folder on your computer.
Save and Restore if Necessary
The copied Minecraft folder will serve as your backup. If anything goes wrong during the mod installation process or if you want to revert to the original state, you can replace the modified Minecraft folder with the backup.
Java Installation Guide
Optifine and Forge require Java to be installed on your computer in order to work properly with Minecraft.
Download the Java installer
Visit the official Java website here: On the website, click on the “Download Java” button.
Run the installer
Once the installer is downloaded, locate the file and double-click on it to run it.

OptiFine Loader
Required 1.8.8+Step by Step
Download Optifine:
Download the appropriate version for your Minecraft.
Install Optifine
Once the Optifine file is downloaded, run the installer and follow the on-screen instructions to install it

Download Shaders:
Download the Shader package that is compatible with your Minecraft version.
Launch Minecraft with OptiFine
Open the Minecraft launcher and select the newly installed OptiFine profile to launch the game.

Locate the Shaders option
Once in the game, navigate to the “Options” menu, then select “Video Settings,” and click on “Shaders.”

Install Shaders
In the Shaders menu, you’ll find a “shaderpacks” folder button. Copy the downloaded shader pack’s zip file into this folder.

Enable the shader in Minecraft
You should see the installed shader pack listed in the in-game Shaders menu. Select it to enable the shader.


Iris Loader
Required 1.16.2+Step by Step
Download Iris:
Download the latest version of the Iris installer.
Install Iris
Locate the downloaded Iris Installer and open it.
Choose installation type:
- Iris Install: Select this option if you don’t plan on using any other mods alongside Iris.
- Fabric Install: Opt for this option if you intend to use Iris with Fabric and other mods. The Iris jar files will be copied to the mods folder within the .minecraft directory.

Download Shader:
Download the Shader package that is compatible with your Minecraft version.
Launch Minecraft
Launch the Minecraft launcher. Choose the profile you decided to install in the previous step.

Install Shaders
Navigate to Options > Video Settings > Shader Packs within the game.

Drag and Drop
You can directly drag and drop the shaders zip file into the Minecraft window to install a shader pack.

You Might Also Like
Best
BSL Shaders remains a popular Minecraft Shader for the beloved game Minecraft.
Best
Sildur’s Vibrant Shaders 1.21.6 → 1.21.5 is one of the most renowned Minecraft shader packs.
Best
Complementary Shaders 1.21.7 → 1.21.6 is one of the most popular Minecraft shader packs.
Outdated
SEUS Shaders, simply the favorite Shader of the Minecraft community.
Best
Bliss Shaders 1.21.6 → 1.21.6 is another excellent Minecraft shader that gives a better appearance in the game and increases performance.
New
The Body Camera shader, offers a unique gaming experience by simulating the effects of a body camera