Review
How to install
Vanilla Plus Shaders 1.21 → 1.20 is the new graphics pack for Minecraft with incredible improvements for your gaming experience. In the past, it was challenging to find some of the best shaders in Minecraft. For example, you needed to scour the internet day and night. The worst part is that you might not even be lucky enough to find a shader pack with great features and additions that could change your world forever. In fact, this is past; MinecraftShader.com came to change that, now you can find the best shaders in one place. Talking about a reliable Shaderpack that can help update the graphics in your world, there’s every reason to believe that Vanilla Plus Shaders tend to tick every box.If you don’t believe it, ensure to read the details of this post from beginning to end. It will be revealing why Vanilla Plus Shaders are worth downloading and installing.
It is worth noting that Vanilla Plus Shaders are pretty different from what you used in Minecraft. This is because it tends to work as an add-on. Such implies that it hasn’t been created to change what is already existing in your world. Instead, it is living to make them look better. The truth is that the content in your world with default vanilla features is not up to scratch in any way. RRe36 is the owner of this imposing shader pack, which has won the heart of both professional and newbie Minecraft players. Ever since being introduced in 2019, it has been downloaded over 500,000 times. This is a clear sign that its features are natural and can make a huge difference once installed. So in case, you have always wanted something close to vanilla. Still, with enhanced features and functionalities to improve your game’s visuals and graphics, Vanilla Plus is the right option to explore.
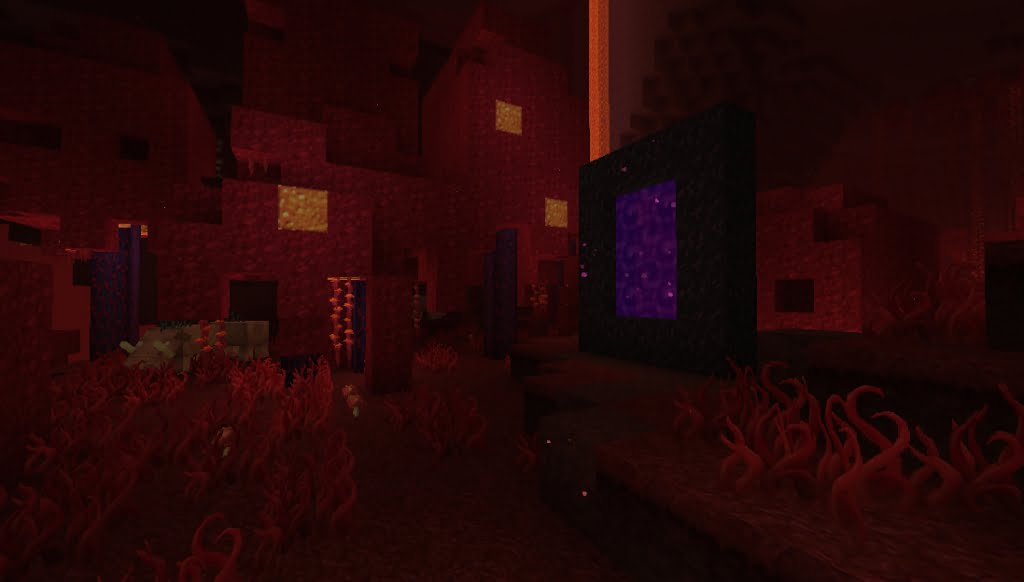
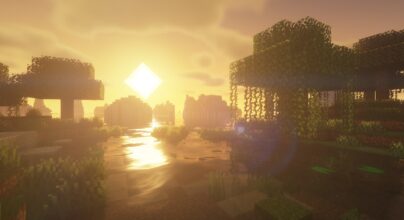
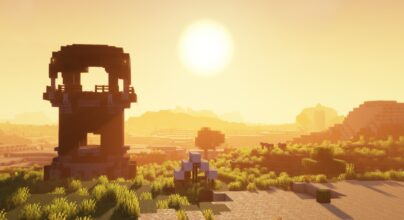
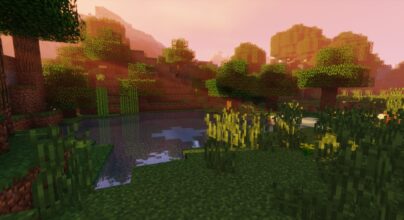
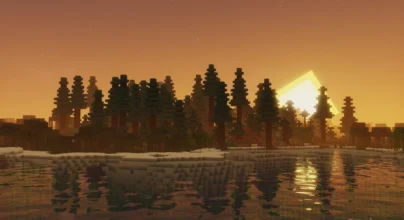
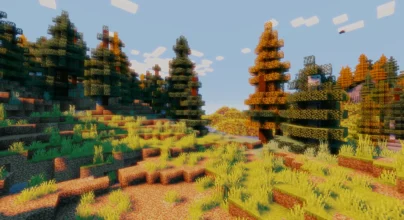
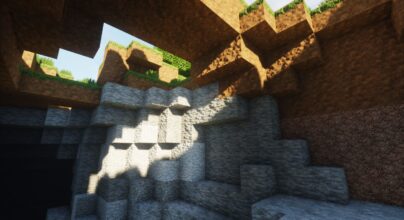
Vanilla Plus Shader has succeeded in improving the ideas and concepts of older shader packs that Minecraft players have known over the years. These could be Chocapic v9 and SEUS v11. Of course, these are legendary Shaderpacks. However, what if you could get a tool like Vanilla Plus Shaders, that combines all of these features into one and even offers something much better? You will notice the massive improvement in the game’s textures. Also, the skies and clouds are looking more accurate as compared to before. Suppose you are really serious about having an environment that others will consider to be beautiful and natural. In that case, this is one of the best options to explore. The best part is that your system or device will definitely run smoothly once it has been installed. Some are god rays, anti-aliasing (temporal), bloom, motion blur, volumetric clouds, dynamic shadows, lens flares, and resource pack support.
Gallery


How to Install?
The installation guide has been relocated to the installation tab located at the top of the page.
Quick pollHelp Developers
Vanilla Plus Shader Links
Please note the following information:
- Some shaders have not been updated for version 1.21.4 of Minecraft. However, all shaders have been tested and are confirmed to work correctly in Minecraft 1.21.4.
- All download links are original and sourced from the creator. We do not host or modify any files. Our role is solely to provide direct links to our users, ensuring security and quality.
- Additionally, you can explore the list of the best Minecraft shaders of all time.
We have compiled helpful installation guides to ensure correct installation of this shaderpack in your Minecraft. Follow these guides for a seamless installation experience.
Backup Guide
It is strongly advised to create a backup of your Minecraft map before updating the game to new versions to ensure the safety of your progress.
Locate the Folder
Locate your Minecraft installation folder. The default location for the Minecraft folder varies depending on your operating system:
- Windows: %appdata%.minecraft
- Mac: ~/Library/Application Support/minecraft
- Linux: ~/.minecraft
Make a Copy
Once you’ve found the Minecraft folder, make a copy of it and paste it into a different location, such as an external drive or a backup folder on your computer.
Save and Restore if Necessary
The copied Minecraft folder will serve as your backup. If anything goes wrong during the mod installation process or if you want to revert to the original state, you can replace the modified Minecraft folder with the backup.
Java Installation Guide
Optifine and Forge require Java to be installed on your computer in order to work properly with Minecraft.
Download the Java installer
Visit the official Java website here: On the website, click on the “Download Java” button.
Run the installer
Once the installer is downloaded, locate the file and double-click on it to run it.

OptiFine Loader
Required 1.8.8+Step by Step
Download Optifine:
Download the appropriate version for your Minecraft.
Install Optifine
Once the Optifine file is downloaded, run the installer and follow the on-screen instructions to install it

Download Shaders:
Download the Shader package that is compatible with your Minecraft version.
Launch Minecraft with OptiFine
Open the Minecraft launcher and select the newly installed OptiFine profile to launch the game.

Locate the Shaders option
Once in the game, navigate to the “Options” menu, then select “Video Settings,” and click on “Shaders.”

Install Shaders
In the Shaders menu, you’ll find a “shaderpacks” folder button. Copy the downloaded shader pack’s zip file into this folder.

Enable the shader in Minecraft
You should see the installed shader pack listed in the in-game Shaders menu. Select it to enable the shader.


Iris Loader
Required 1.16.2+Step by Step
Download Iris:
Download the latest version of the Iris installer.
Install Iris
Locate the downloaded Iris Installer and open it.
Choose installation type:
- Iris Install: Select this option if you don’t plan on using any other mods alongside Iris.
- Fabric Install: Opt for this option if you intend to use Iris with Fabric and other mods. The Iris jar files will be copied to the mods folder within the .minecraft directory.

Download Shader:
Download the Shader package that is compatible with your Minecraft version.
Launch Minecraft
Launch the Minecraft launcher. Choose the profile you decided to install in the previous step.

Install Shaders
Navigate to Options > Video Settings > Shader Packs within the game.

Drag and Drop
You can directly drag and drop the shaders zip file into the Minecraft window to install a shader pack.

You Might Also Like
Best
BSL Shaders remains a popular Minecraft Shader for the beloved game Minecraft. It has revolutionized the way players experience the blocky world
Best
Complementary Shaders is a popular Minecraft shader pack for Java Edition. It makes the game look better by adding many cool effects.
Best
Sildurs Vibrant Shaders is a popular Minecraft Shader. It makes the game’s graphics better as well as adds lighting effects. This shader pack improves the game’s look with dynamic shadows, realistic water reflections, and even bright colors
New
Explore the magic of mellow shaders in Minecraft, enhancing visuals while maintaining smooth gameplay on low-end computers.
New
Discover OpenShad Shaders, a customizable shader pack for Minecraft that adds visual effects and improves game graphics.
Outdated
The SEUS Renewed Shaders is one of the most popular shaders for Minecraft that enhance the game’s general graphics. It will give pixelated and primitive games to increase gaming performance